Showing posts with label bun. Show all posts

Gymnast Bun; Lauren's from Make It or Break It

I've noticed that some of my fellow bloggers have lsited some of Lauren's hairstyles from the show Make It or Break It. She is a mean girl from what I've read, but she has great hair! I don't actually watch the show, but it pops up on Hulu's home page all the time. ;) Well my model for today is an incredibly nice girl. Really, my niece is the sweetest and most well-behaved child I've ever met! ;) And here is her 'do...
We started by pulling all the hair into a ponytail, minus the front from one ear to the other.
I made a deep side part and put the smaller side into a braid and then aaded it to the ponytail.
On the other side I did a one sided french braid. These are easier than they sound. ;) You just start with your 3 pieces and braid them over each other. But when you add hair, you only add to the front section and you braid the others as though it were a regular braid. Hope that makes sense... It gives a nice poof to the front and an "edge" to the back. This will be more defined on girls with thicker hair.
It really looked pretty and stayed up out of her face all day.
Isn't she just squeezable?! ;)

Sailor Moon

Alex had bangs once before, despite my wishes. (Drama Boy cut her hair! It is still growing out in a few places...) So, I was a little reluctant to cut them again. Turns out, I LOVE them! ;) We went with sweepy, longer bangs because of her natural wavy curl and soft/fine hair. Here's the new look...
Now, for the style: Anyone familiar with the animated series "Sailor Moon"? It is an older show, but one of the first asian cartoons to become really popular in the US. Well, this hairstyle is from the show, but the basic idea is really popular amongst children models for asian clothing stores online and Alex has requested it numerous times. 
7Right, so here it is. We started by pulling up just the front, leaving out her new bangs.
Actually, I thought it was really pretty at this step, but promised the piggies... Next, I sectioned out the remaining hair, basically into quadrants.
I put pull-through knots in the bottom two. You can do these with a topsy turvy, but I just stick my rat-tail comb through the middle and then poke the elastic through. Pull the hair tight and it comes out the same. ;)
I pulled up the pull-through ends diagonally and added them to the top section, making pigtails.
I added 1/2 of the very top ponytail in to each pigtail.
The last step is the bun. Just take a very small piece out of the ponytail and do not include it in your bun.
Use the rest of the hair, twisting it and then wrapping it around the small piece. Pin it down or add an elastic to hold in place. If using an elastic, be sure to pull the extra piece all the way through each time. That's it, you're done! ;)
(Oh, and here's another secret for working with toddlers... download a couple of games on your phone just for those really cranky moments! She has only played with my phone a handful of times, so she felt pretty special. And it entertained her well enough that she didn't want me to be finished! ;)


Relaxed Curls & Bun on a New Model w/ a New Flower

Please welcome my lovely niece, The Princess! A beautiful child with enough attitude for 2-13 yr old girls. ;) She agreed to model for me and I was so excited to fix her curly locks!
The Princess has naturally curly hair, very curly! I relaxed the curls with a replenishing spray and a touch of silk'n'curl. I brushed through her hair gently with an air-cushion brush. And then it was time for the style...
I put the top half of her hair into a ponytail, leaving her "bangs" and a bit at the sides out. I parted the bangs far to one side. I added the bangs to the side hair and made a simple braid, adding the braid  to the ponytail.
The same for the other side...
Next I made a very loose bun by simply picking up the hair, giving it two twists and then wrapping it around the ponytail. I left the ends sticking out slightly and secured it with a clear elastic. One great thing about curly hair, you never have to "do something" with the ends. ;)
I let the princess pick her accessory. (and I loved her choice!) This is a flower clip that I don't think I've featured on my blog before. It is cotton candy pink & white with a touch of feathers in the center.
Our mini modeling session was a blast; she was super serious about it! ;)
She was so pretty and walked around like the princess she is, all afternoon! ;)
Product Review Time:
This spray is on my mind today, mostly because I ran out and can't find it anywhere, AGHH! ;) I searched Dove's website to find a retailer... KMart on the other side of town, that's it! ugh, I don't really shop at kmart... at least not in the last 7 or so years. Sheesh! Walgreens is willing to have it sent from another location and that will take 2 weeks as it travels by truck, nice... I "ordered" 4 bottles. Lol, does that tell you how awesome this stuff is?! Okay, here's the deal.
DOVE Daily Moisture, Damage Therapy, Daily Hydrating/Replenishing Mist. (It has had other names, but the formulas are almost identical. The most recent does not have glycerin, a good thing I promise!) This works wonderfully for girls with dry or damaged hair. I use it on myself and on Alex. I have also used it on other little girls. In fact, I prefer to use it rather than water when dampening the hair. It does exactly as it says, replenishes the hair. I like to test limits and I've been using this stuff for a long time. I have drenched Alex's hair with it and when it dried, it was as though I'd just washed and conditioned her hair. No joke, it's the best stuff ever! ;) I have used it for every hair type, including one little girl with slightly oily hair. It even seemed to freshen her hair up and leave it less oily! I highly recommend this to help keep yours and your daughter's hair healthy!

I want FABULOUS! Give me Fabulous!

Alex loves HSM and that song is her favorite. That's how she decided to describe this set when she first tried it on! ;) It is definitely over-the-top... and I just LOVE it! ;)
This is an all new outfit from the Fairie*Kisses Couture Line. (For those who don't know, that's me.;) I have made tutus and bows for quite a while and I've done some simple skirts and tops. But this project was a major feat! ;) I love all the steampunk stuff that I've seen on Etsy and other places, so I just had to try my hand at it! This was a blast to make and Alex just fell in love with it! ;)

Ruffles always make things better! Alex insists on them every time I start a new project!
Lace is great too, so girly! And then, of course I had to make a mtaching hairbow.
We had to do a special hair-do for the pictures too... I parted out the sections I wanted and held each aside with a ponytail. I put a french braid in each section then pulled all the ends and the rest of the hair together in a low side-tail. I made a messy bun then topped it off with her new bow. Voila! ;)
I like how the whole thing turned out! It looked adorable on Alex and she felt simply "Faboolus"! ;)

Organic Bun.

So right now I am working on a quick two week workshop with our Youtheatre group, and My two oldest have been teaching, so... To cool for hair requires a up do to keep her hair off her neck! I guess you have a hard time chasing 25 5-8 year olds with a sweaty neck! I did this up do and loved it It was really loose and kinda flowey looking but stayed in well all day! best of both worlds!
So I started by pulling the bottom part of her hair into a pony by doing a twisty type thing (not my specialty)
Next I just started grabbing hair and doing weird things with it (twists ropes braids whatever)
I just hooked them to the pony with an elastic
here all of her hair is back into a pony

side, view

other side
I have been doing this bun a lot lately, its super easy! I take the pony (or piggies) braid it and then....

tie it in a knot!

hook it with bobby pins to secure it
and you have an easy summer do for a teen that is a tiny bit fussy with her hair! but this gets the too cool for hair seal of approval!

figure 8 worm buns

Sunday is always my day to do the girls hair however I want so this was Baby Mermaids do for today!
I started by pulling pigtails to the back of her head

then i split the right pigtail in half and twisted it into a twisty thing and then twisted it around the left pigtail and back around the right to make a figure 8

then I just continued until all of her pigtails had been twisted around in the figure 8

stuck some bows on, (of course)

and your done! super easy but really cute!

she lost two teeth yesterday so we had to do a close up of the teeth!

More braids and pigtails day 2!

I love second day hair and its spring break, despite the snow, and Monkey Mans Birthday! I wanted something quick so we could be off to the zoo, so Baby Mermaids braids still looked o.k. a little fuzzy but I was in a hurry so I just looped the hair up into pincurl buns, they looked super cute and then I stuck our new Minnie mouse on safari (Zebra) bows in her hair! they turned out so cute that I thought that I would show ya!
Here she is after we have been to the zoo all day! they held up fairly well, I don't have step by steps because my camera was out of batteries this morning!

 
Here are the kids in shorts and light jackets in the snow! I couldn't resist documenting our "spring break"
Thanks for stopping by!
Heather

Simple, Quick, Toddler Bun

So easy! So simple! I'm in love :)


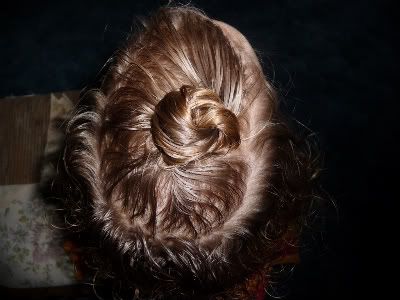
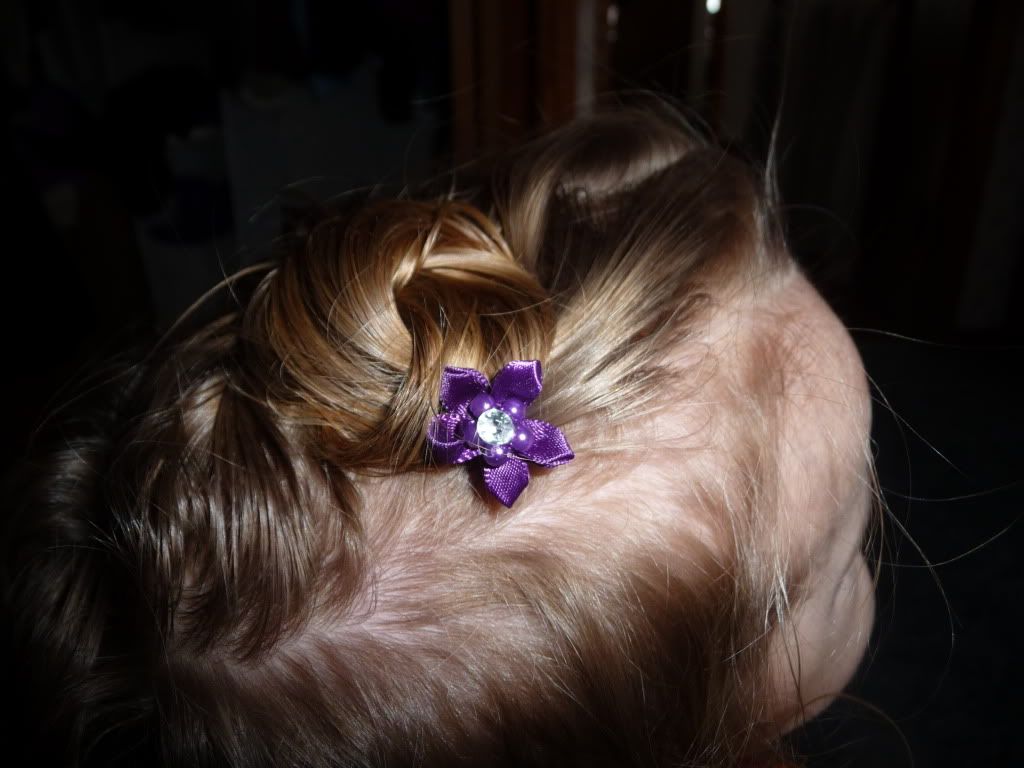
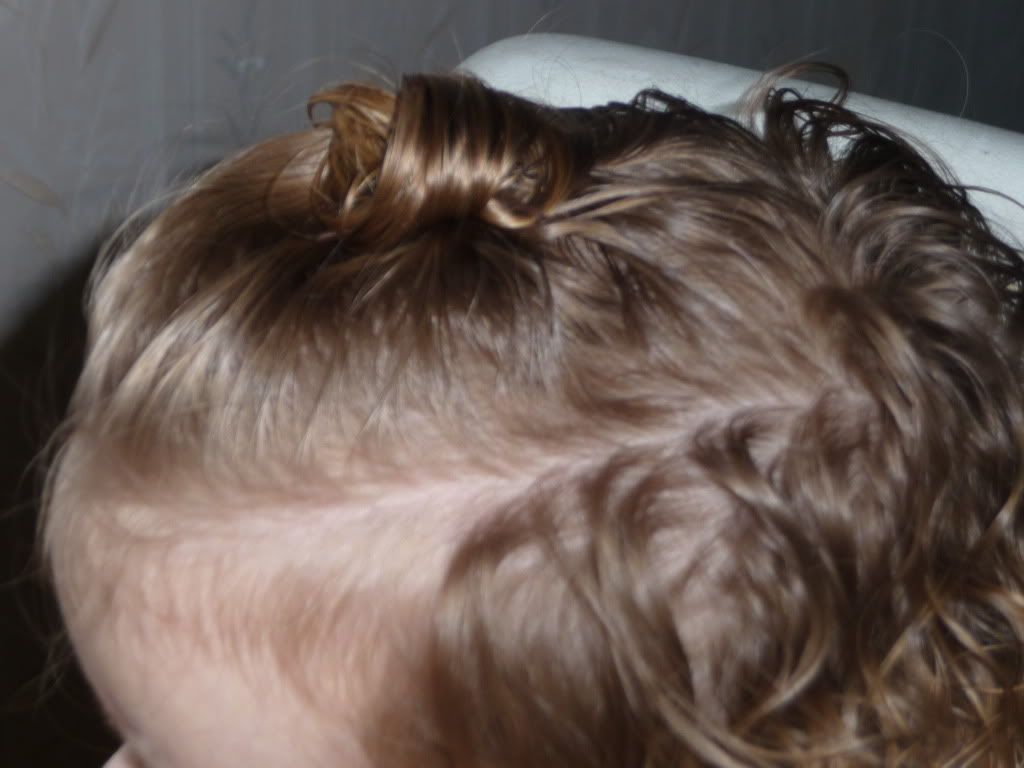
All we did to make this one was to comb her hair back into what would hve been a ponytail - and then I gently twisted Q's hair and laid it down in this swirl pattern. Winding it around itself! I didn't even put an elastic in first! (which might have been a good idea for extra security - tho we didn't end up needing it.)

When I was twisted and wrapped the way I wanted it, I stuck 3 bobby pins in it, and tried to get them to overlap so they'd help hold themselves on.
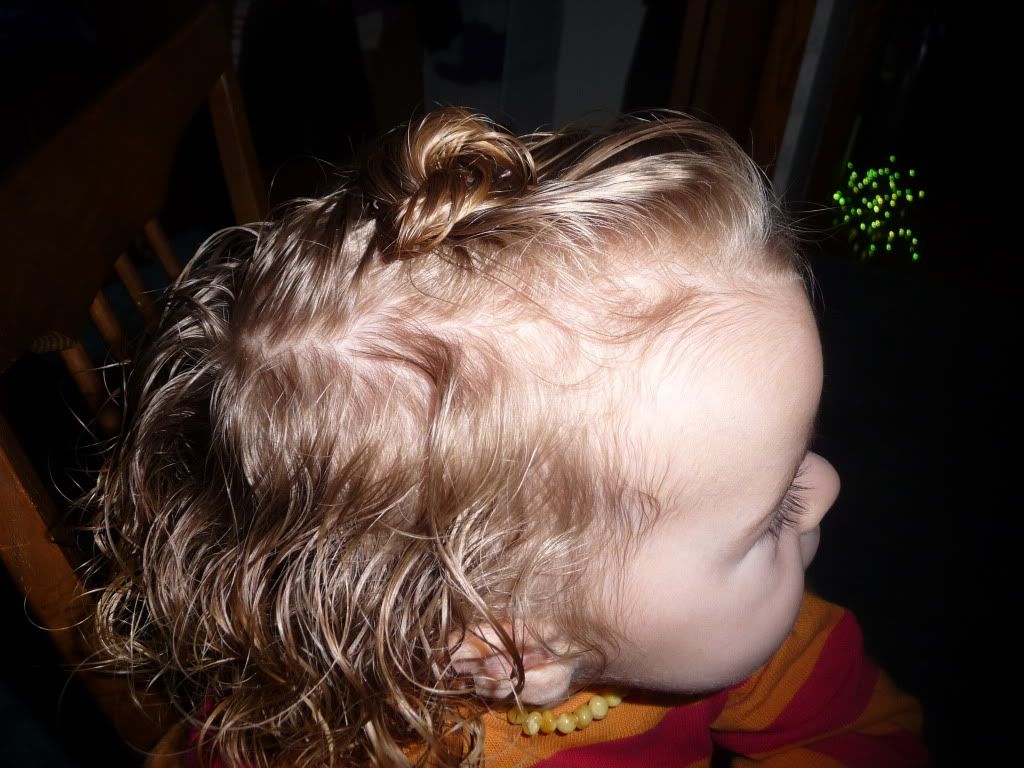
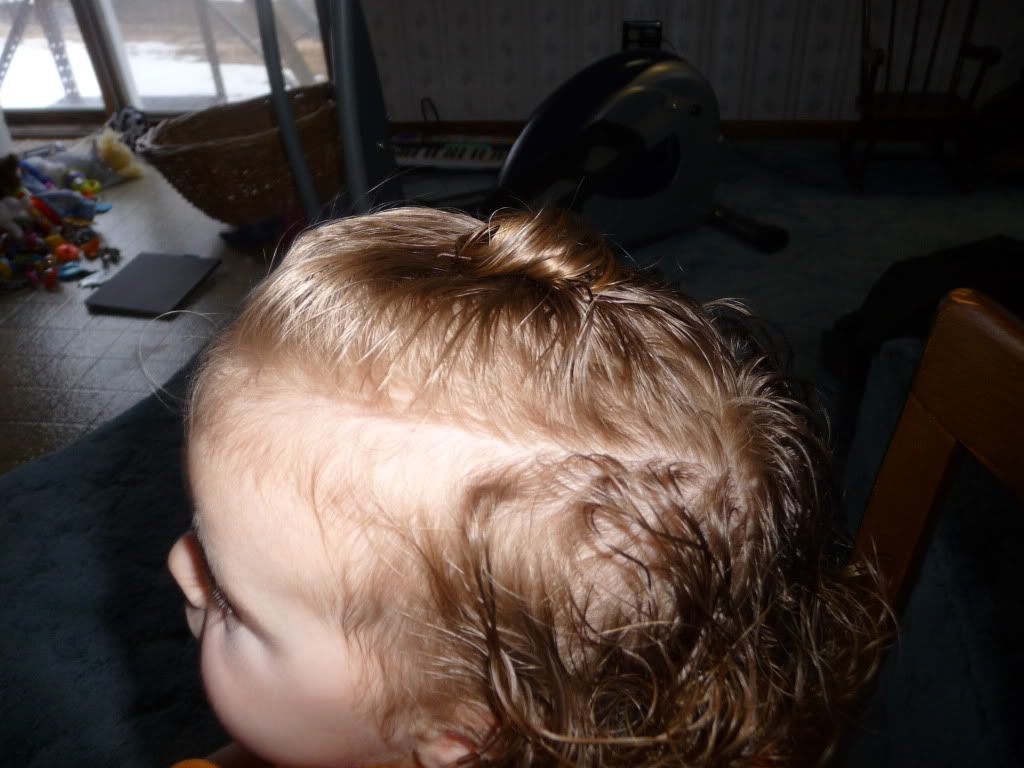
That's it!    I couldn't stop taking pictures of this one! As her hair dried, the bun took on different looks. It was soo cool!! I'll try to limit the number of pics I add, tho, and spare you millions of pictures that probably all look alike! lol


I wanted a "soft" look, not pulled tight and flat - so that's why I tried leaving the bounce of hair up front.


(with a tiny flower on a bobby pin to the side of the bun - a nice bit of color, I thought.)