Showing posts with label clips. Show all posts

Random Little Clips in Short Hair


Pretty self-explanatory :)


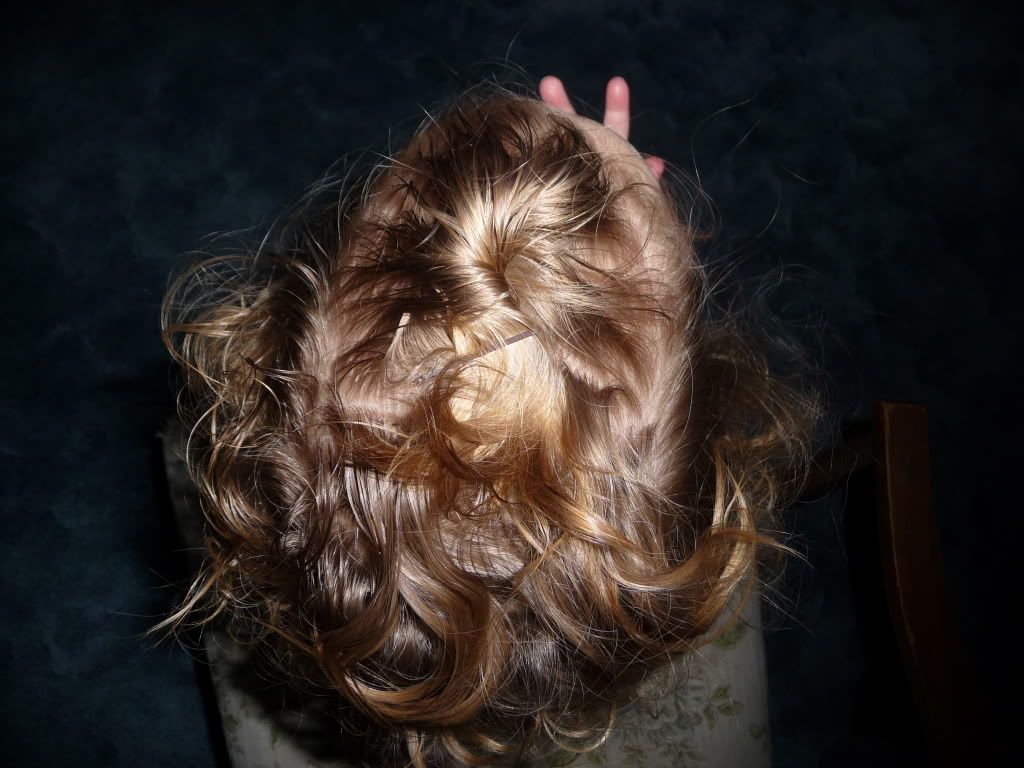
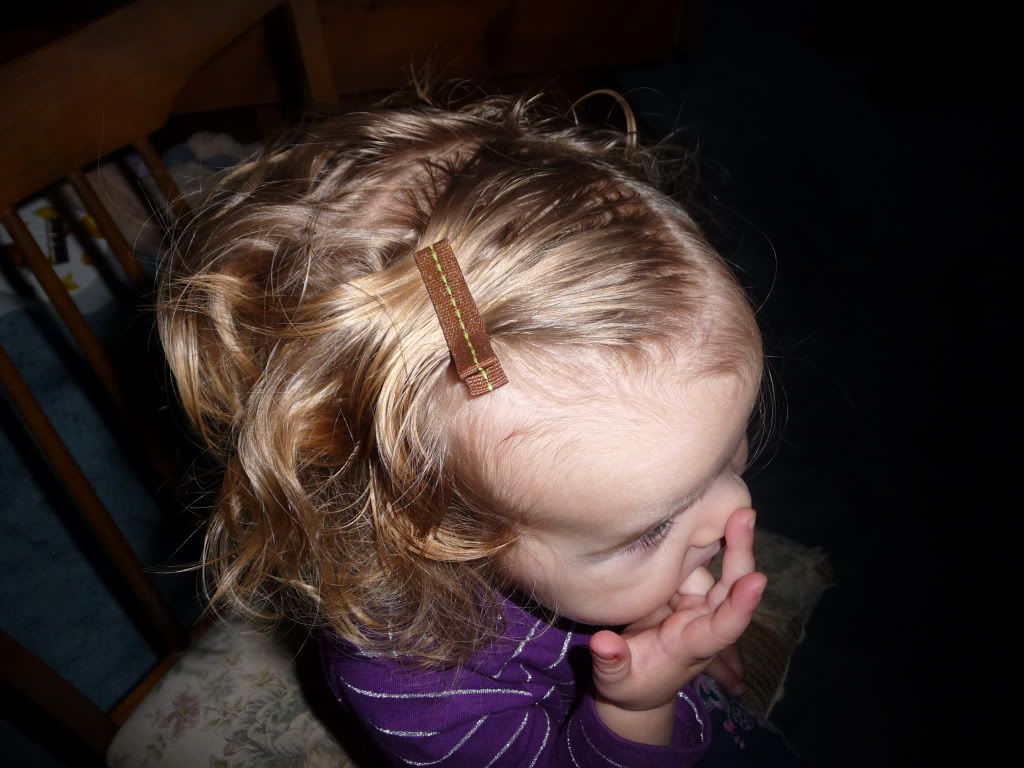
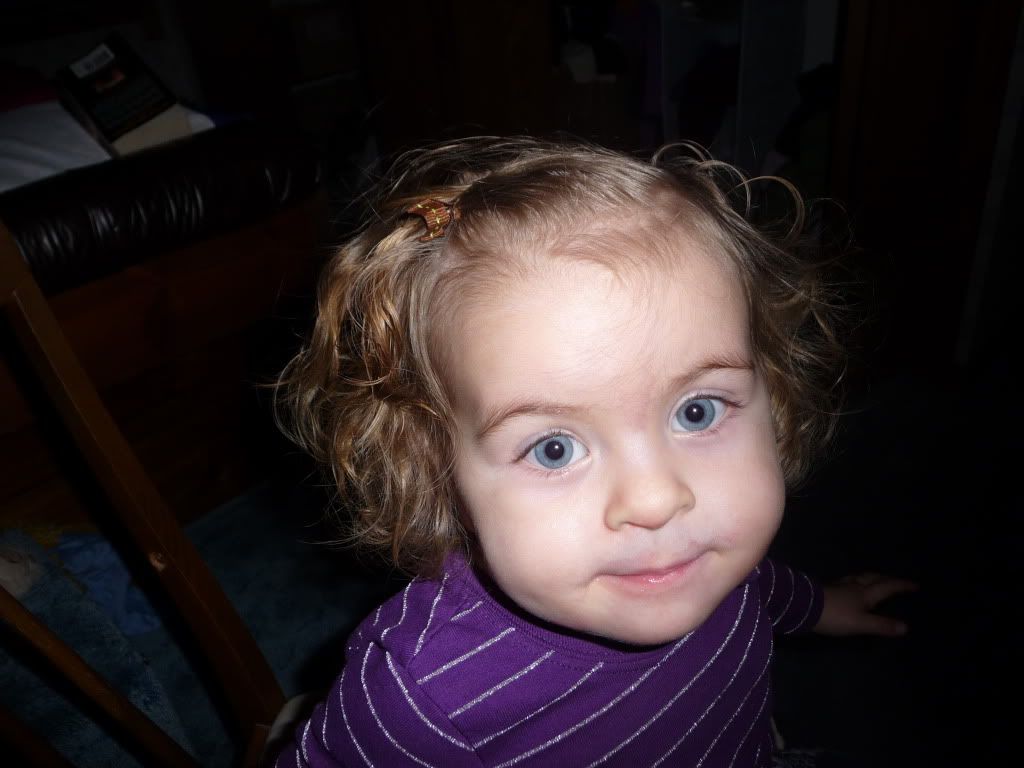
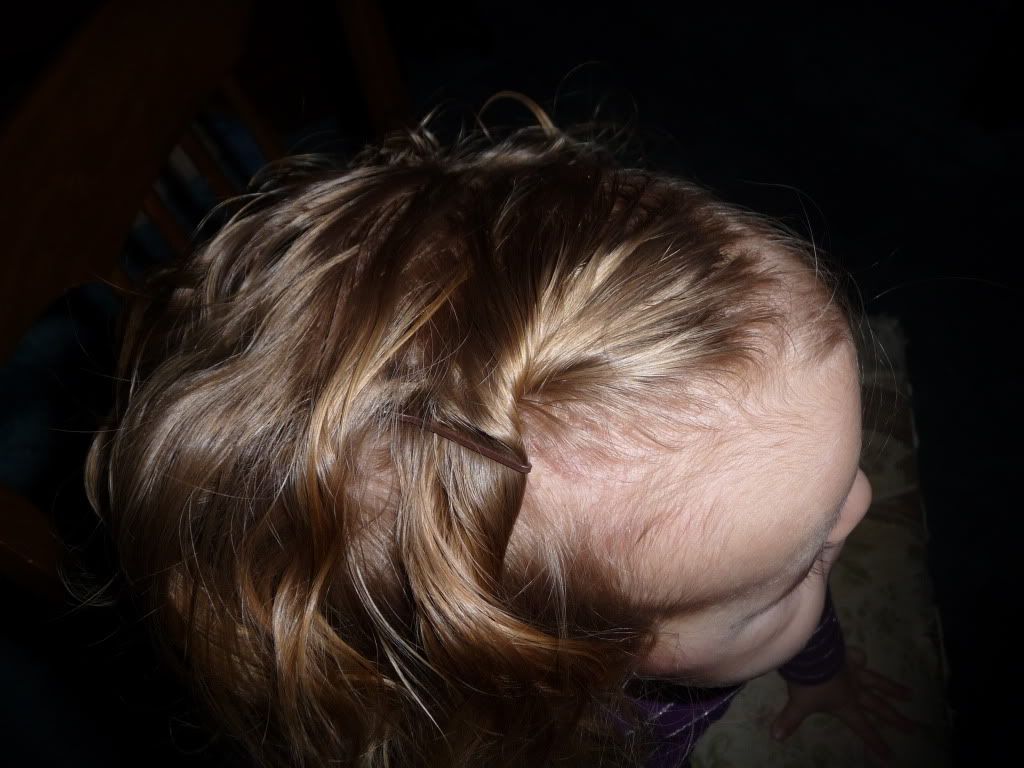
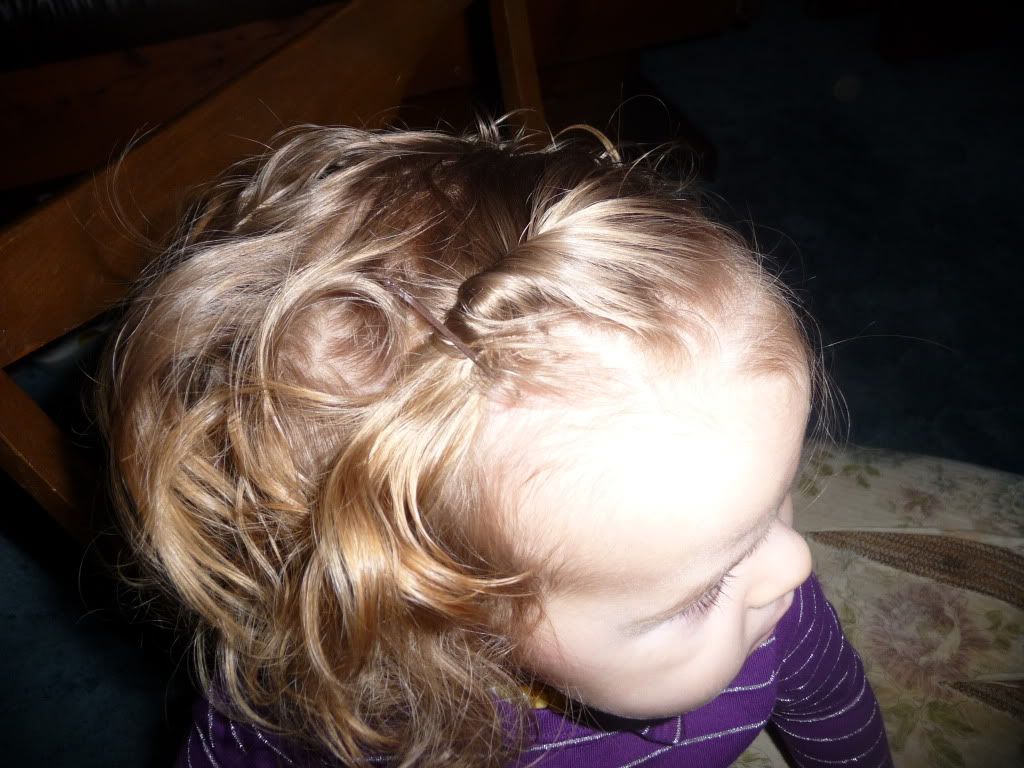
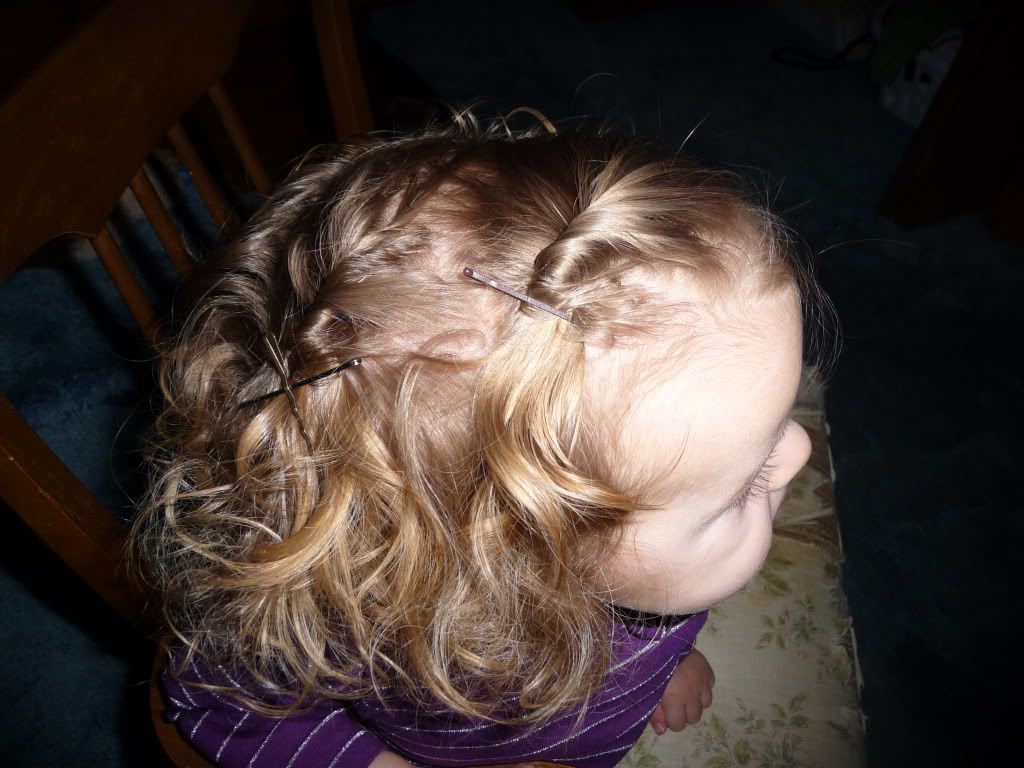
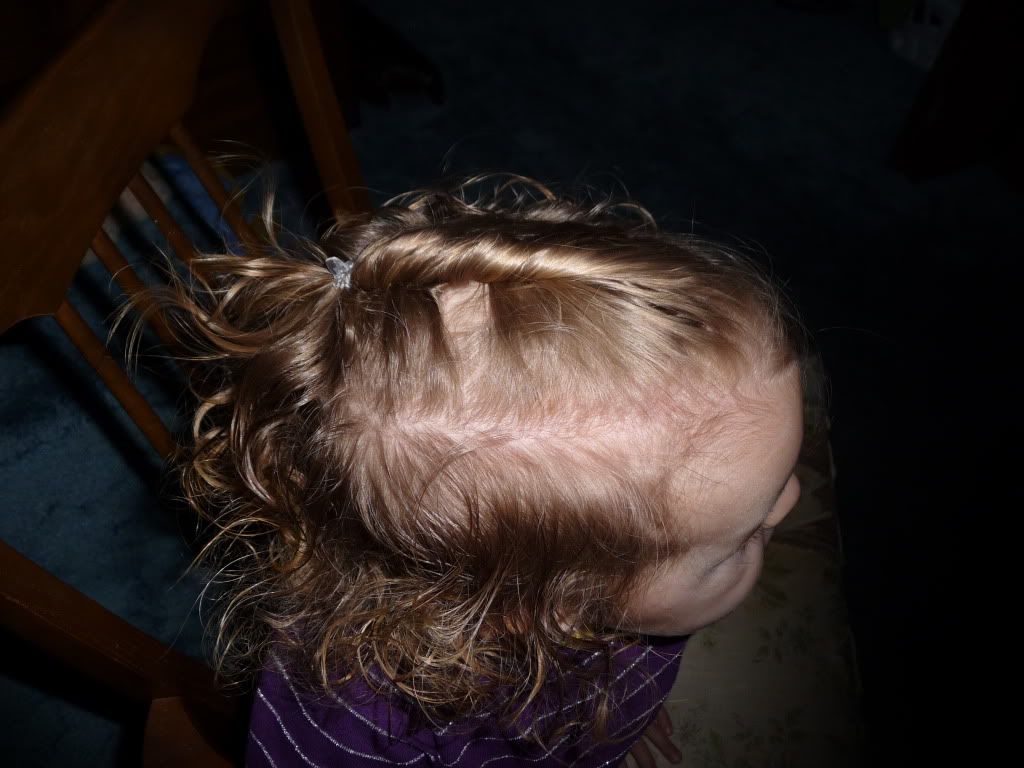
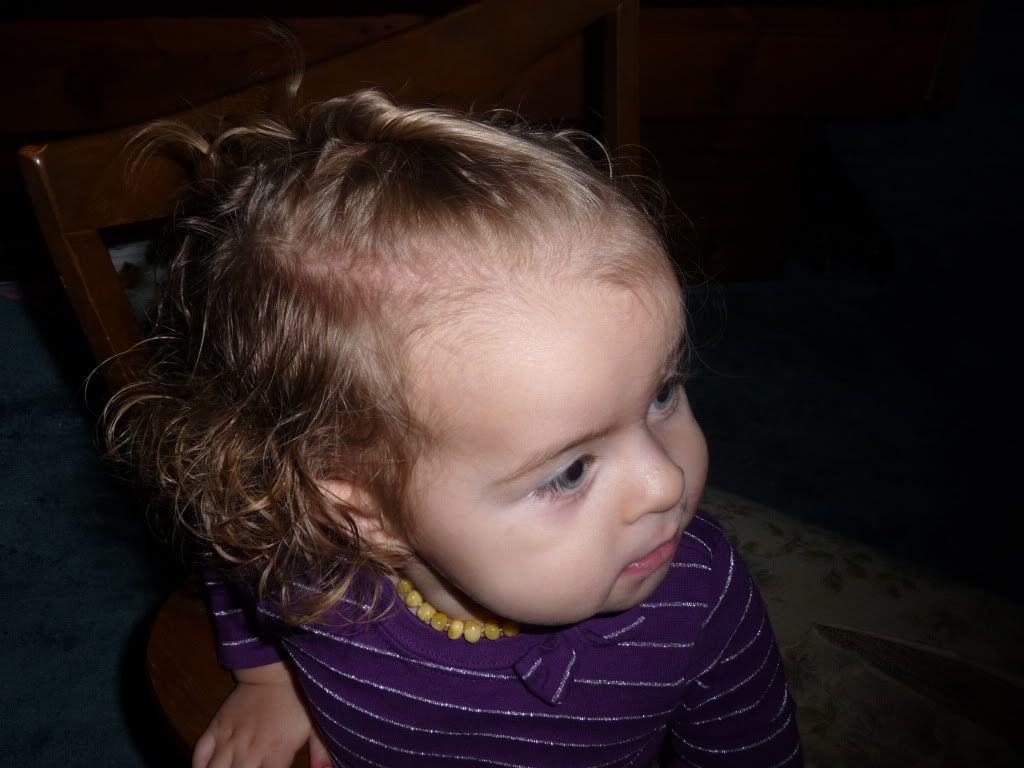
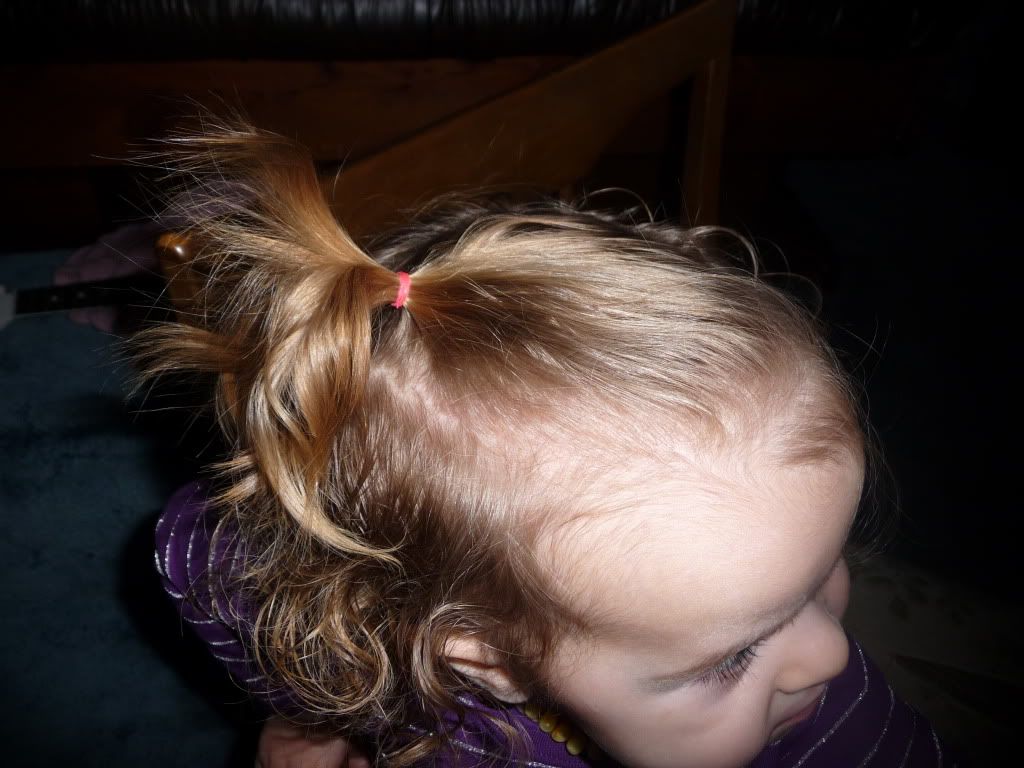
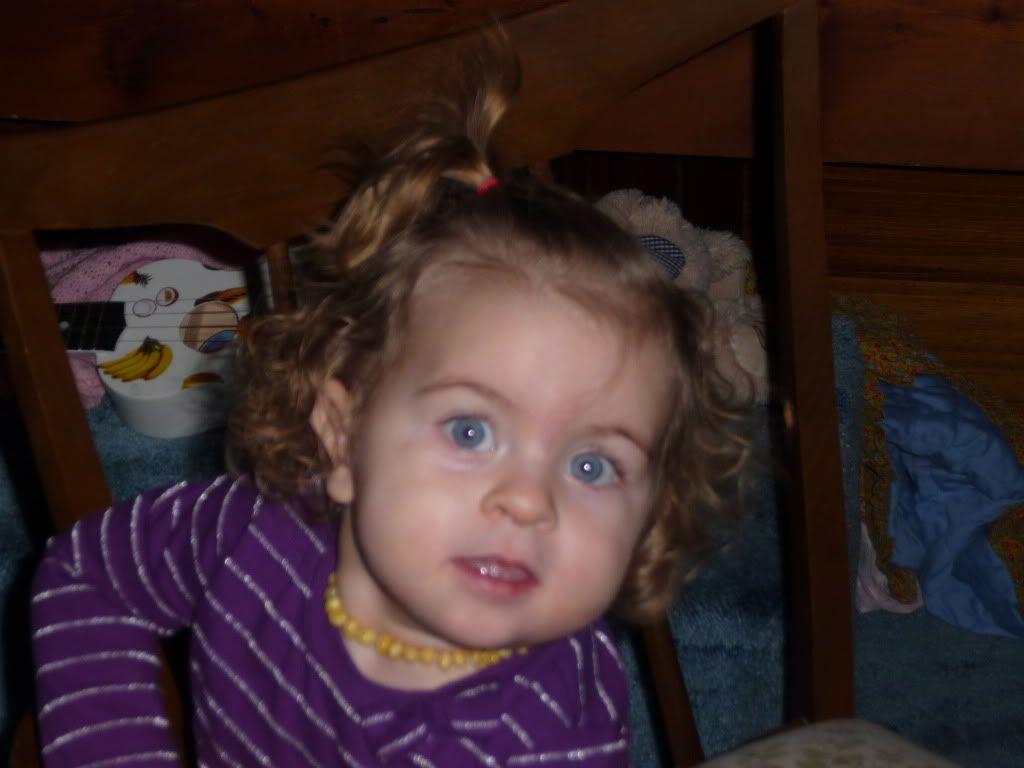
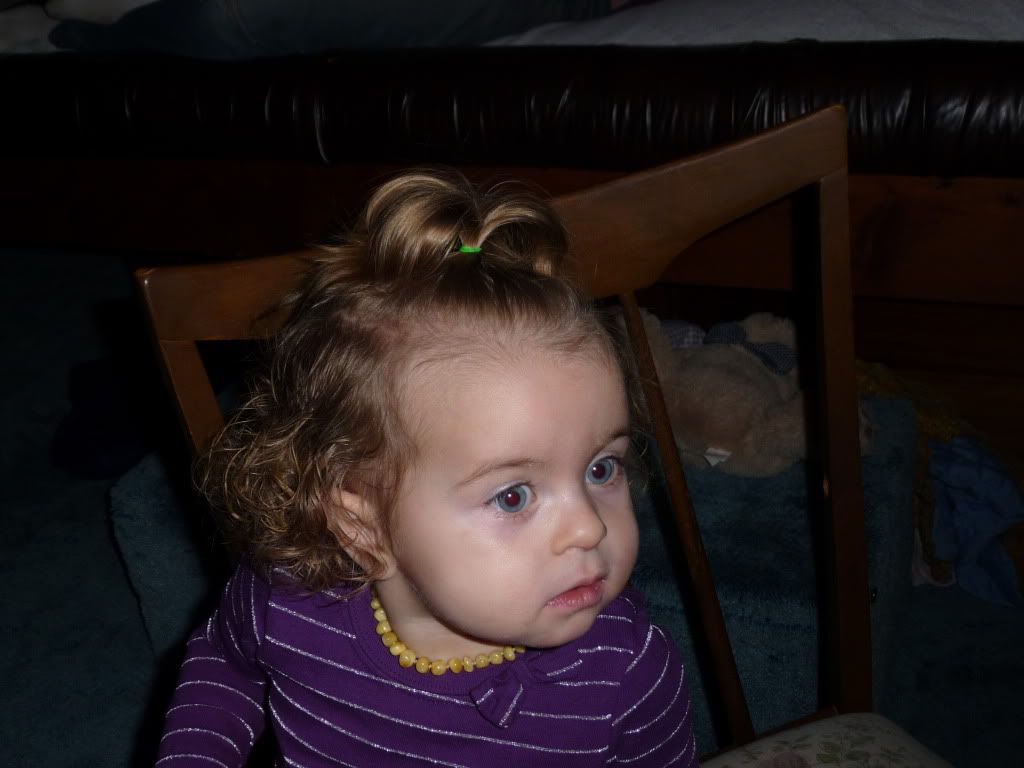
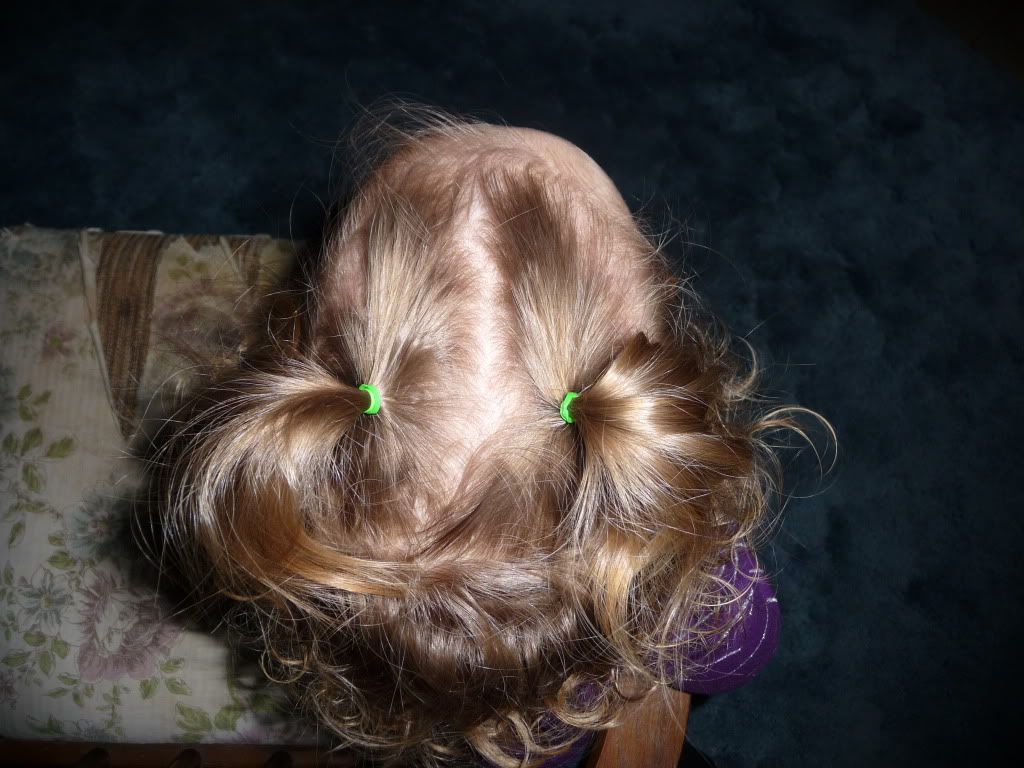
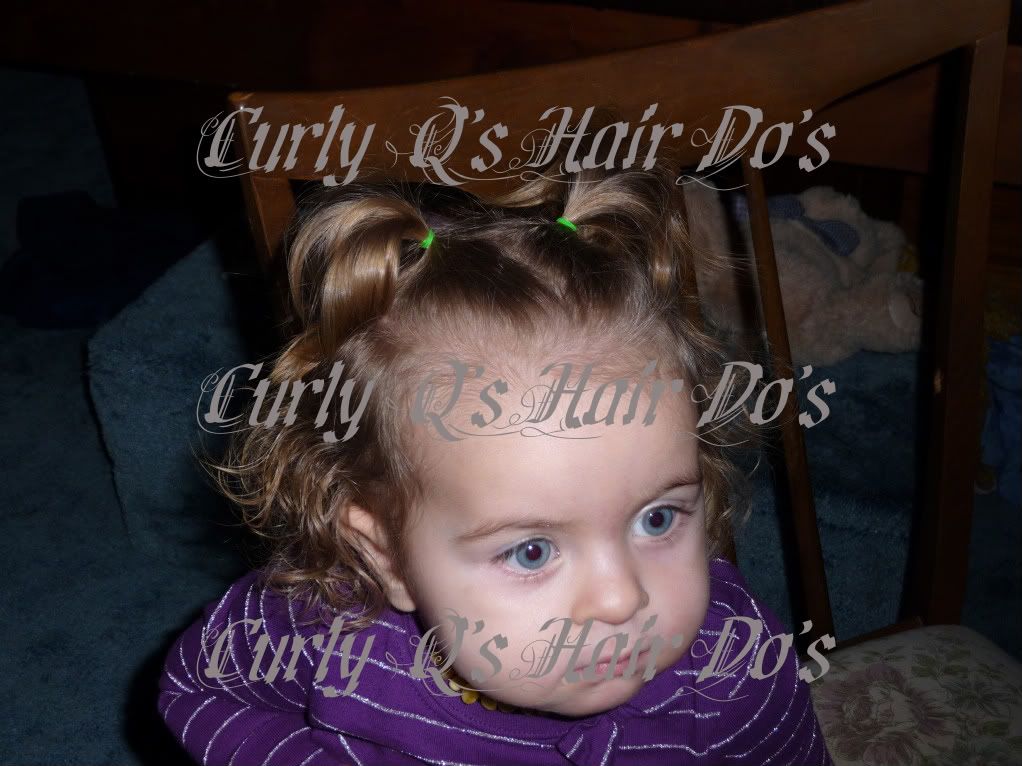
This hairstyle was designed by my desire to keep Q's bangs out of her eyes, and the desire to encourage her hair to curl on the top of her head. The curl part didn't really work, but I thought the result was cute and her hair stayed out of her eyes!


Have fun!


Three Days of Three Braids - Day Three

The Final Installment :)

This hairdo was kinda wacky - but I liked it!
I took out the elastic holding the first braid, and then twisted the braid (and the loose hair under it) back toward the back of Q's head, including the other two braids as I went. I made a twist on the other side of her head as well and pinned both twists, creating a sort of cascade of curls in the back! :)


The pictures aren't as great as I would have liked - but in this one you can see the twist behind the braid - It kind of swoops around ...


And there's the other side. Yummy apple! Thanks Daddy! :)


I hope you enjoyed the Three Days of Three Braids! :)
Hair styles can be very versatile! No need to start completely over each day - unless you want to!

... to see what we did the next day, go to THIS post.

Three Days of Three Braids - Day Two

Here's our slight variation for Day 2 - 

tiny claw clips!

I just twisted the ends of the braids around the base of the braid, then attached the claw clip to hold it together!


Don't forget to check tomorrow for Day 3! ...

Three Days of Three Braids - Day One

We braided a 3 cornrow headband - and it stayed for 3 days! 
(How appropriate, right?! lol)

Here's Day 1:


(try to ignore the oh-so-sad face in the mirror, I promise I'm  not torturing her!)

Come back tomorrow to see how we varied it for Day 2 ... !!

Un-Braided Hairdo

This one is after a 3 day stint in braids!
(posts coming with all the variations we did on that theme!)

We used the wavy undone braid hair and went with it! Instead of trying to start all over (no time for a bath this morning - this was our mother's day 'do! lol)


It's hard to see in that picture, but her braids had been in a headband type of design, so I left the parts where they wanted to go and bobby pinned the sides back on each side. Nice and loose so that the wavy hair kept it's wave. :)


Then when I had the bobby pins crossed in an X where I wanted them, I added a bow over the top to draw attention away from the bobby pins and more toward the accessory :)


And then ... I thought I'd just add a couple pics from our Mother's Day :) Just for fun!


Getting ready for church ... quickly!

All-time favorite past-time ... wearing the hair ties as bracelets!

And my personal favorite...
about 5 minutes before we need to leave the house...

Q decided to put on mascara!!!! By herself!!
Well you gotta get dressed up for church, ya know!

Note to self: Q can now open twist on/off containers! .. like mascara tubes!

awwww, they grow up so fast! LOL

Ideas for Baby Hairstyles

This post is a long time in coming - So Sorry!

I had an email request for some ideas of styles for BABIES! I sadly realized that Q is not a baby anymore! :)  But she's still pretty close, so here are some ideas for those tiny little baby hairs... Please feel free to email (or upload to Facebook!) pictures of your little baby's hairdo's!!

The first one is a tiny little clip on the side. I really like these tiny clips when working with fine thin hair. Plus they just look so cute and delicate on small heads!


Or you can use the regular size clips - Does anyone know the proper name for this style of clip??!
This picture shows the size difference....


Or you can split the hair in two parts and hold each back with a clip.
(I would say "part" the hair - but just getting it to split into two sections might be more than enough to ask on a wiggly baby!! Straight parts are NOT important while doing baby hair!)

This is the same style, but the hair is being held with tiny claw clips instead. I find clips faster to put in baby hair than elastics - however Q always liked to pull clips out! But she would leave elastics in, so we generally favored elastic hair bands. (or the soft fuzzy - but still stretchy - kind.)

In my opinion, claw clips work best on hair that is a little thicker, whereas the snap clips (name?!) work great on thin or thick hair.


and here is an example of the first style, but using a claw clip instead (the "bangs" hair is pulled to the side and clipped.)


Close ups! lol!! (so you can see what I mean by "tiny" in relation to my fingers!)
Tiny claw clip...

This is a little flower clip that we were given as a baby gift. They actually work quite well - you can see the little "claw" to grip the hair... You could use this in the same way I've shown so far... or you can add it to a style to dress up a normal 'do.


This is a classic baby ponytail - my little niece sports the best kind! :D Her fine, beautiful baby hair sticks Straight up in the air when she has a ponytail in like this. She also (one day anyway) was wearing it really close to her forehead, just like this - which worked well because the hair coming from the crown of her head is really long (which tends to be common in babies, I think)


And, like I mentioned above - any little 'do (ponytails especially) can be dressed up with a bow or other added clip! That way, you get a lot of variety out of the same basic style - just by changing the bow :)

Same idea - but started with the ponytail on the side, then added a bow! 


I hope these help!! If you are looking for other ideas and haven't seen this post yet - take a look! 
Enjoy! and as always, feel free to share your own pictures!

Triple Clip Simple Twist

Here's a quick and easy style that I thought was pretty cute!  I actually thought I had already posted it - but I looked, and I don't think I have!


As you can see, all I did was to comb her hair over to the left, then part it in 3 sections. I twisted the first section (while holding it out to the side of her head) and then pulled it straight back and clipped it.

Then I did the same to the second section of Q's hair.

And then the third! (which I'm in the middle of twisting in the previous picture)


That's it! As you can see, I let the twists lay over the previous clip if they wanted to.

What do you think?? :)

Simple Styles

I was just playing around with Q's hair today (as she watched a movie!) and thought I'd take some pictures of some simple styles. These would be great if you don't have much time, or if your little one doesn't feel like sitting still!

For this one I took all the front and center hair and twisted it, then added one of those new short bobby pins. (Love those! They work really nicely on small heads with fine hair!) 
I also sort of scooted the hair forward before I pinned it, so that it bunched up a bit in front - kind of like how teens are wearing their bangs these days :) You could add as much "bunch" as you want - or none - depending on your mood of the day!

 
This one's pretty self explanatory - I combed Q's hair to the side (brush, comb, fingers - whatever works!) and added a clip!
And from the front... lol!


Same idea, but I twisted the hair forward before I added the short bobby pin (instead of clip, this time.)

 
Or you could twist the hair to the back and then clip it. You can also see a difference in how they look when I twist them just a little, as opposed to more twist. (This picture has more twist!)

 
Or you could do more than one twist!
(Notice how I made an X shape out of the bobby pins in the second twist? They stay in better that way, kinda locks them on. Especially with the normal bobby pins like these are. I don't find I need to do that as much when I use the shorter ones...)


For this one I took up a section of about half of her "top" hair and twisted it lots, then I moved my hand back and added the rest of that "top" hair and twisted that quite a bit - and finished it off by clipping it with a tiny claw clip. (You could use this kind of clip for any other the other styles so far, too. It's just whatever you like! ...and whatever your kiddo won't pull out...

Front-ish View


Or you can do little ponytails! This one is kinda off to the side a bit.

Front-ish View!
 
(sorry for the blurriness!)


And of course there's the classic One on Top! (These always remind me of a certain brand of doll that came out when I was a kid, but I can never remember what they were called! They had one tuft of hair on the top of their head that looked just like this! lol)

Then if you want to make it just a little trickier...Two on Top!

 
(I generally don't worry about straight parts on little heads with short attention spans!)
and from the Front...
Wow! LOOK at that TV face! Yikes! lol

Well, I hope you enjoyed those! I know they're pretty basic, but they were fun to do anyway! And I find it's always good to have some basics in your "toolbelt" for those busy days - cuz we still need to keep their hair out of their eyes!