Showing posts with label ponytails. Show all posts

Something a little different -

But not by much!! Here is a variation on the same theme that I seem stuck on lately ... pigtails! But who doesn't love pigtails on little girls anyway??


For this hairstyle I pulled all her front "bangs" hair to the side and added a soft hair elastic -


Then gathered all the hair up into two pigtails! Isn't her hair getting long?!  (for comparison's sake... go HERE!)

Make sure that the "Tail" from the first pony is included in the left hand pigtail to get this look.

Braid Out Pigtails

After having braided Q's hair in Box Braids (pictures coming!), this is what we did! 
When the braids came out her hair was kinda kinky - so without combing it (gently finger separated tho) I put it in pigtails!


Notice how because the part in front is way over on the side - that in back it needs to swerve over to the other side to balance out the amount of hair in the pigtails. Otherwise you'll end up with one big ponytail and one tiny one!


Kinda of like Frizzy Pigtails, but without the frizz :) Nice and moisturized instead!


Cute! Don't you think?!
(except for the zoned TV eyes. lol)

Toddler Park Ponytail Mohawk!


This hair style was made out of a strong desire for calm hair on a windy day!
We were heading to the park and I wanted some way to keep Q's short curly hair from becoming a terrible "rats nest" :)
(with longer hair I probably would have just gotten away with one big ponytail or messy bun, but her hair is too short for that yet! So we got creative.)

I took her existing (not post-worthy, lol!) style from earlier in the day and just absorbed it into this...


I parted her hair from ear to ear in three sections.
Then I made a ponytail out of each section,
On the last time through the ponytail, I left the "tail" partway in the loop, so that the hair formed a loop :)


A little wacky and crazy, but I'm pretty confident that we'll use this hairstyle again! I liked it and it was incredibly functional :)

Puffy Elastic Toddler Ponytail

Here's another version of the toddler ponytail - when you want a ponytail but not all the hair is quite long enough! And this time I used softer hair ties (which are kinder to the hair than using the rubber elastics all the time)


I thought the look worked quite well with this shirt! (Which she would wear 24/7 if I'd let her!)


In case it's hard to tell in the pictures, I just made 3 small ponytails on the sides and top of her head - then brought them back into the "big" ponytail which included the rest of her hair.


Have a Happy Mother's Day!!

Frizzy Pig Tails!


As you can see I didn't take time to detangle or part her hair today! No time! But I still needed/wanted it to look cute cuz we were going to Grandma's house! The day before I decided to learn to embrace the frizz and tangles. There's no need to run from them Everyday, is there?!!

As it turns out, I loved this 'do! I think the little korker bows accent the frizz nicely :) 

(p.s. I'm back! The computer is fixed and I'm ready to roll! :D )

Super Quick Toddler Ponytail

Q's hair is almost long enough to put it all in one big ponytail! But not quite....


We were very short on time this morning, so I didn't even detangle her curls.

I gently separated her hair into five sections. One in front, one on each side, and one in the lower back. (the center was left free - but that would be the fifth section.)  Added a tiny little elastic to each section, then pulled them all up toward each other (including the hair in the middle - the 5th section!) Into one big ponytail! :D


You can see I was in much too much of a hurry to bother with straight parts! :)

I added a clip and coaxed the ponytail curls off to the side so they didn't over up the bow on the lip. A style like this (simple, kinda messy, kinda big) should really have a nice big accessory to go with it! Don't you think?? All I had were small ones... I better remedy that ASAP! lol

I want to add that I did detangle the curls in the ponytail - but you wouldn't have to! Especially since the rest is so fluffy and not straight! Let the frizz fly free! :)

Almost a Star

One day I'll post a "real" star - with that 5th line in there :) But for now, this will have to do!
 

I'm not super proud of this one, actually. But my sweet hubby complimented me on it at least twice today! :) I think I'd like it more once I practiced it a bit and got the "kinks" out. But it's not bad.
First I combed out Q's hair with a wide tooth comb, while it was wet. Starting at the bottom of course! :) Then I parted her hair down the center and made two diagonal parts in the front.


(Temporary clips are holding some of the hair out of the way, while still keeping that center part.)
Then I added two tiny elastics to each side of the front hair.


Next, (I wish I had thought to grab the hair gel) I combed the right side "extra" hair (the part in the clip) nice and flat, then I rolled/twisted each strand of hair from the tiny ponytails on the LEFT side of her head...and put all of that (3 pieces) into an elastic.

(I wish I had combed down the left side "extra" hair, too - ah hindsight, you are 20/20!)

and lastly, I attempted to smooth out the hair under the two twists, then rolled/twisted the RIGHT side ponytails and brought them over to the LEFT side to join with the ponytail I was making out of that "extra" hair. But before I did that - I sort of weaved them thru the twists already in place. The one closest to the front of her head went over the first twist and under the second. The twist closer to her ear went under the first twist and over the second. :) I hope that made sense!! :)


...and from the front ...


And there you have it! That's all! Another version of glorified pig-tails! 
This kind of style is actually pretty common. One of my favorite hair blogs has a great style very close to this, except that she's using it to dress up a headband! Totally cool! :)


And my new FAVORITE picture!! :)  It's Me and Q! I took the pic and she even smiled! :D 
(Don't mind my ultra boring hair - that what it alllllways looks like! See why I love curls?!)

Mini Ponytails and Tiny Claw Clips

This one is pretty basic. I just ended it differently than before :)

(her hair was still wet from detangling in this picture)


To do this hairstyle, I just parted Q's hair in half down the middle and then put 3 little ponytails in on each side. So we ended up with 6 little ponytails total. Then I added a claw clip to each ponytail!

Here are more step by step pictures to get that far. :) (This is actually the style I was setting out to do - but then changed my mind mid-style.)

The Diamond 'Do

Now there's a spiffy name :) lol


Another variation of Step Ponies! I started by brushing her hair forward


I made a ponytail in the back- and one in the front


(I'm just holding that middle hair out of the way so we can see the two ponytails.)

Then I parted that middle hair. I also parted each ponytail in half. Then I made a new ponytail including all the newly parted strands - as you can see below :)


Then I did the same on the other side and ended up with a diamond shape!
 

and from the front ...


A cute new way to jazz up the "two piggies" look :) What do you think?

Triple Braid Side Pony

Oh boy! What are my "names" coming to?! Anyway, here's a new one!


Don't mind the backgrounds today! Yikes! lol
Anyway, for this one I carefully detangled Q's hair with a wide toothed comb after wetting it thoroughly (like usual!) Then I brought all the top hair (the stuff that still likes to fall forward) to the side. I noticed I had been taking it all to the right side of her head lately - so today I changed it up and combed it to the left :)


Then I made a part along the side and divided that into two section. One section of hair I put in a temporary clip, the other I braided.


After I braided that one, I removed the clip and braided that section. Then I decided to do one more in her "bangs" area - up by her forehead (gotta keep it out of her eyes!) So I ended up with this...
 

Then flipping the braids out of the way, I brushed (combed) all the other hair into a side ponytail. Once that was smooth, I laid the braids over the top and tied it all off with the same elastic :)


She was wiggly today! Sorry for the poor quality pictures!
Anyway, that's it! I could have taken the elastics out at the end of each braid, but I didn't. I did make sure that the elastic that held the ponytail was closer to Q's head than the other elastics, tho, otherwise the braids would have slipped out. This style lasted well all day for us!

And of course we love the curls!


and one more just because :)
 
 (Notice her Baltic Amber Teething Necklace? I LOVE these things! I don't know how anyone survives without them!)

Simple Styles

I was just playing around with Q's hair today (as she watched a movie!) and thought I'd take some pictures of some simple styles. These would be great if you don't have much time, or if your little one doesn't feel like sitting still!

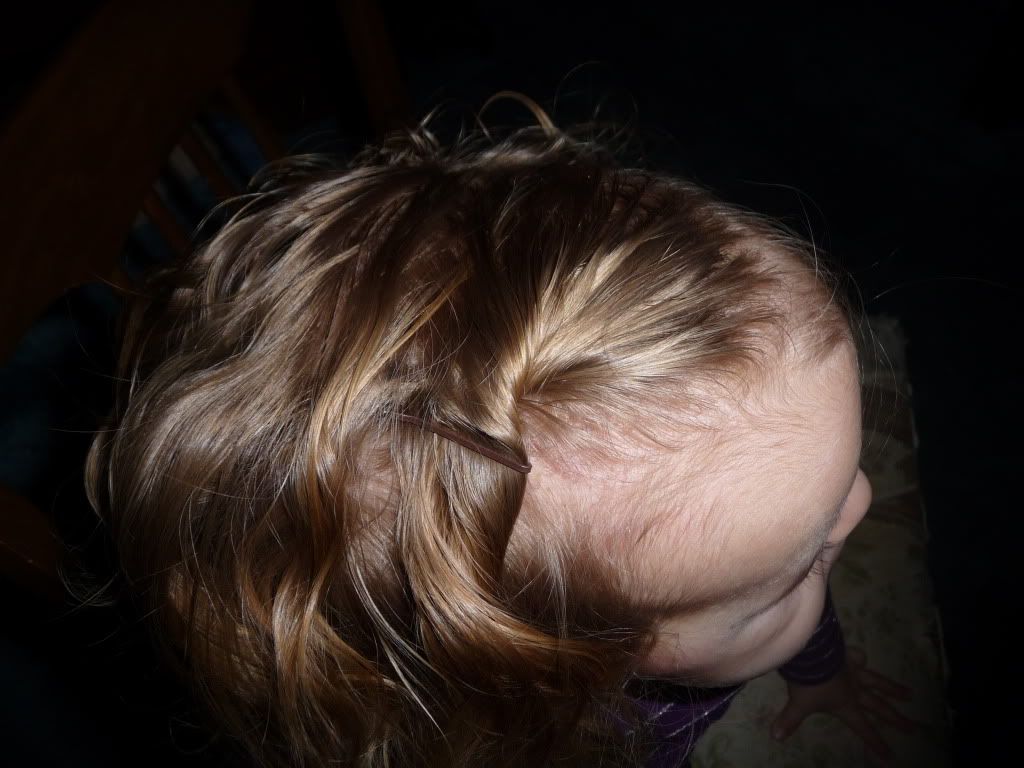
For this one I took all the front and center hair and twisted it, then added one of those new short bobby pins. (Love those! They work really nicely on small heads with fine hair!) 
I also sort of scooted the hair forward before I pinned it, so that it bunched up a bit in front - kind of like how teens are wearing their bangs these days :) You could add as much "bunch" as you want - or none - depending on your mood of the day!

 
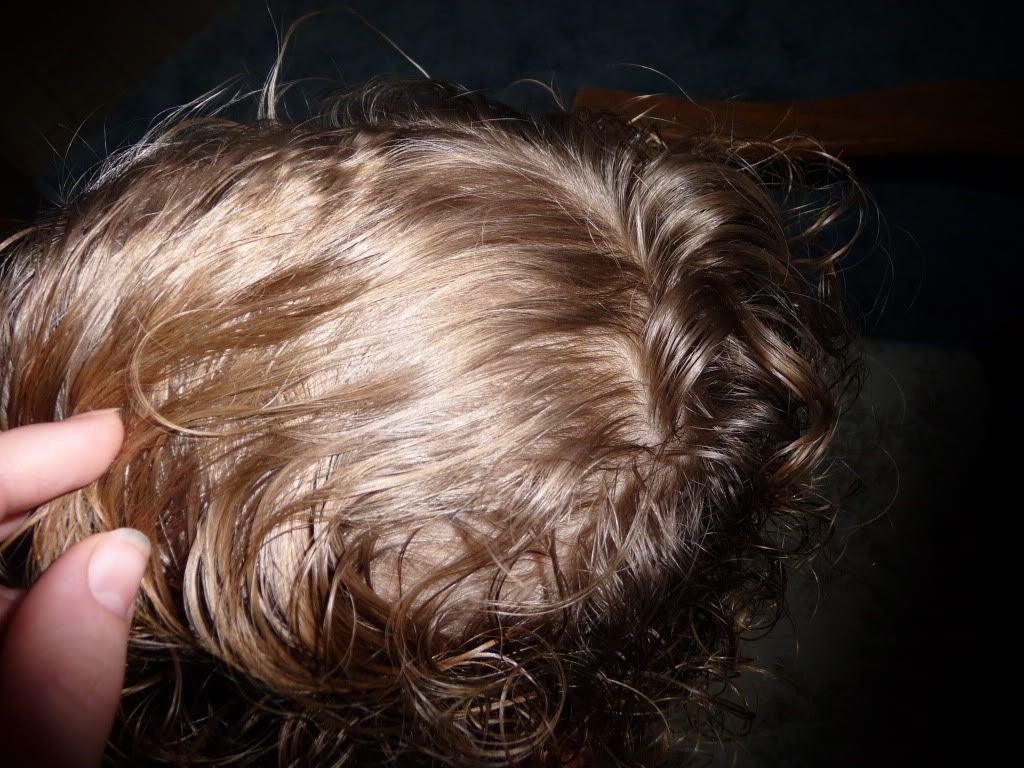
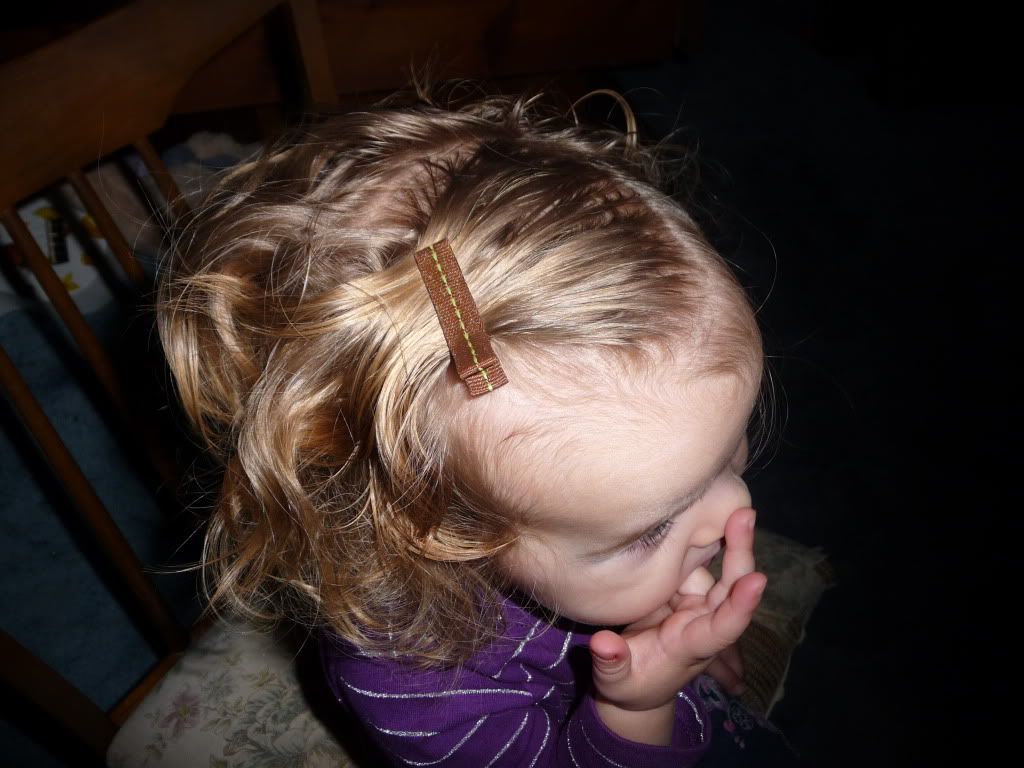
This one's pretty self explanatory - I combed Q's hair to the side (brush, comb, fingers - whatever works!) and added a clip!
And from the front... lol!


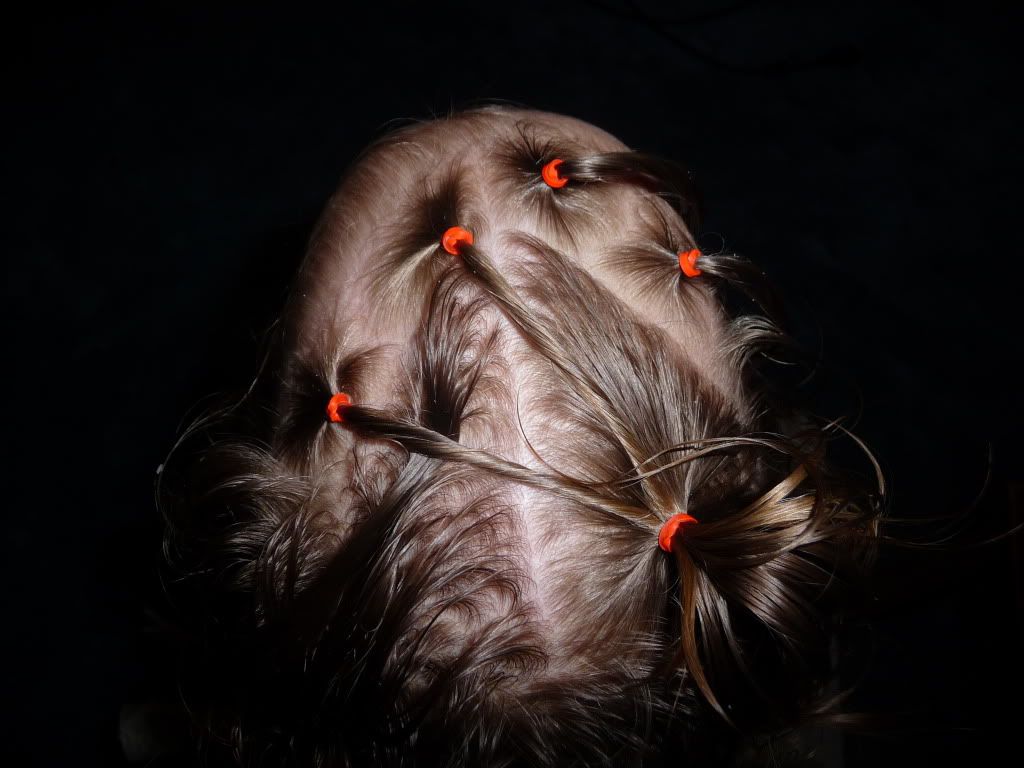
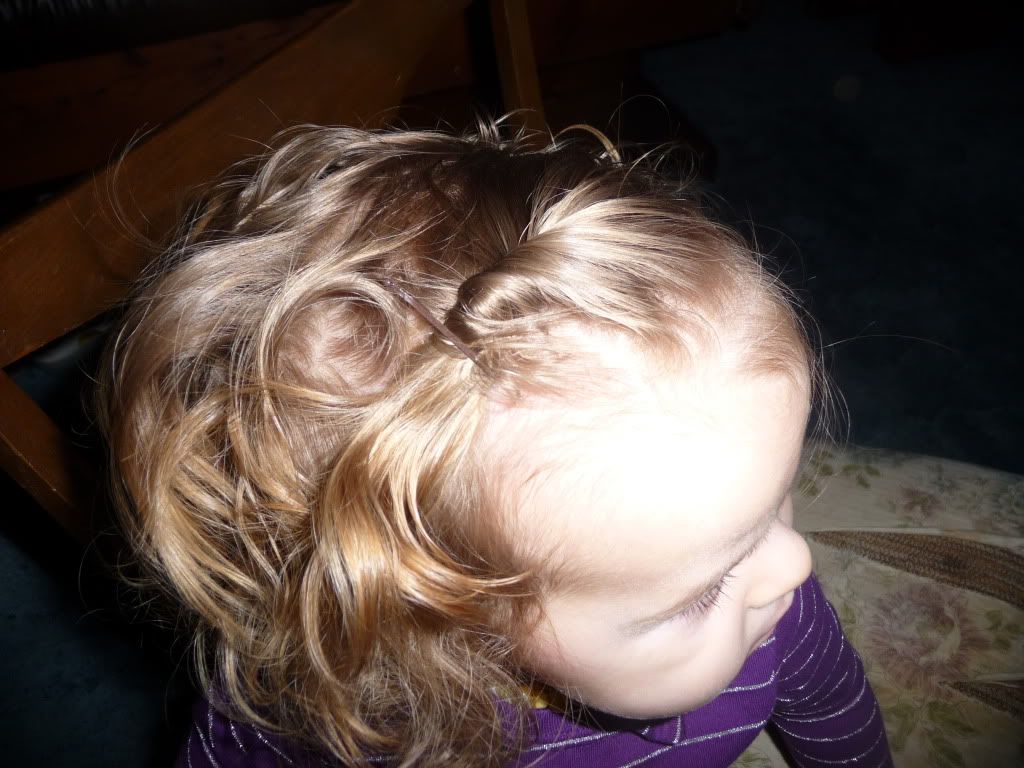
Same idea, but I twisted the hair forward before I added the short bobby pin (instead of clip, this time.)

 
Or you could twist the hair to the back and then clip it. You can also see a difference in how they look when I twist them just a little, as opposed to more twist. (This picture has more twist!)

 
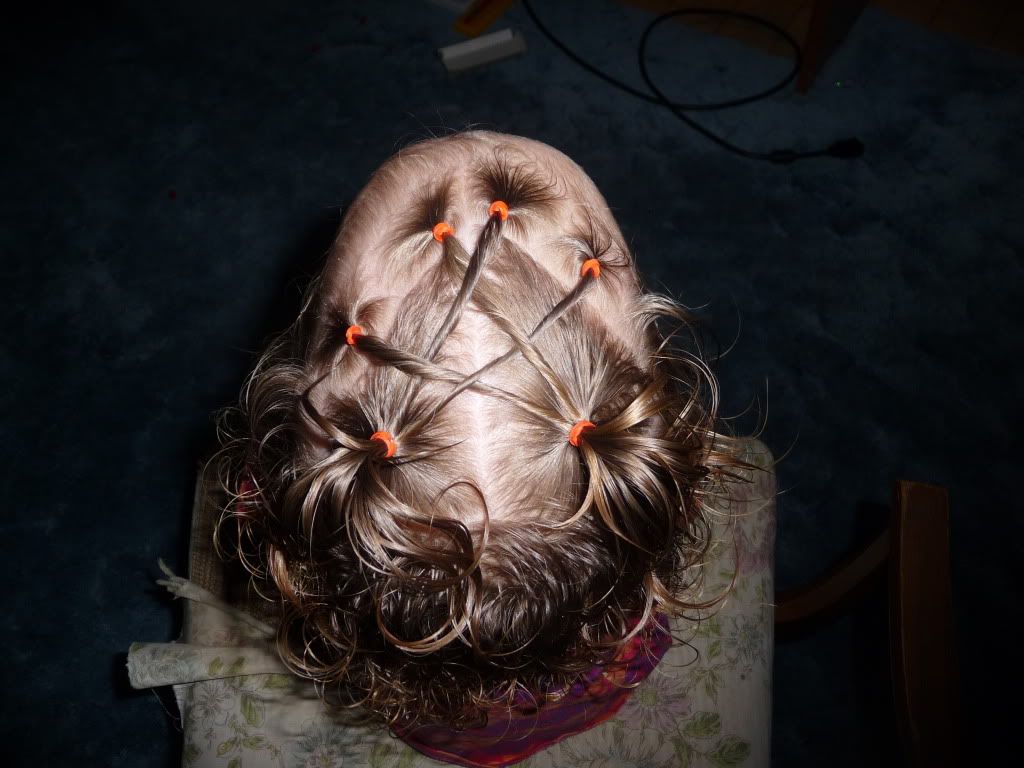
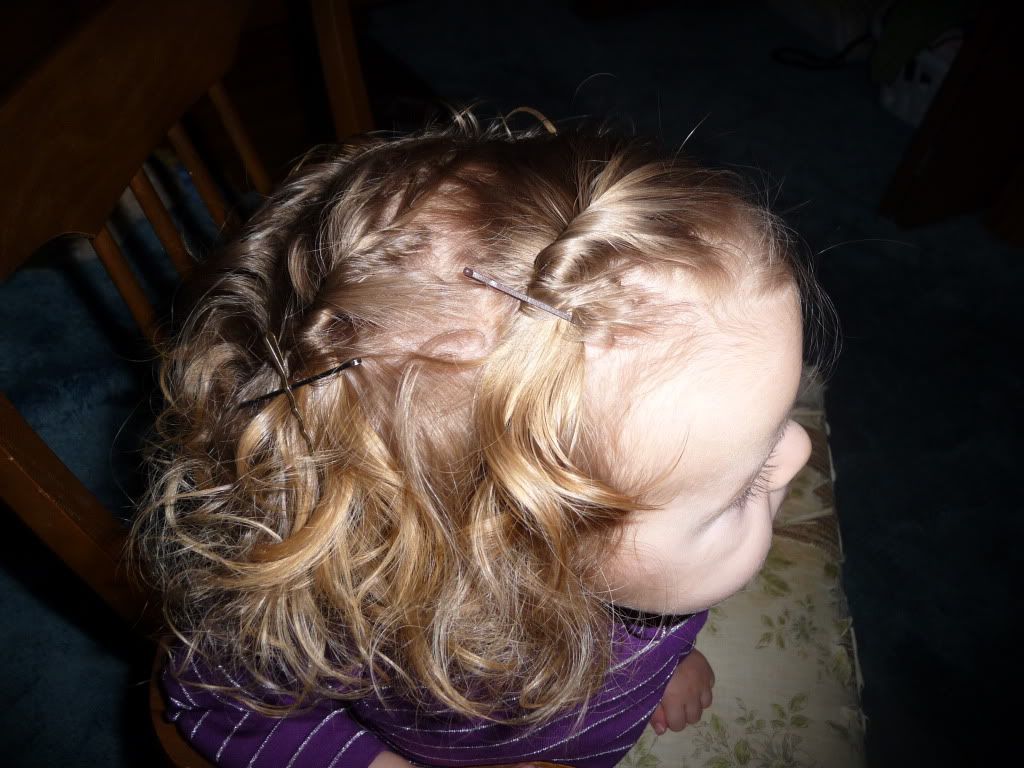
Or you could do more than one twist!
(Notice how I made an X shape out of the bobby pins in the second twist? They stay in better that way, kinda locks them on. Especially with the normal bobby pins like these are. I don't find I need to do that as much when I use the shorter ones...)


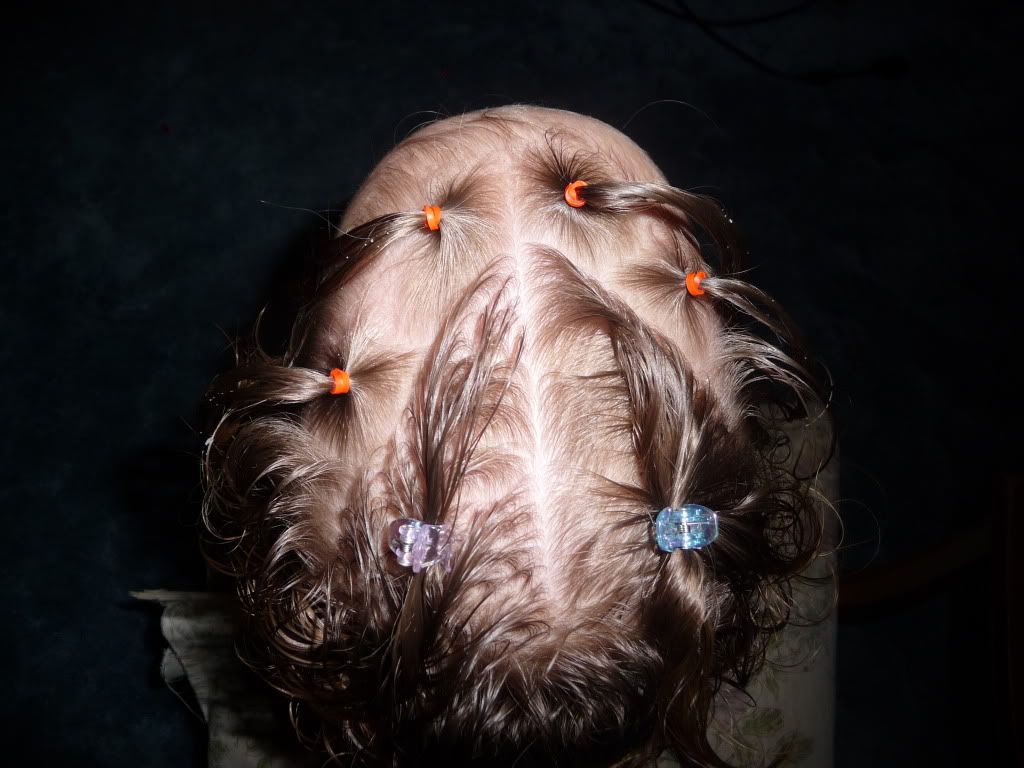
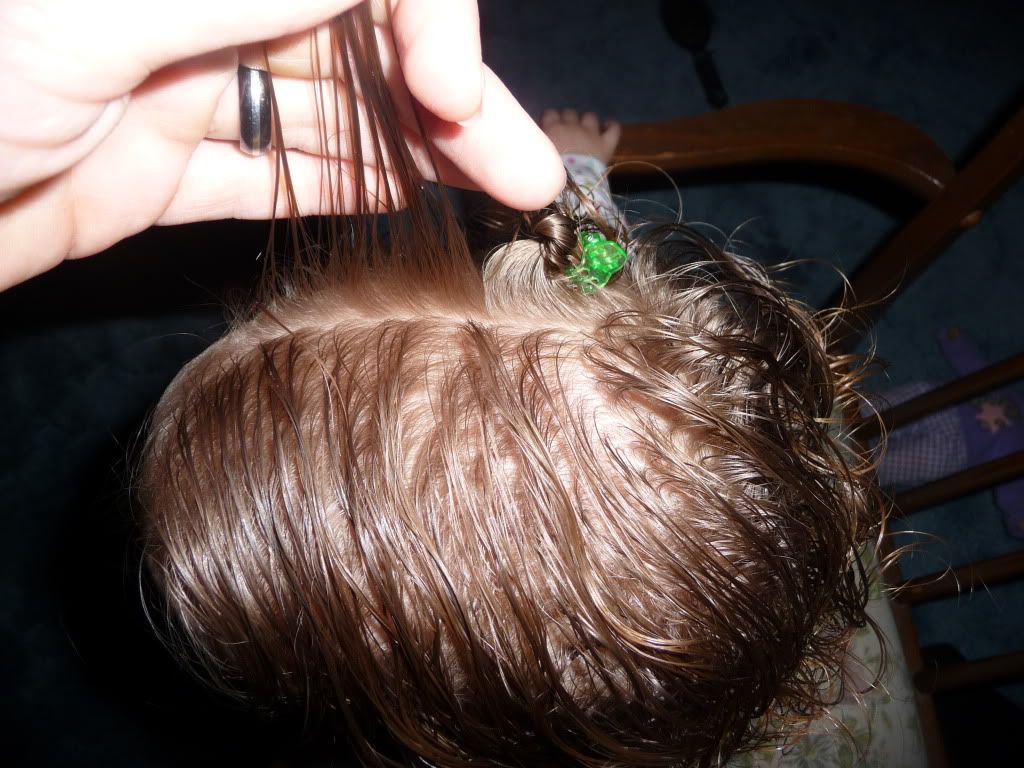
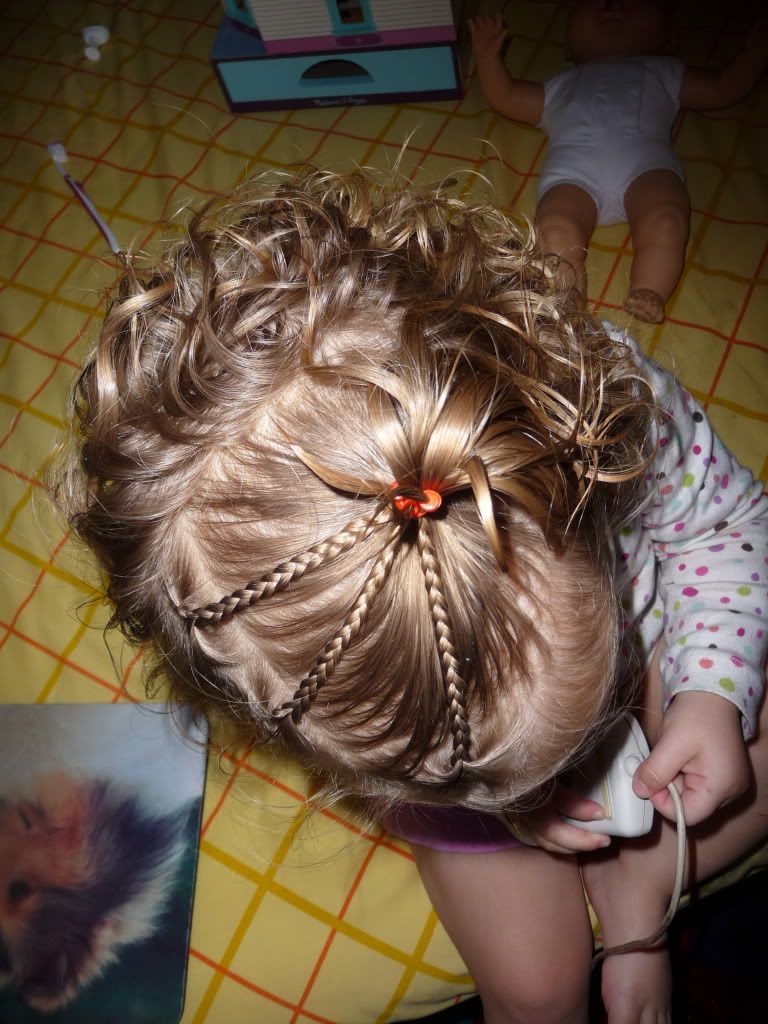
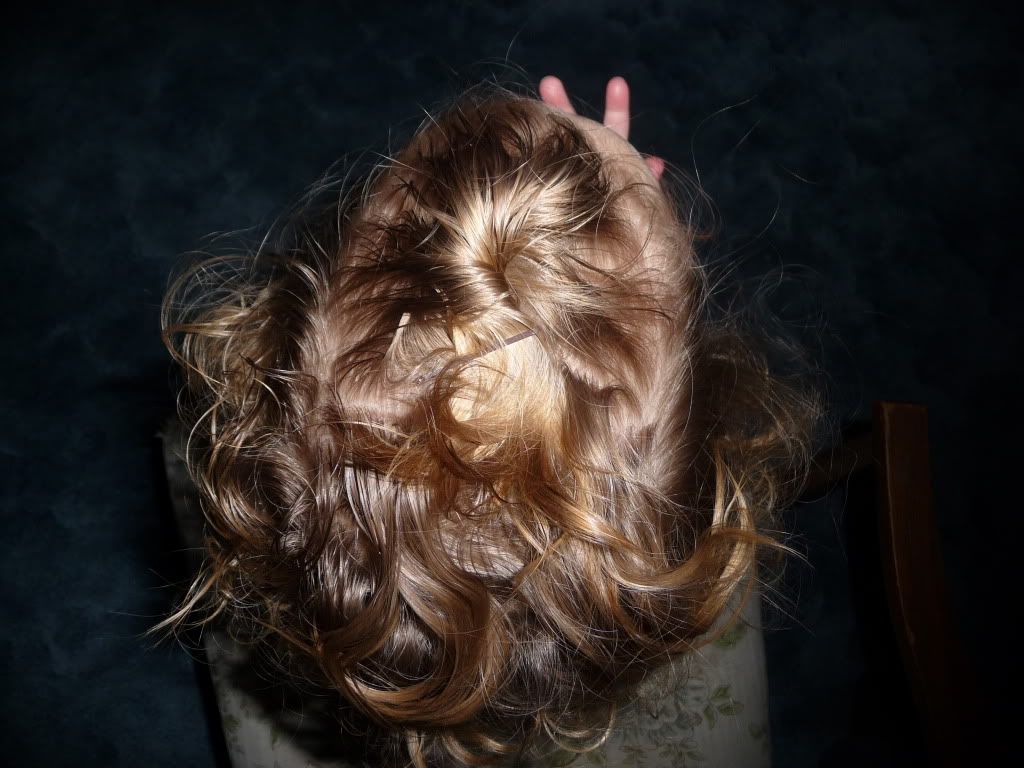
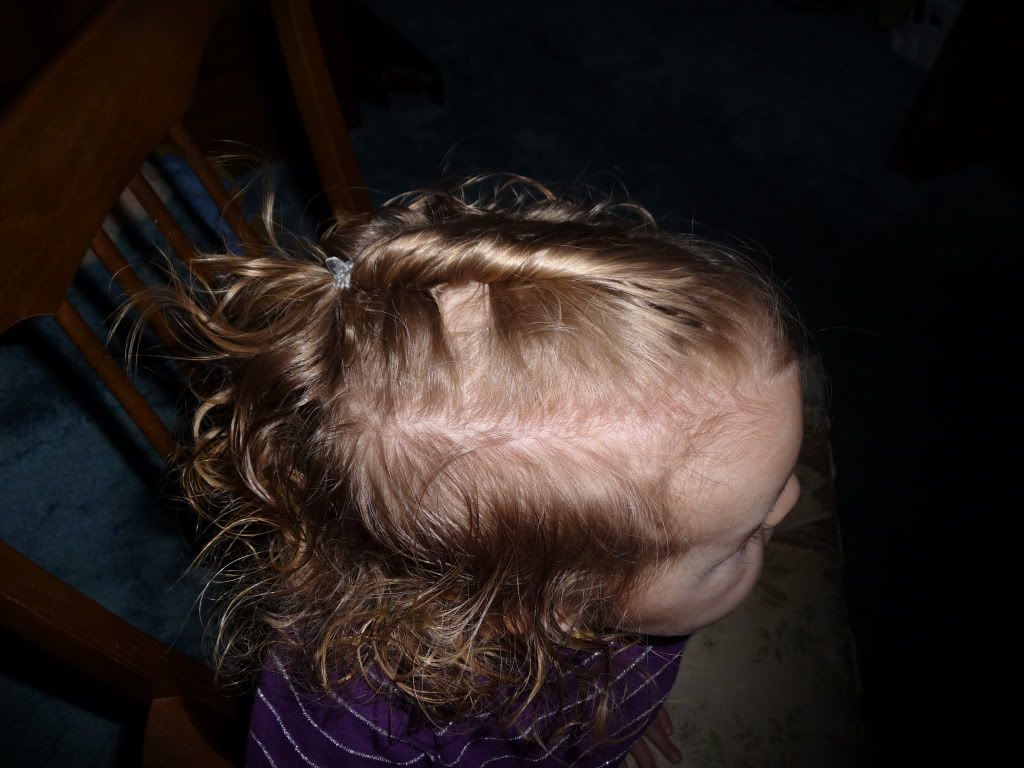
For this one I took up a section of about half of her "top" hair and twisted it lots, then I moved my hand back and added the rest of that "top" hair and twisted that quite a bit - and finished it off by clipping it with a tiny claw clip. (You could use this kind of clip for any other the other styles so far, too. It's just whatever you like! ...and whatever your kiddo won't pull out...
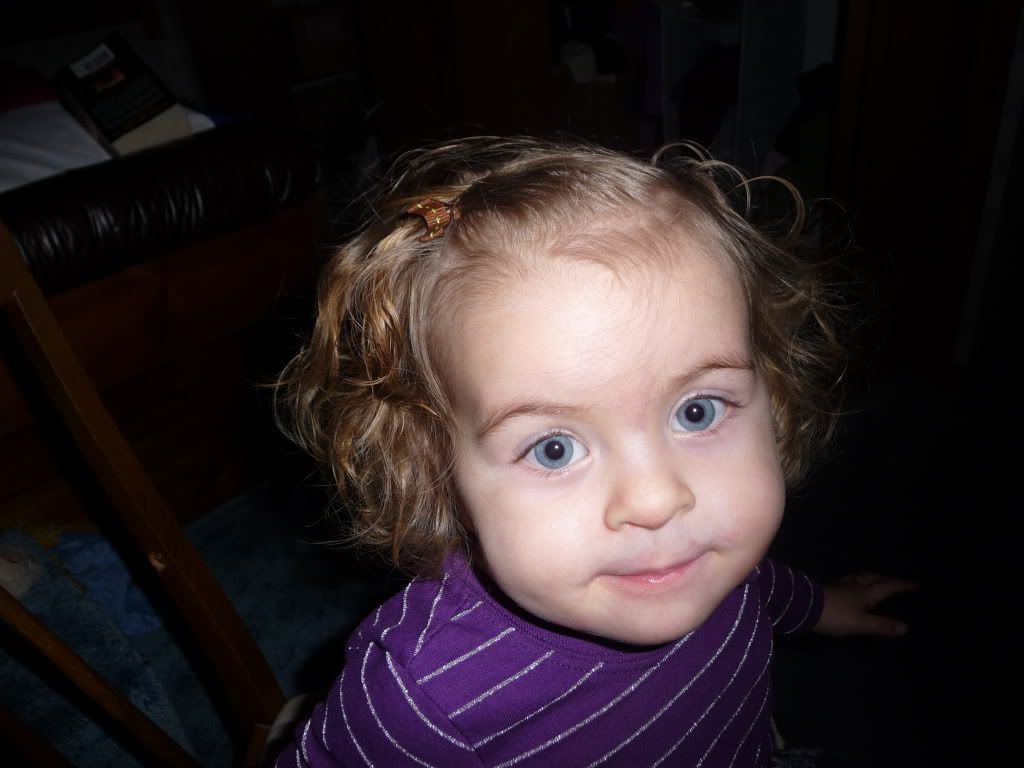
Front-ish View


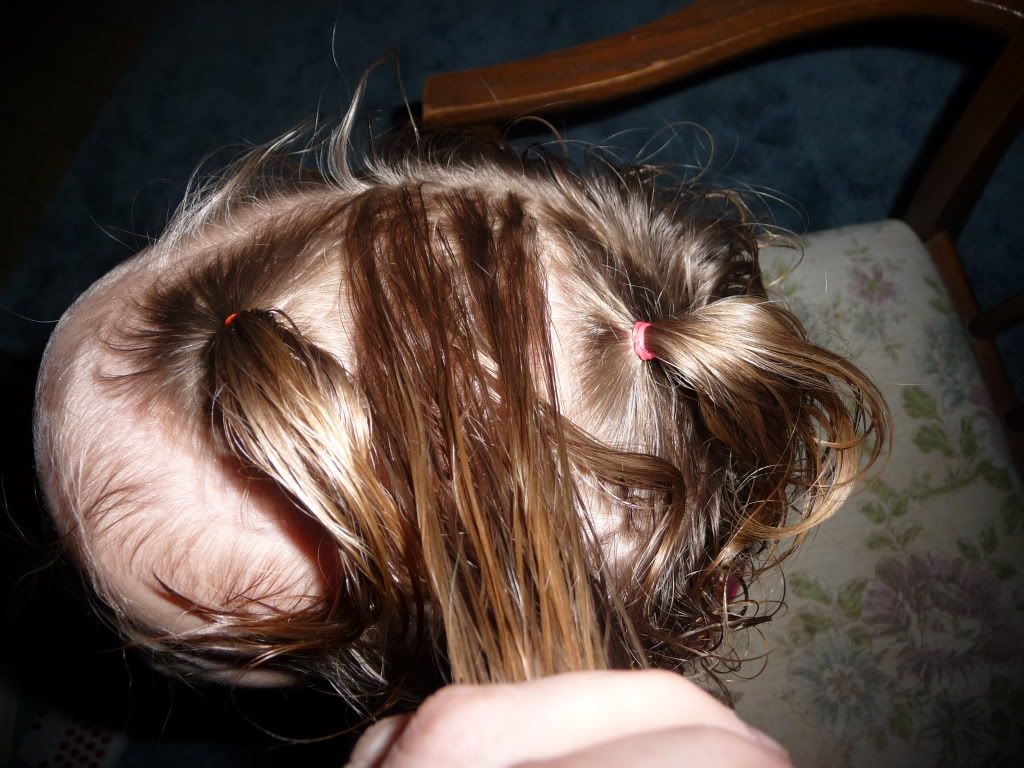
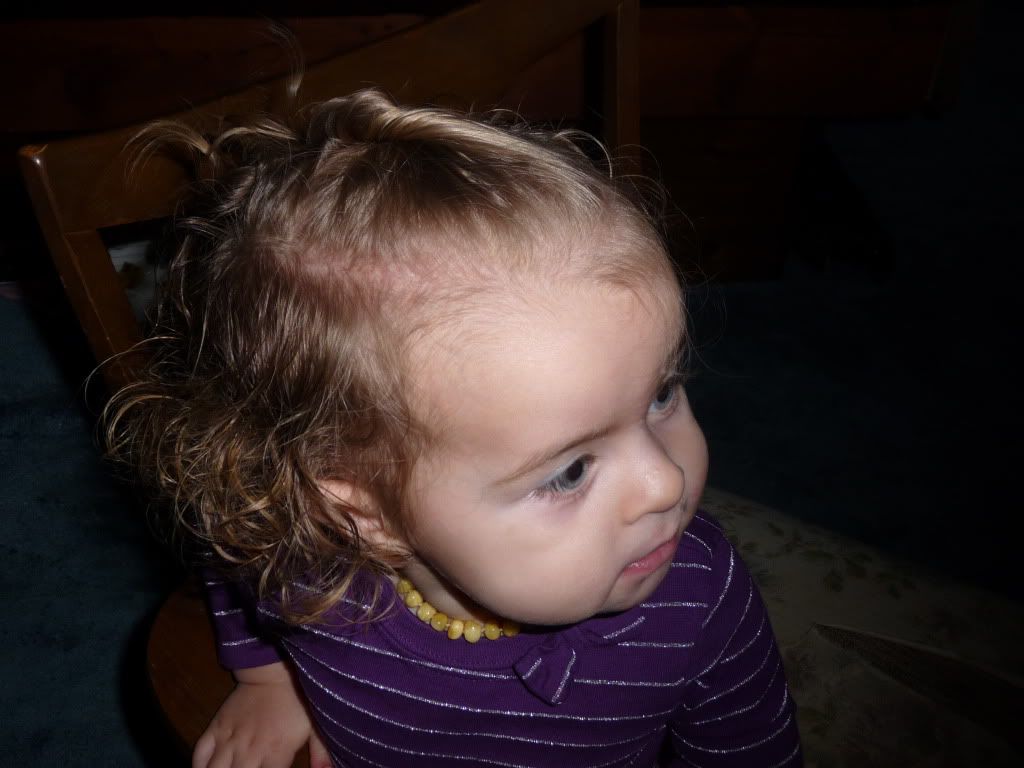
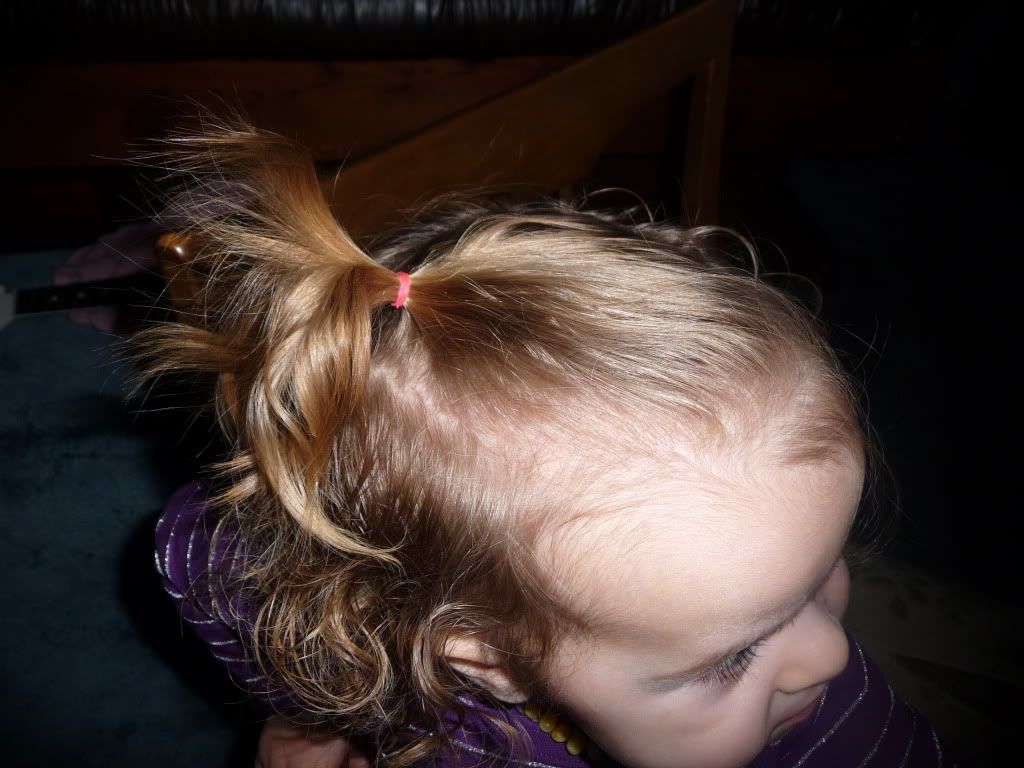
Or you can do little ponytails! This one is kinda off to the side a bit.
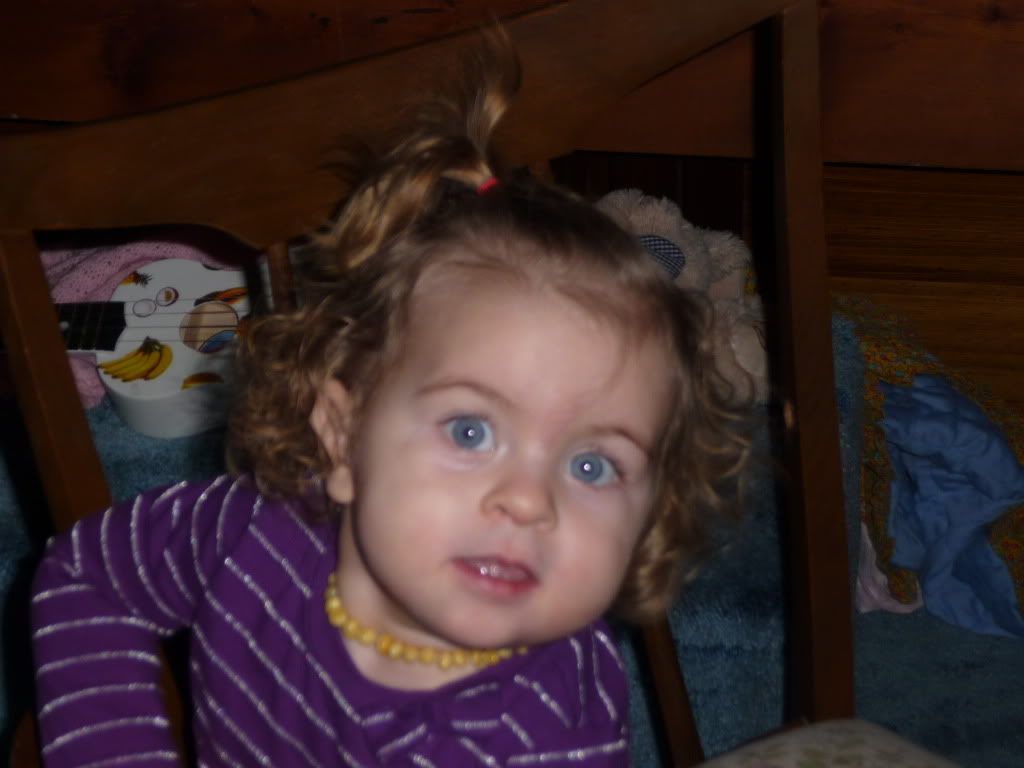
Front-ish View!
 
(sorry for the blurriness!)


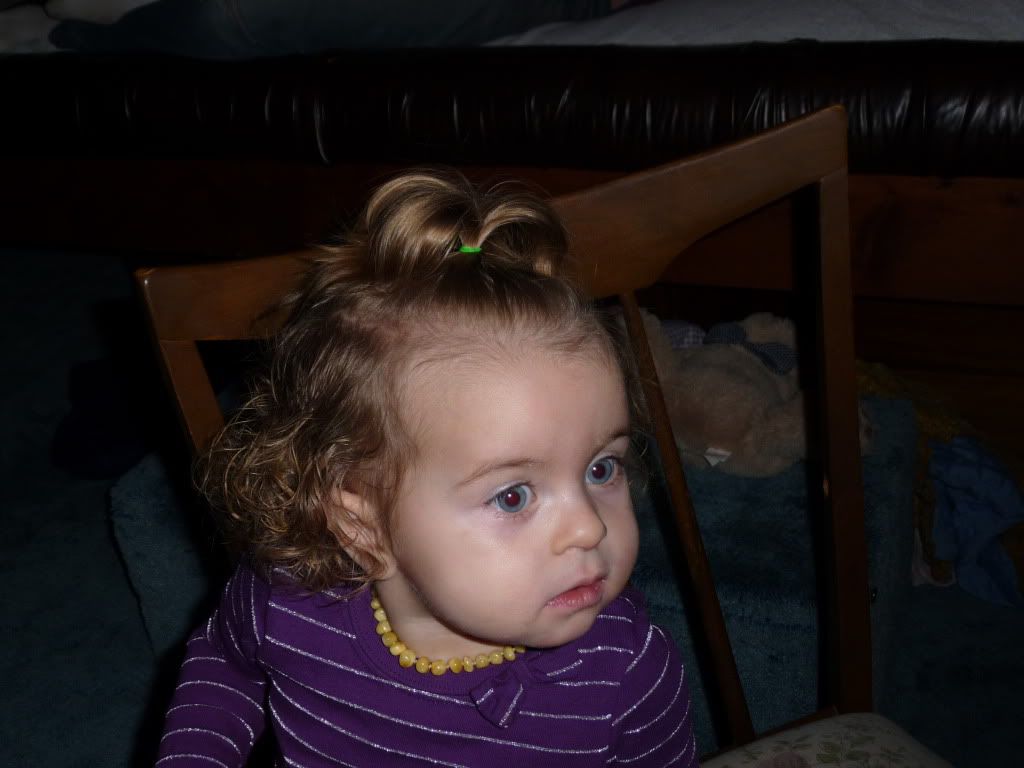
And of course there's the classic One on Top! (These always remind me of a certain brand of doll that came out when I was a kid, but I can never remember what they were called! They had one tuft of hair on the top of their head that looked just like this! lol)

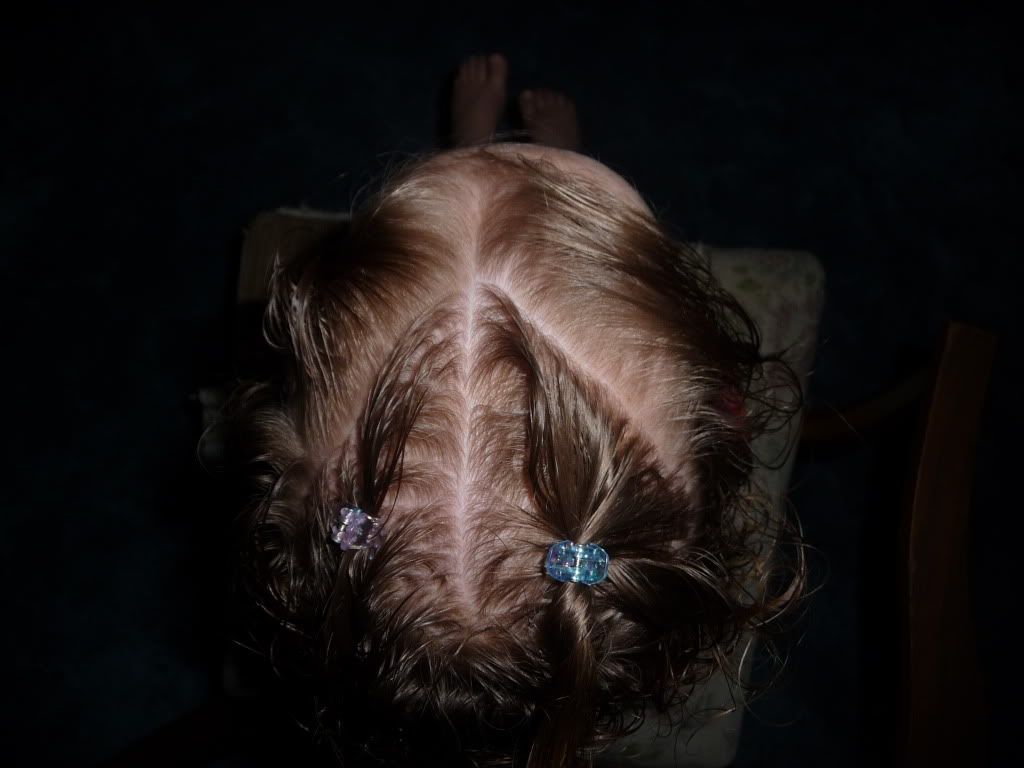
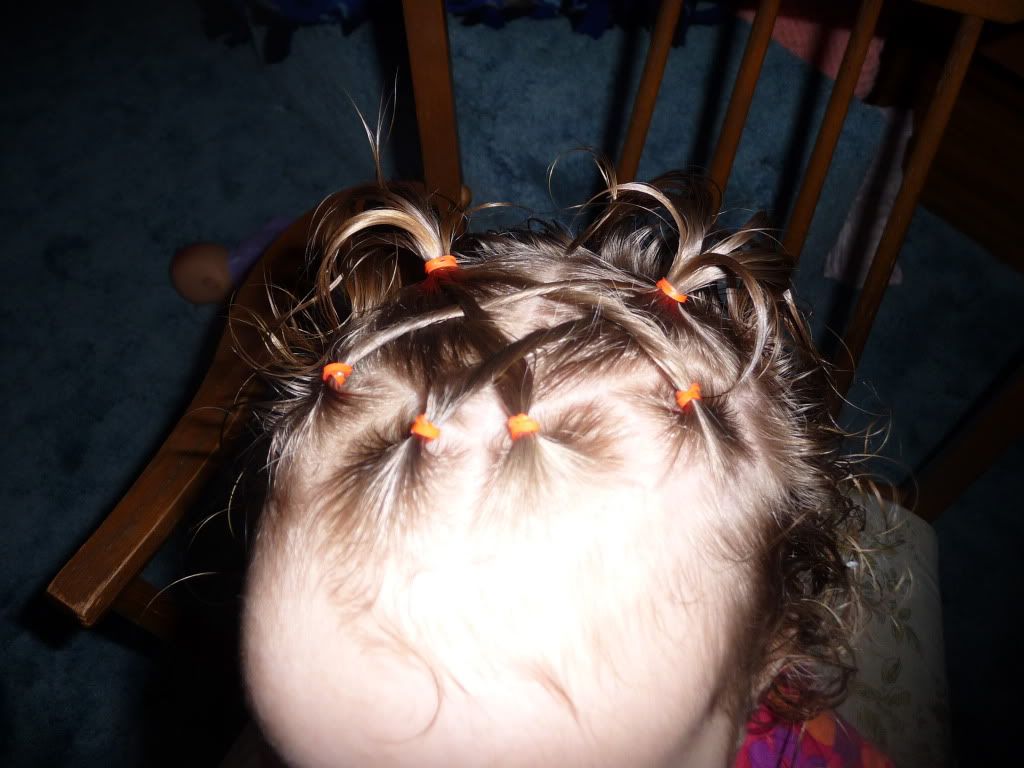
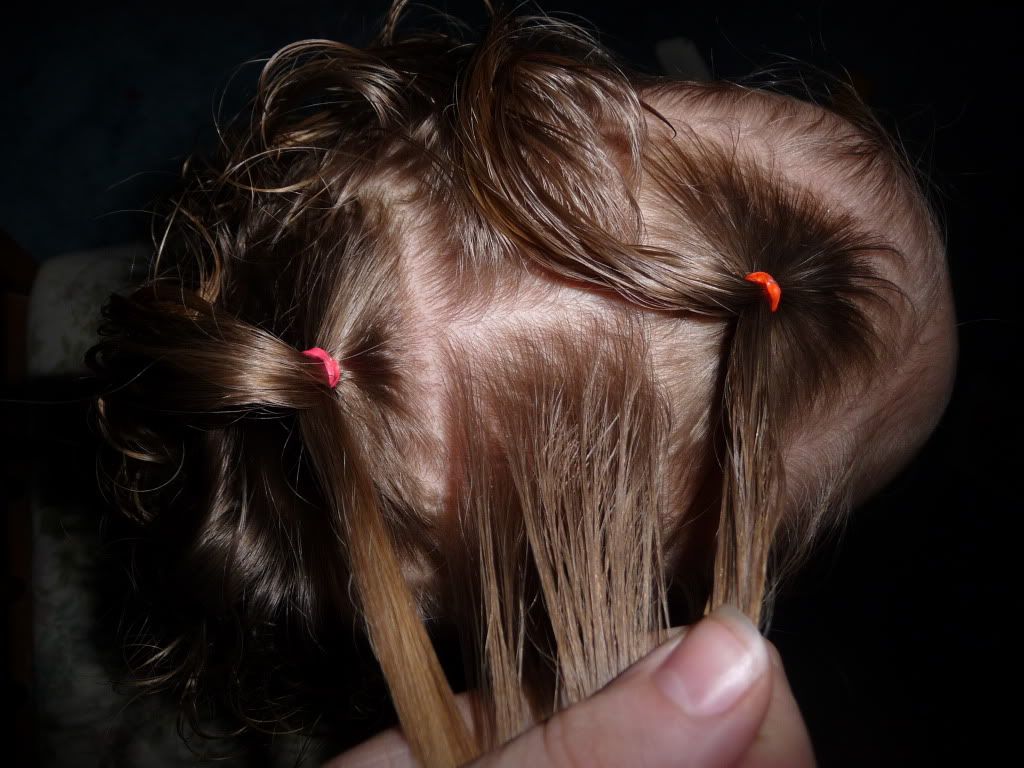
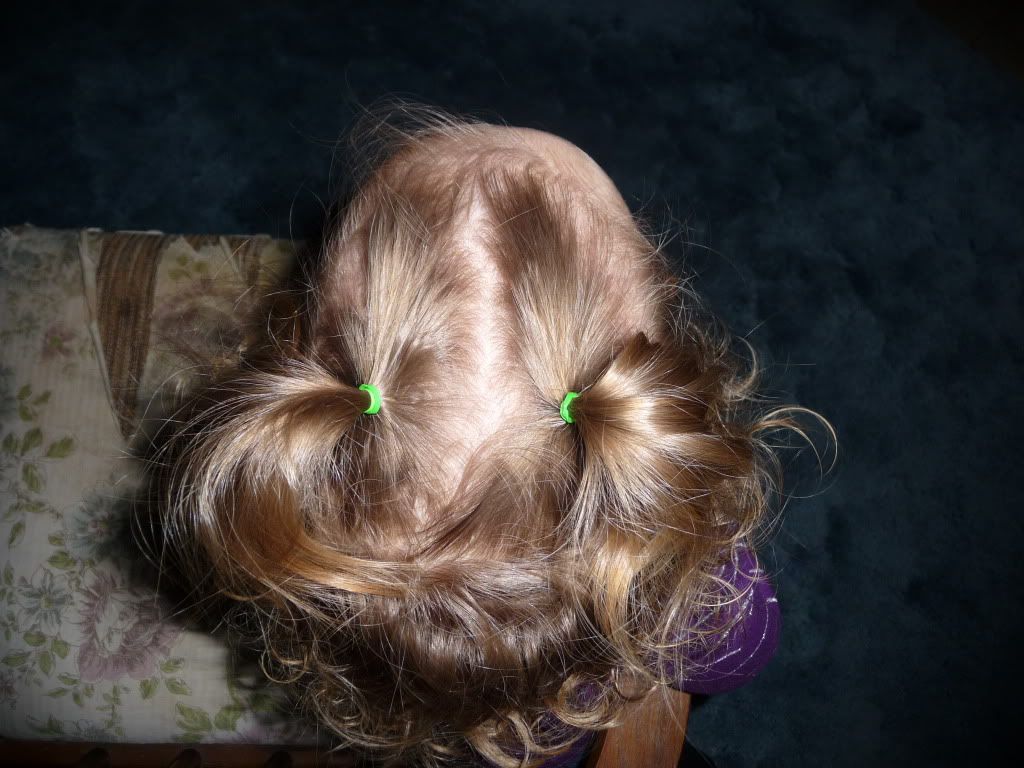
Then if you want to make it just a little trickier...Two on Top!

 
(I generally don't worry about straight parts on little heads with short attention spans!)
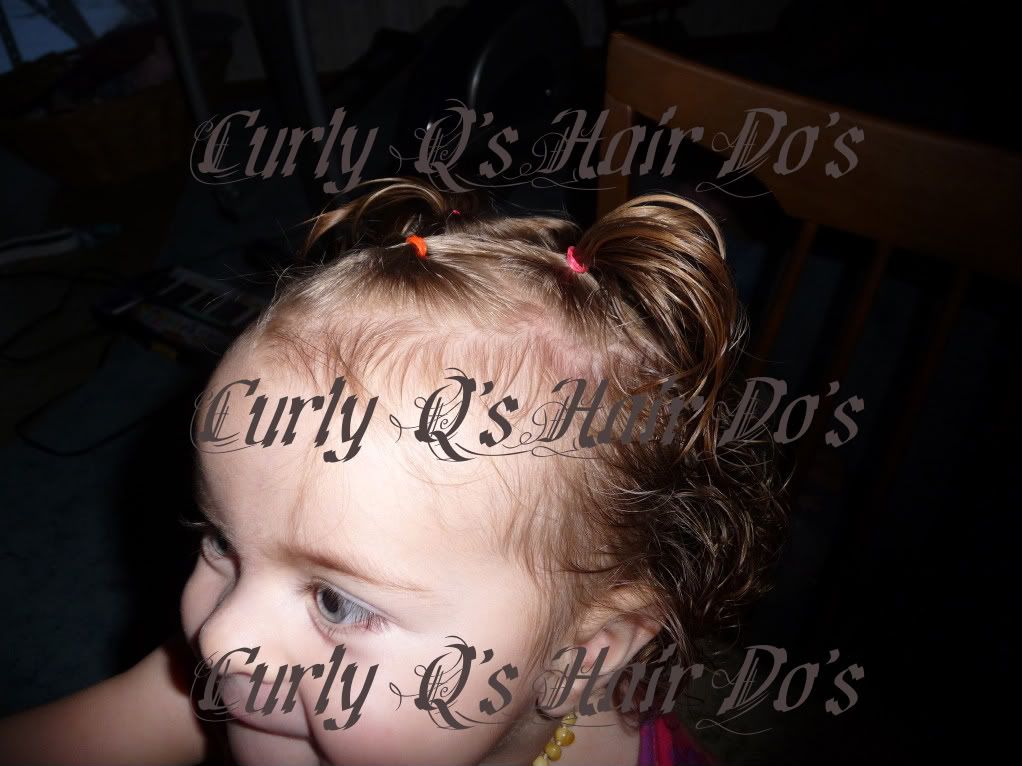
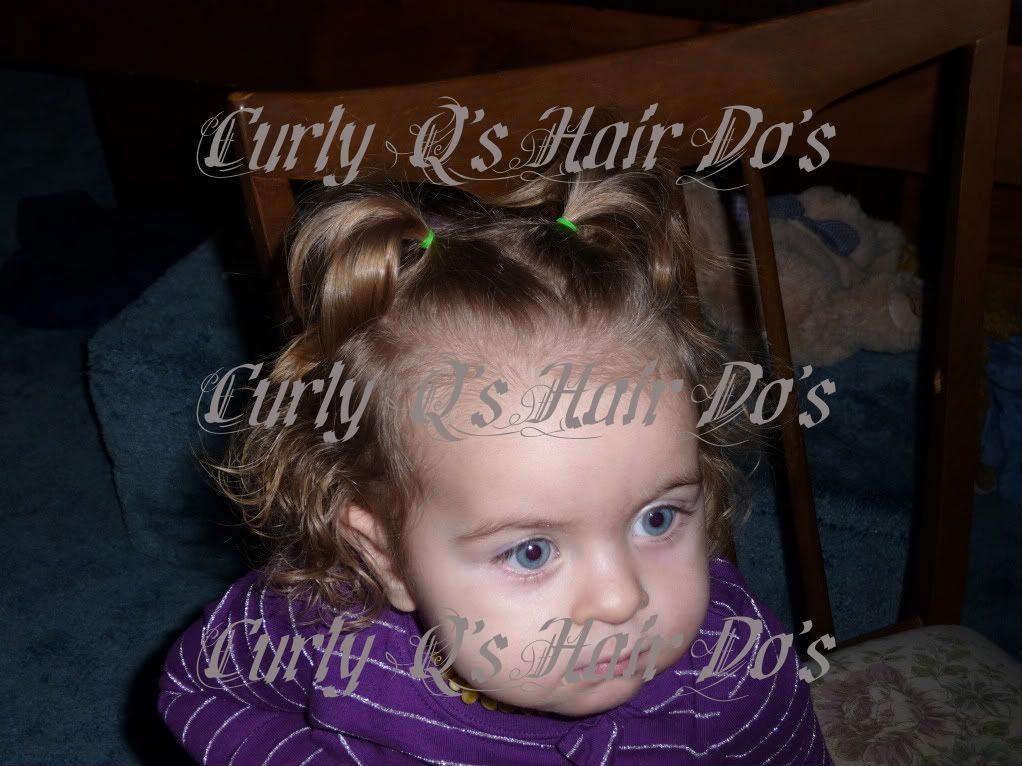
and from the Front...
Wow! LOOK at that TV face! Yikes! lol

Well, I hope you enjoyed those! I know they're pretty basic, but they were fun to do anyway! And I find it's always good to have some basics in your "toolbelt" for those busy days - cuz we still need to keep their hair out of their eyes!