Showing posts with label Twists. Show all posts

New African American Hairstyles Trends for 2011

African Hair Styles brings you New African American Hairstyles Trends for 2011


These cute African American hairstyles look chic and trendy for 2011. Here is a huge varieties of  favourite haircuts such as Twists, Updos, Braids, Curls . that you try easily flaunt this season. It is advisable to choose the perfect material color for your tresses that easily compliment your skin tone. individual American women love to create their own material trends. They play with various designs and you can see a lot of trendy haircuts.

New African American Hairstyles Trends for 2011

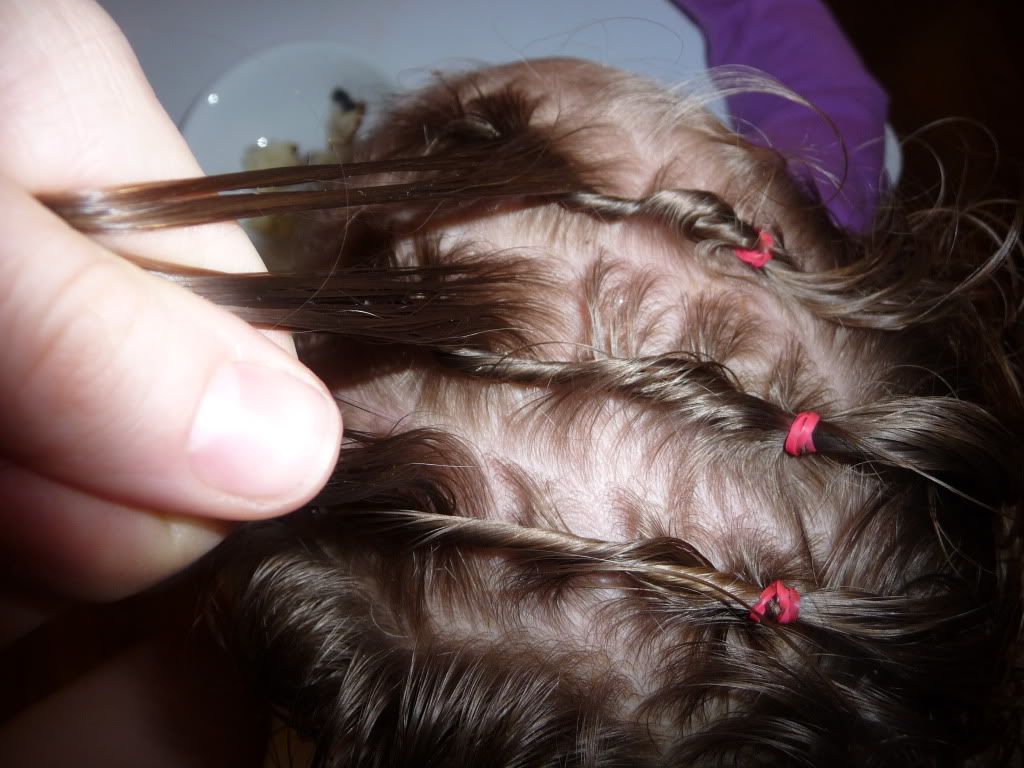
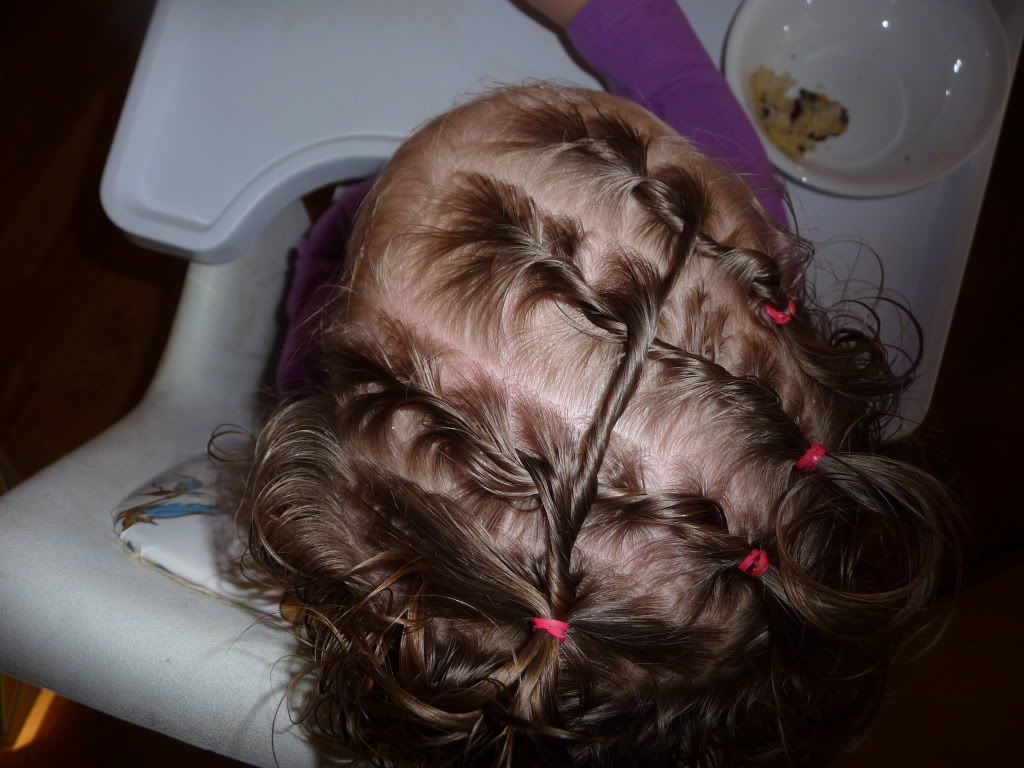
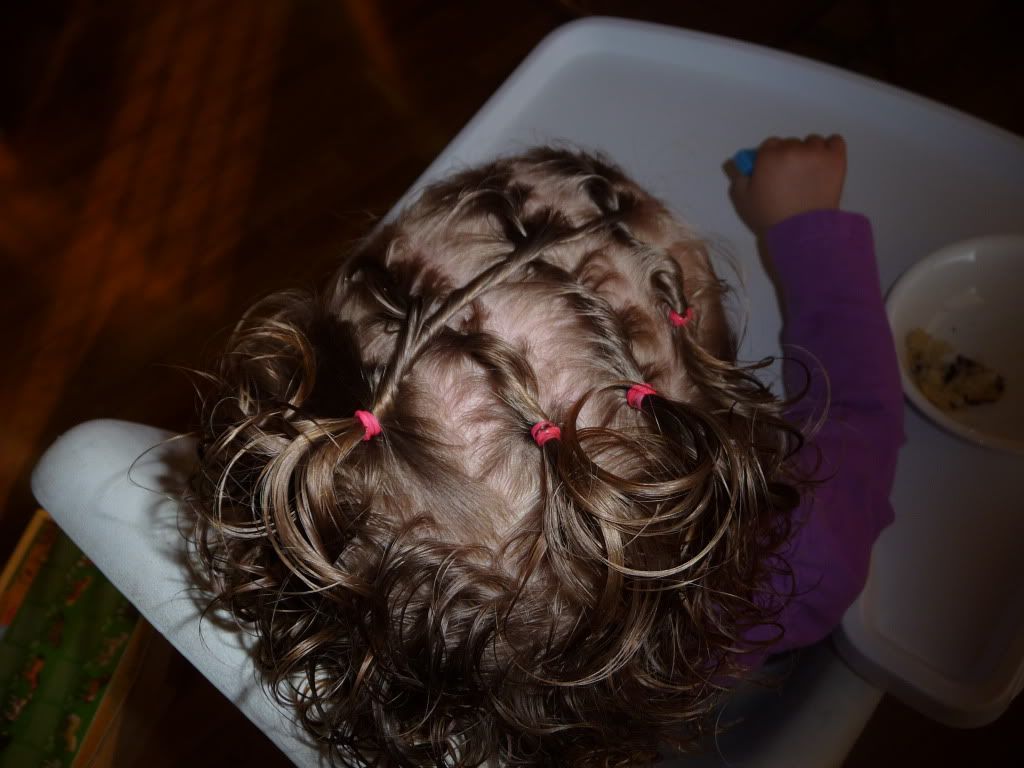
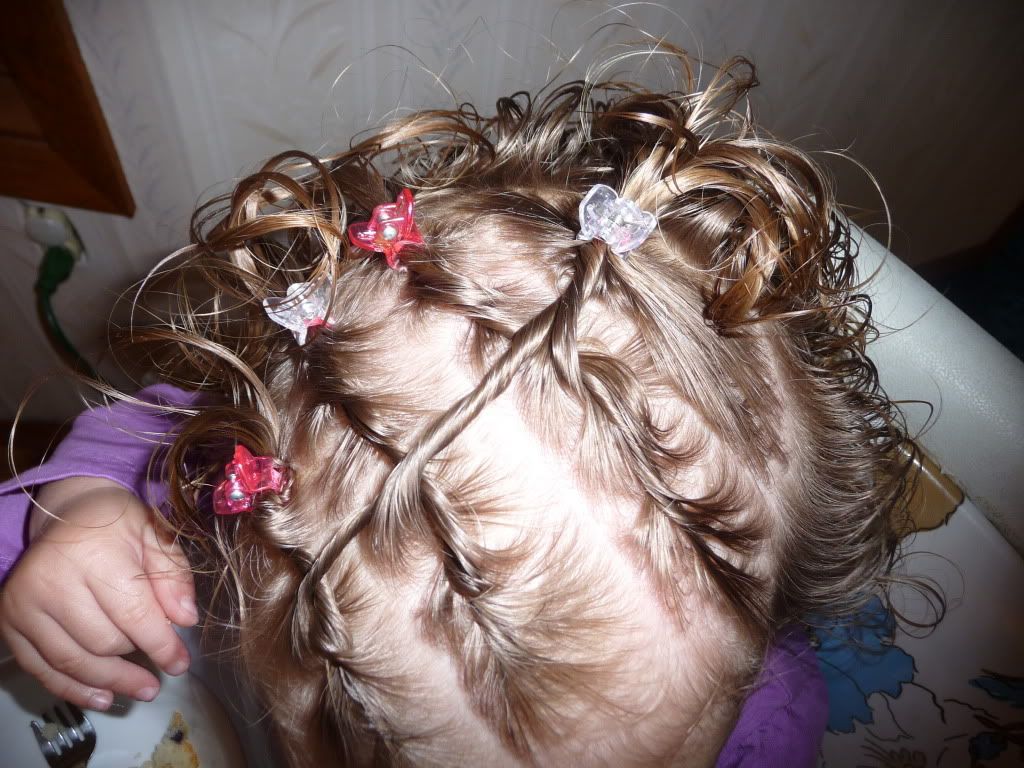
Braids: It is digit of the most favourite individual American hairstyles. You crapper easily attain this call by plaiting some section of your material together. There are various forms of this call such as micro-braids, box braids and even cornrows. Hair braiding is an art that need lots of time and patience. This hair looks fashionable.

 Dreadlocks: This call epitomizes African-American hairstyle. Dreadlocks crapper be naturally created with your curls if you don't applier or comb them. However, the beginning of reggae music gave popularity to this material trend. They are essentially coils of tresses that are intertwined. Most of the salons attach simulated tresses or uses chemical processes to create this look. This hairstyle looks ultra-chic.

 Tight Ponytail: You crapper easily create various other designs with this hairdo. This hairstyle mainly accentuates your jaw and neckline. Ponytails are commonly prefabricated from curly tresses. It also entireness well with wavy curls that crapper be parted in equal sections and braided completely. You crapper then secure it with a band. You should vantage every your braids towards the back of the head and wrap them with a scarf. You crapper easily achieve a fantastic call next day.

Orchid Clips

This style is a little out of order... I actually did this one right after Alex got sick the first time. It is simple and quick. Btw, she picked out and planted the flowers all by herself! ;)
I had made some new purple orchid clips and desperately wanted to use them! ;) I simply twisted the hair and then clipped it out of the way. I did the same thing with a piece of hair just behind it. It really was pretty. I had wanted to leave the other side down, but Alex added the other flower and I didn't argue.
Lol, my goofy girl gave us all kinds of looks that day! The last one is of course my favorite! ;)

Red Villa Headband

Don't know if anyone will love this headband as much as me, but I was just pleased as punch! ;)
I made this to match a new outfit of Alexandra's from the Red Villa Baby Gap line. There's a funky and simple style here too...
First, for the headband... I used organza ribbon in crimson and just off-white to make a huge bow. It is attached to a mega thin headband and topped off with a crocheted butterfly. So pretty! ;)
For the hair... This took less than 5 minutes, really! I just grabbed a section of hair, no parting, and twisted it. Fold the twist over itself and wrap an elastic around it. I did this all the way around her head, leaving pieces sticking out all over the place! A little crazy and super messy, but we got more compliments than almost any other hair style I've done. ;)
She wore this style to dance that night and tumbling... it stayed up and out of her face and everyone thought it was cute. Bonus! ;)
Can you tell who picked the shoes?! ;) ~ Alex was being really sweet that day, so I just clicked away. And then she had to throw some diva in there... yeah, this last one is all Alex! ;)

Triple Clip Simple Twist

Here's a quick and easy style that I thought was pretty cute!  I actually thought I had already posted it - but I looked, and I don't think I have!


As you can see, all I did was to comb her hair over to the left, then part it in 3 sections. I twisted the first section (while holding it out to the side of her head) and then pulled it straight back and clipped it.

Then I did the same to the second section of Q's hair.

And then the third! (which I'm in the middle of twisting in the previous picture)


That's it! As you can see, I let the twists lay over the previous clip if they wanted to.

What do you think?? :)

Easy Toddler Twist Hairdo

This one was so quick and easy I just had to post it! 
(Sorry no step by step pics, but I think you can manage without!)

We bought some Shea Butter last night and so today was mostly about playing with that and seeing how it affects Q's hair - but we still needed a style, too! I figure Q likes being able to see and not have her hair in her face all day :) So this is what we did! I just parted it in four sections and rolled them each towards the back of her head. Two going to the left and two going to the right. Then I clipped them! TaDa!

Stay tuned for a post about my adventures in using the Shea Butter and Coconut Oil in Q's hair!!

Raw Unrefined Shea Butter Grade A From Ghana 2.3 Lbs 15% MORE  Nutiva Organic Extra Virgin Coconut Oil, 54-Ounce Jar

Daddy 'Do!

He really likes the beads, I guess :) I love it!

For this one it looks like he twisted each strand individually, and added a bead to it. Then twisted them together and added a bead to the end of the twist.  I don't have any more picture, unfortunately, but he did one of these twists on each side of her face - he likes keeping her "bangs" out of her eyes!

Simple Styles

I was just playing around with Q's hair today (as she watched a movie!) and thought I'd take some pictures of some simple styles. These would be great if you don't have much time, or if your little one doesn't feel like sitting still!

For this one I took all the front and center hair and twisted it, then added one of those new short bobby pins. (Love those! They work really nicely on small heads with fine hair!) 
I also sort of scooted the hair forward before I pinned it, so that it bunched up a bit in front - kind of like how teens are wearing their bangs these days :) You could add as much "bunch" as you want - or none - depending on your mood of the day!

 
This one's pretty self explanatory - I combed Q's hair to the side (brush, comb, fingers - whatever works!) and added a clip!
And from the front... lol!


Same idea, but I twisted the hair forward before I added the short bobby pin (instead of clip, this time.)

 
Or you could twist the hair to the back and then clip it. You can also see a difference in how they look when I twist them just a little, as opposed to more twist. (This picture has more twist!)

 
Or you could do more than one twist!
(Notice how I made an X shape out of the bobby pins in the second twist? They stay in better that way, kinda locks them on. Especially with the normal bobby pins like these are. I don't find I need to do that as much when I use the shorter ones...)


For this one I took up a section of about half of her "top" hair and twisted it lots, then I moved my hand back and added the rest of that "top" hair and twisted that quite a bit - and finished it off by clipping it with a tiny claw clip. (You could use this kind of clip for any other the other styles so far, too. It's just whatever you like! ...and whatever your kiddo won't pull out...

Front-ish View


Or you can do little ponytails! This one is kinda off to the side a bit.

Front-ish View!
 
(sorry for the blurriness!)


And of course there's the classic One on Top! (These always remind me of a certain brand of doll that came out when I was a kid, but I can never remember what they were called! They had one tuft of hair on the top of their head that looked just like this! lol)

Then if you want to make it just a little trickier...Two on Top!

 
(I generally don't worry about straight parts on little heads with short attention spans!)
and from the Front...
Wow! LOOK at that TV face! Yikes! lol

Well, I hope you enjoyed those! I know they're pretty basic, but they were fun to do anyway! And I find it's always good to have some basics in your "toolbelt" for those busy days - cuz we still need to keep their hair out of their eyes!

I Just Couldn't Be More Proud!!

Look at what my amazing, creative, super sweet hubby did today!! ALL by himself! :D


 These pictures just don't do it justice, but he did a twist braid on each side of her head and finished it off with a bead! :D  He said he slid the bead on and then added an elastic, which tied off the braid as well as held the bead on.


He said he thought it would keep it out of her eyes without using a clip. :) (He put two clips in her hair yesterday! They looked so cute. :)  )

I'm soooooo proud of him! :D :D

French Twists into a Crown

I started with a zig zag part


Then just sort of twisted the hair in a curve - trying to make a half circle...and then I did the same on the other side to make another half circle - which would make a full circle - which makes the "crown" :)


Sorry, not very well explained, and the pictures aren't very good, either :S 

I actually didn't think this one would go over very well, but Q got TONS of compliments on it when we went to the store! :D I guess we'll have to try it again some day! It was really quick and easy, too, which is always nice :)

Messy - But Cute

I don't know what to call this one...


First I seperated Q's hair into three sections...


Then I went back and from each of the sections, I took out a bit in the middle - and flopped it forward to use later.


Then I laid the rest of the section of hair back down, just like before...
 

Next I twisted Q's hair in each section, adding hair as I went, but leaving the forward section out for later.


There really wasn't much of a method to my twisting :) It wasn't supposed to look smooth and perfect, just kinda wild and freeform :) When I had twisted all the hair into it - I finished it with an elastic.

Then I did the same to each of the three original sections...


This picture shows the three left out bits from each section :)


Then I twisted the three pieces that were left into another twist - but going the other direction! I added some hair in the back to anchor the twist too, as well as keep that extra hair from falling forward as the day went on :)


Finally I added some claw clips to sort of finish it off :)