Showing posts with label Bangs. Show all posts

Norway Inspired Hairstyle #2!

The final hairstyle inspired by our trip to Norway! This one is also great for growing out bangs, or just keeping your hair out of your face on those hot summer days. :)

(Yes, this is me!)
To get this look, part your bangs on the side (I parted mine above my left eye) and start French Braiding across your forehead. Stop adding new hair when your braid is even with your right (in my case) eye and continue the braid farther back. Then pin with bobby pins! Make sure to cross the pins over each other in an X shape to keep them locked together. They'll stay in better that way!


And that's it! I hope you enjoyed these two hairstyles (click HERE for the other one!) I got addicted to while I was in Norway. I know I have! Here's one more gorgeous picture to remind you of the inspiration :)


Posted by Picasa

Inspired by NORWAY! (first style)

(Can you see the people in there??! That's my dad and sister! lol)

It's been awhile since we've posted any new hairdos! Yikes! Well since Q and I just got back from Norway, I wanted to share a couple very simple styles that I noticed there. I've been using them in MY hair!

First, I will say that I did not see anyone sporting my haircut - Ha! I'm not so sure I like the implications of that! But anyway... lol  We saw a lot of very pretty long straight hair (some dyed light blonde, some natural blonde - not many curls at all, and I don't remember seeing any of the "skunk dyes" that are so popular around here right now. aka - black underneath and bleach blonde on top)  I've heard that brown hair and blue eyes is "classic Norwegian" but most of the women we saw were blonde! :)  (not all natural!)  also keep in mind that this is just the "findings" from one small trip! By no means is this a generalization of the Whole Country! LOL!

Short hair cuts were also pretty popular. But we didn't see much "in between" long and short. Not a lot of middle lengths. :)

NOW - on to the style... :)  These two styles are great for keeping your bangs out of your eyes, or for growing out bangs, or just for when you want your hair mostly down, but not in your way!


Just twist the "bangs" section and pull the twisted "rope" straight back. Pin with bobby pins! No need to try to hide them or anything :)


The cashier at the local grocery store who I copied this from (Thanks!) had longer hair in front, so the "rope" cam back farther before she pinned it. It looked very pretty!


(Second "Norwegian Style" coming soon!)

Quick and Easy Mom and Daughter 'Do

Here's a quick and easy style that you or your little one can wear! I actually did it on myself first, then on Q because I thought it was a keeper! ... oh, and originally it wasn't even going to be a "style" it was literally just a way to keep my bangs out of my eyes! lol

I don't have step by step photos (Q has been more interested in being behind the camera these days than in front of it!) but I'll try to explain it well!


Me - sorry I don't have the front shot. My camera battery died. :( But I actually think it's quite flattering from the front.

* I parted our bangs on the side (mine on the left, Q's on the right)
* Then I took up a piece of hair of the bangs section on either side of the part
* Next I twisted them in opposite directions, nice and loose. Not tight twists. (You could do that, but you'd get a very different look)
* and brought them together on top of the head
* where I pinned them with one bobby pin (yep, two strands of hair - one bobby pin. We're going for quick and easy here!)
* Then on the side of the head that the part was NOT on, I took up one more section of hair and twisted that in the same direction as the twist beside it.
* I brought the end of that twist up to meet the others.
** To secure the third twist - use a single bobby pin and CROSS it in an X over the first bobby pin! This method will lock on the bobby pins and secure your bangs for as long as you need them secured!

Q! brushing her teeth - quite the multitasker already!

I used the tiny bobby pins, but either kind would work. :)

LOL - "I'm just putting up with you." and "Now can I see it?!?!"

Diagonal Bangs Twist

Q and I were playing with Aubrey Organics Conditioner today :) I'll have to let you know how we like it later - once it's been put through the final tests :) (aka ... the carseat and naptime!)

Aubrey Organics - Swimmers Conditioner, 11 fl oz liquid 
(final thoughts forthcoming in a future post! Check back!)

So this hairstyle is just a quick way to keep her bangs out of her eyes...

After detangling and adding the conditioner, I combed her "bangs" and a bit farther back, too, off to the left side of her head. Then taking a diagonal piece of hair, I parted it in half. and started twisting. I wasn't being too careful or particular in my method - I just twisted each strand to the right and then both strands around each other to the left. (That what keep the definition of the twist.) 

What I wasn't particular about was when and how I added hair. I just picked up some from each side, added it to a strand and kept twisting as before!


Then I folded the "tail" of the twist back up and added a clip


Almost a Star

One day I'll post a "real" star - with that 5th line in there :) But for now, this will have to do!
 

I'm not super proud of this one, actually. But my sweet hubby complimented me on it at least twice today! :) I think I'd like it more once I practiced it a bit and got the "kinks" out. But it's not bad.
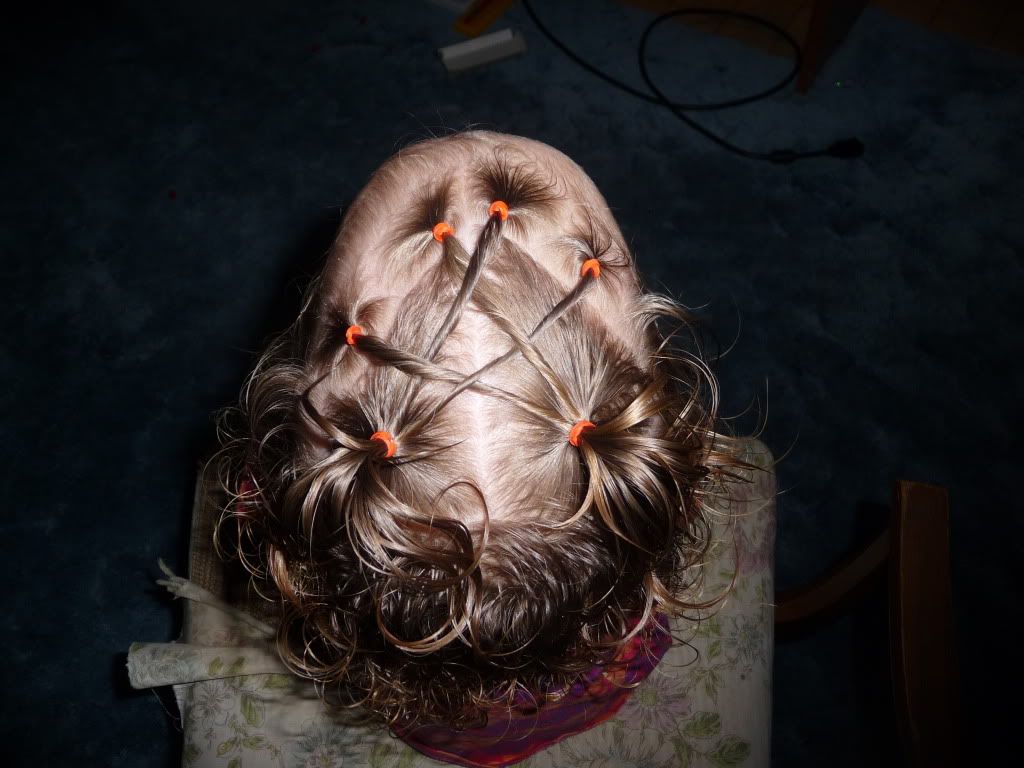
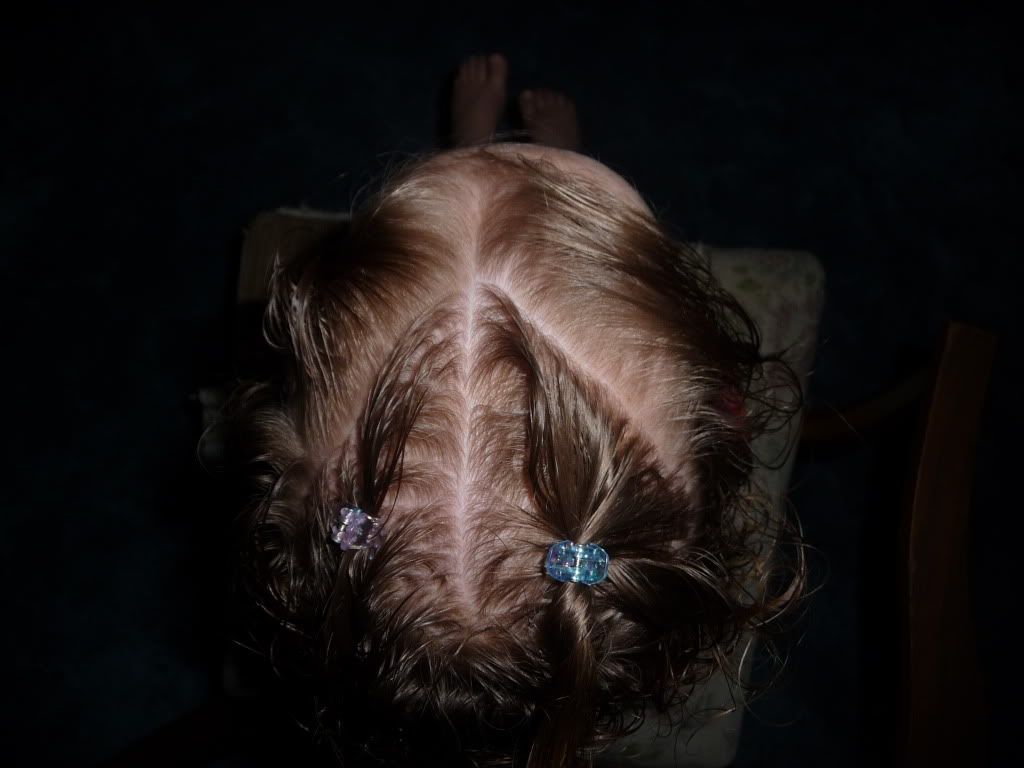
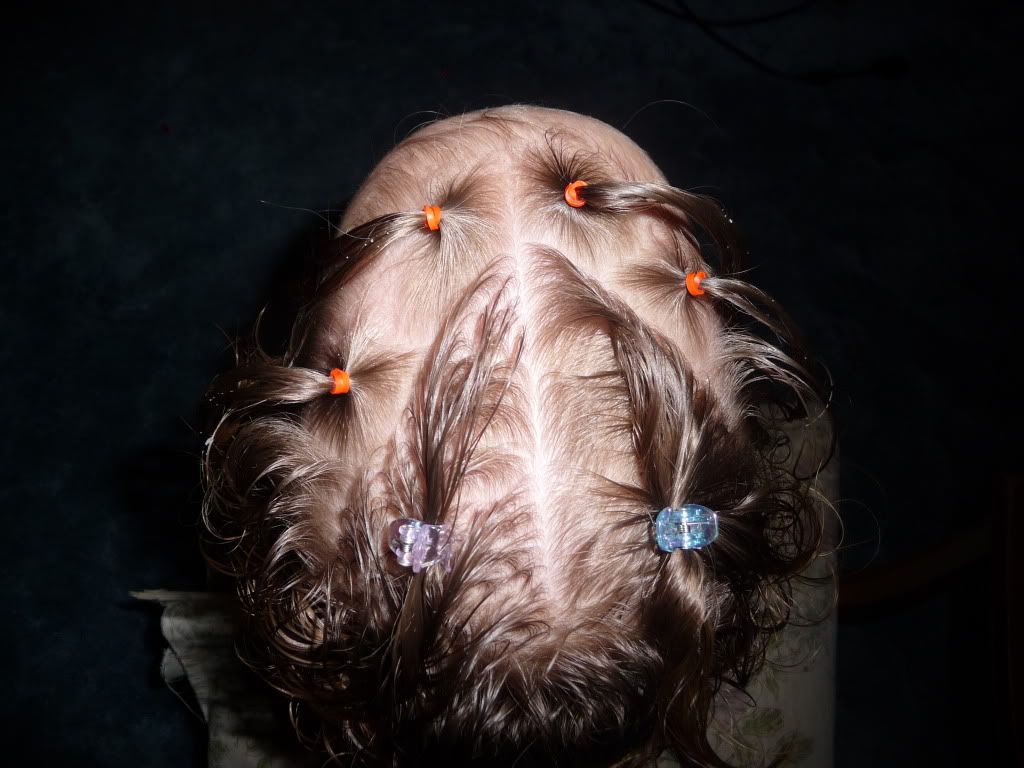
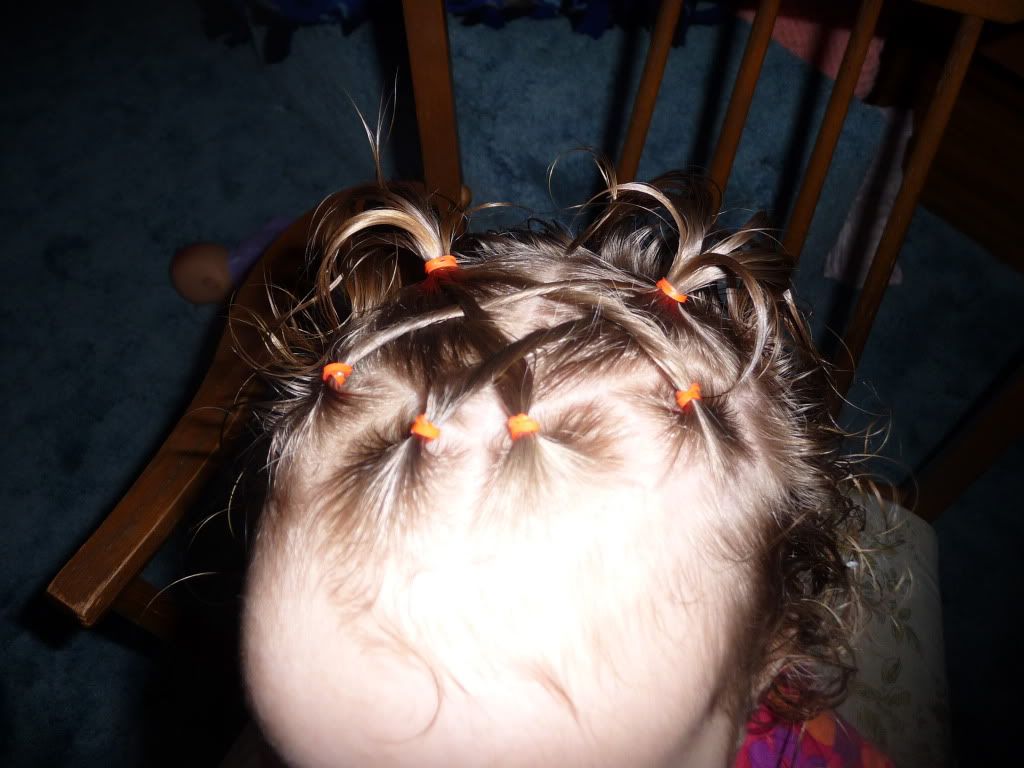
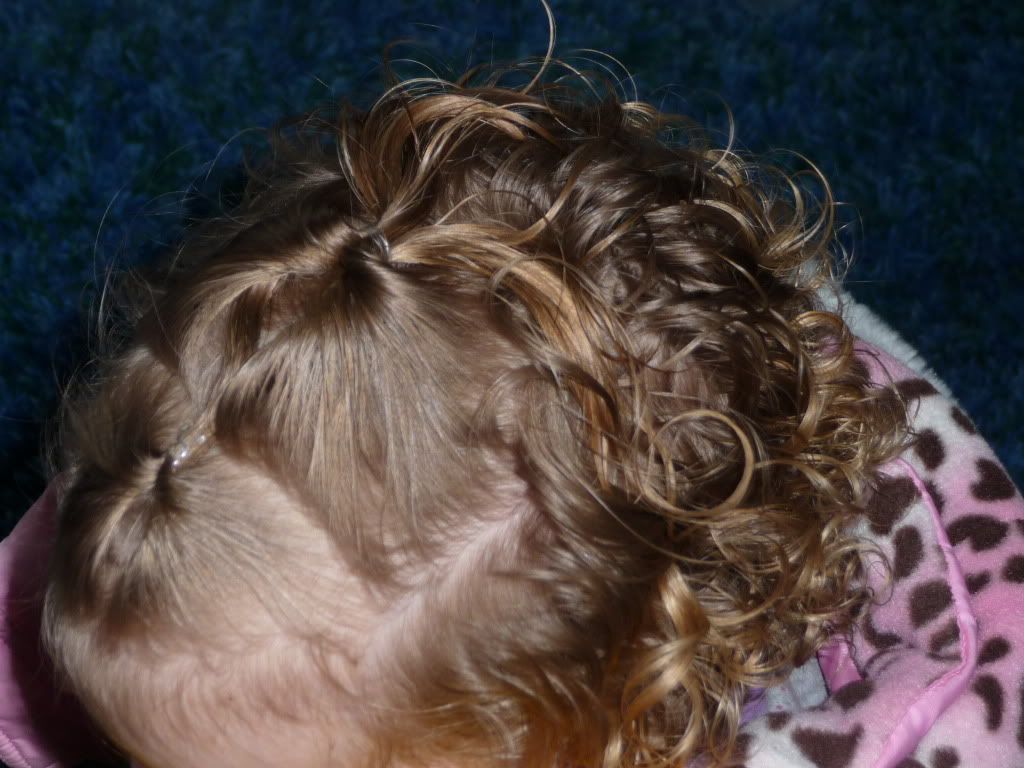
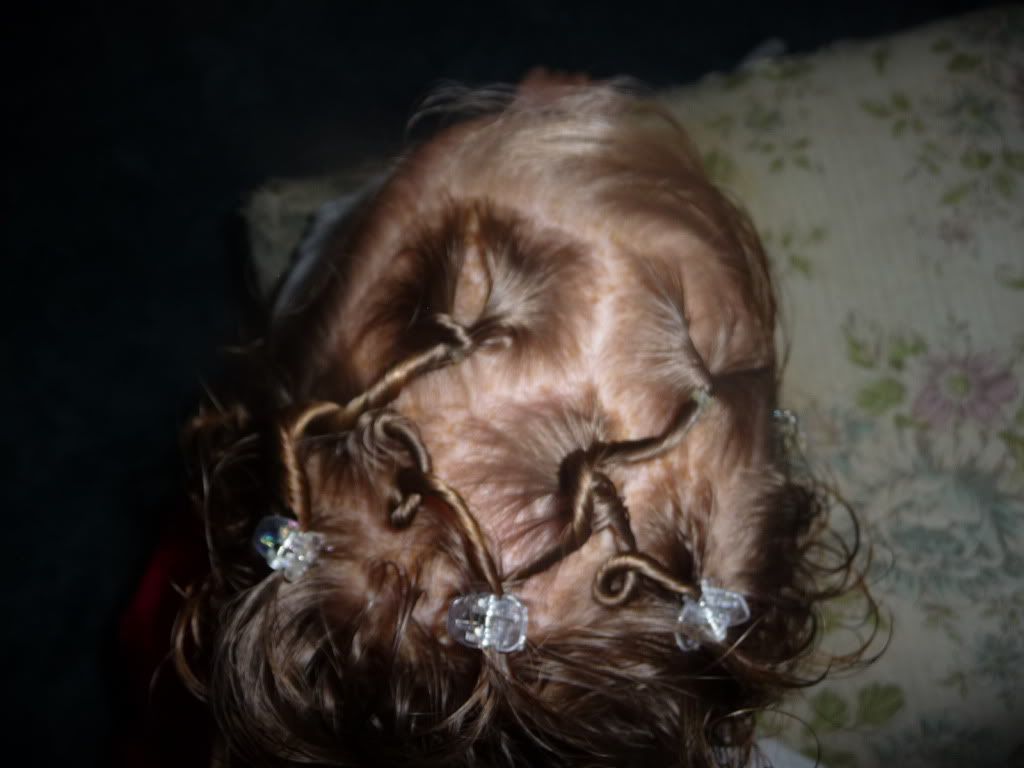
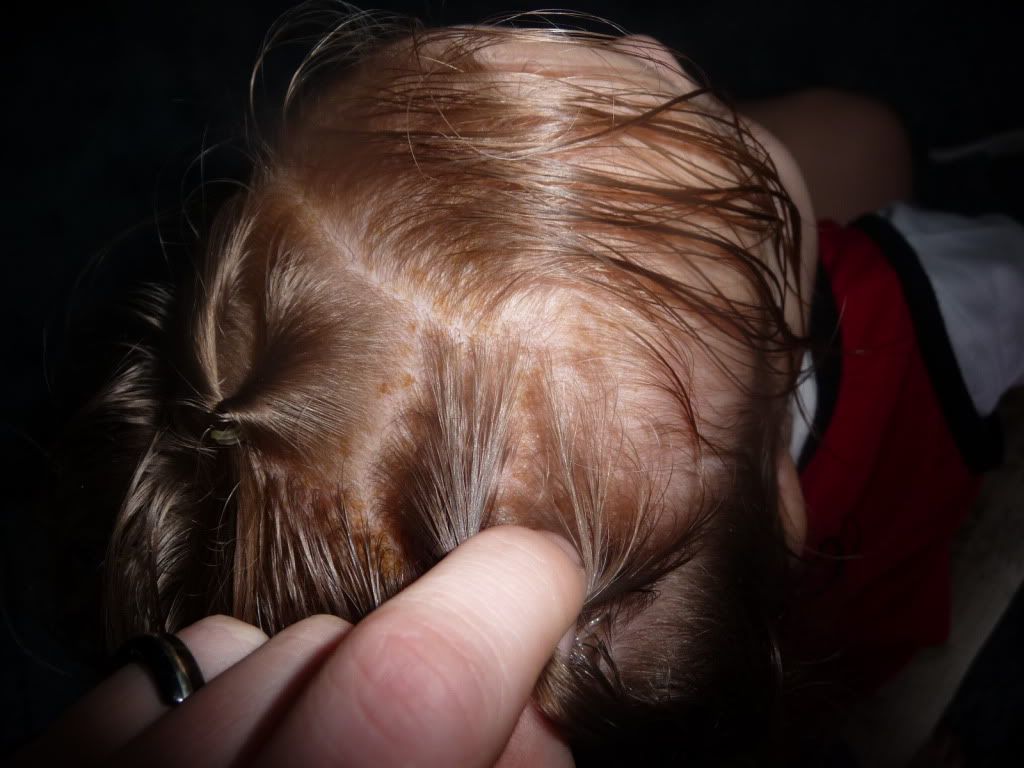
First I combed out Q's hair with a wide tooth comb, while it was wet. Starting at the bottom of course! :) Then I parted her hair down the center and made two diagonal parts in the front.


(Temporary clips are holding some of the hair out of the way, while still keeping that center part.)
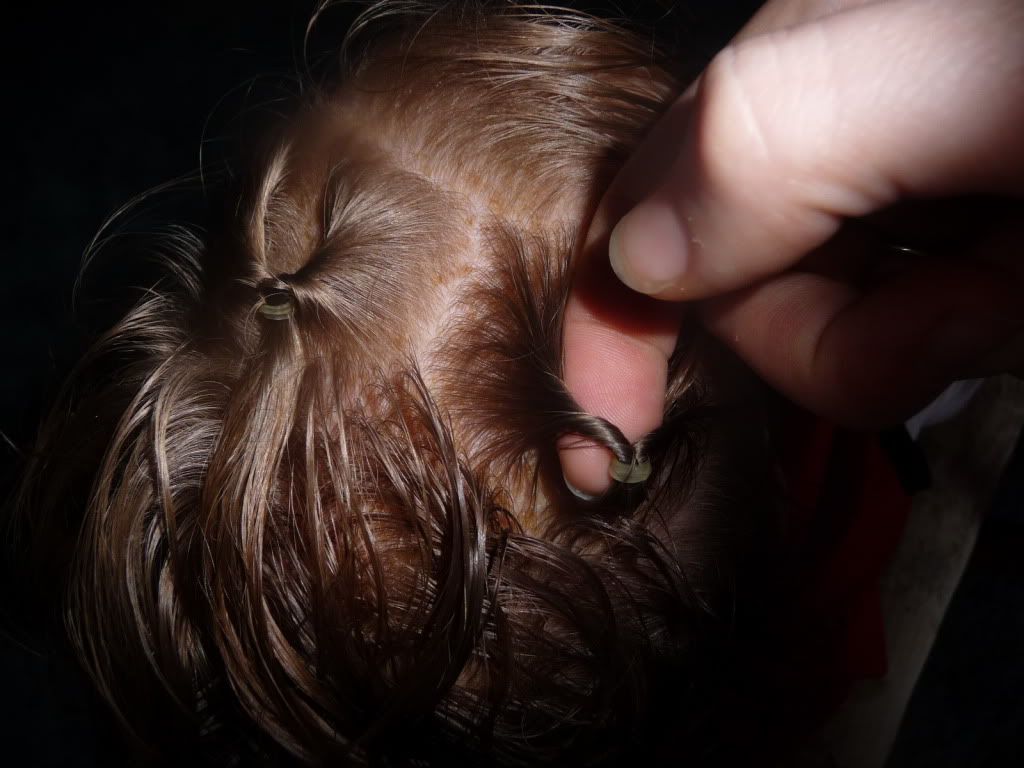
Then I added two tiny elastics to each side of the front hair.


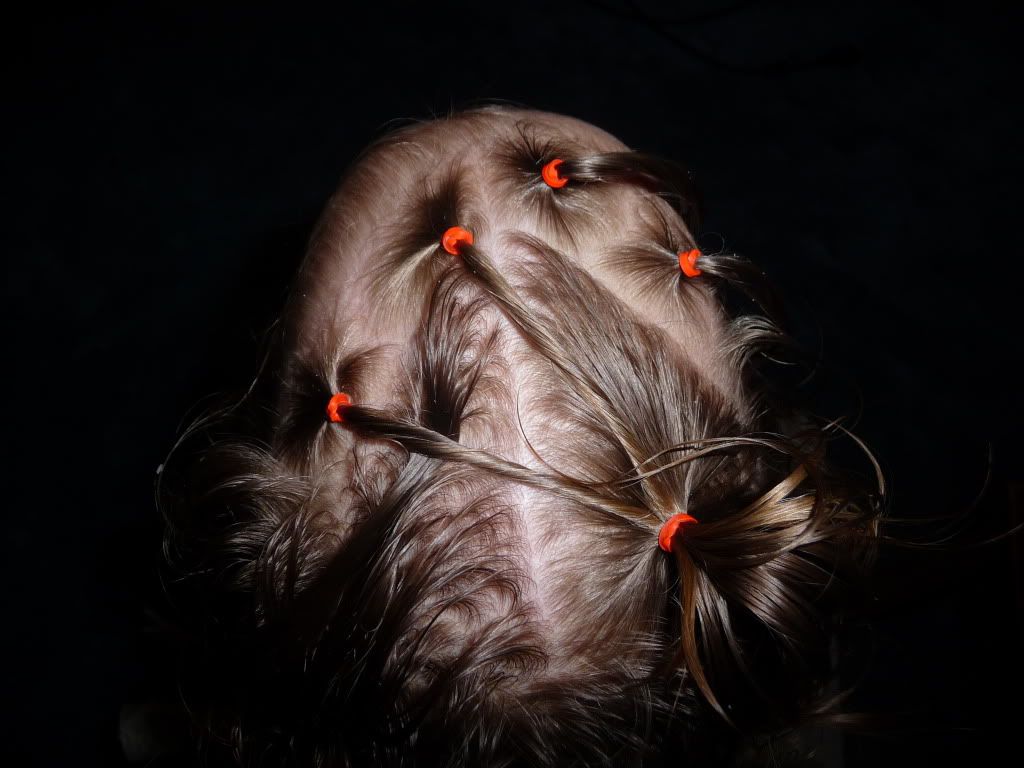
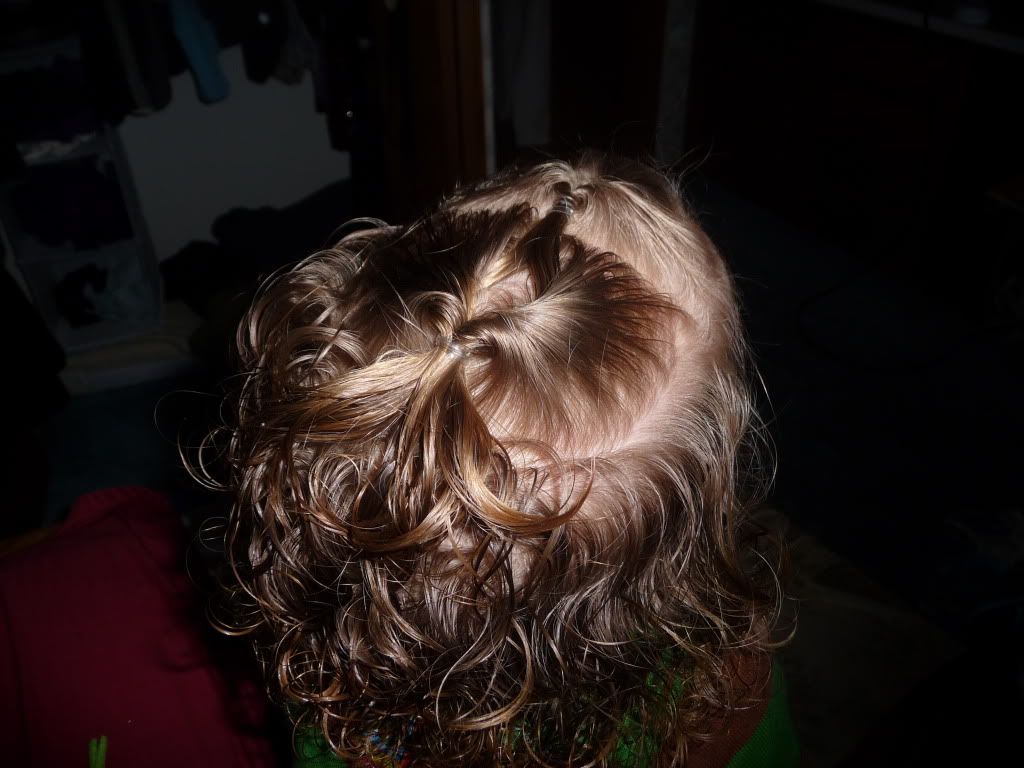
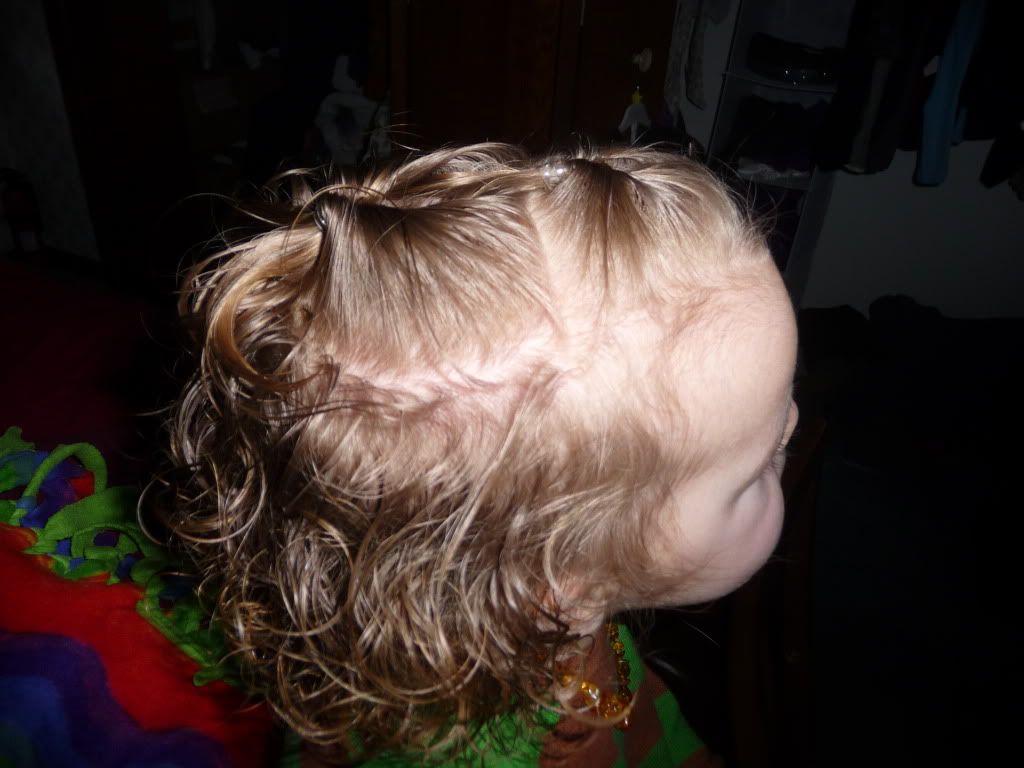
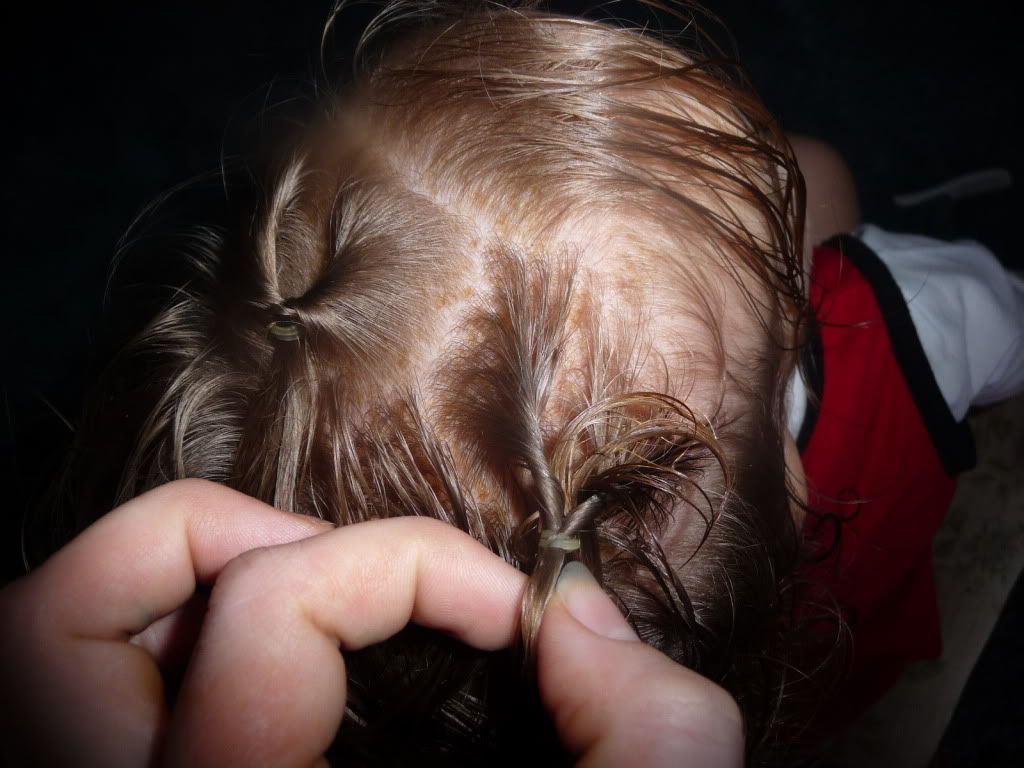
Next, (I wish I had thought to grab the hair gel) I combed the right side "extra" hair (the part in the clip) nice and flat, then I rolled/twisted each strand of hair from the tiny ponytails on the LEFT side of her head...and put all of that (3 pieces) into an elastic.

(I wish I had combed down the left side "extra" hair, too - ah hindsight, you are 20/20!)

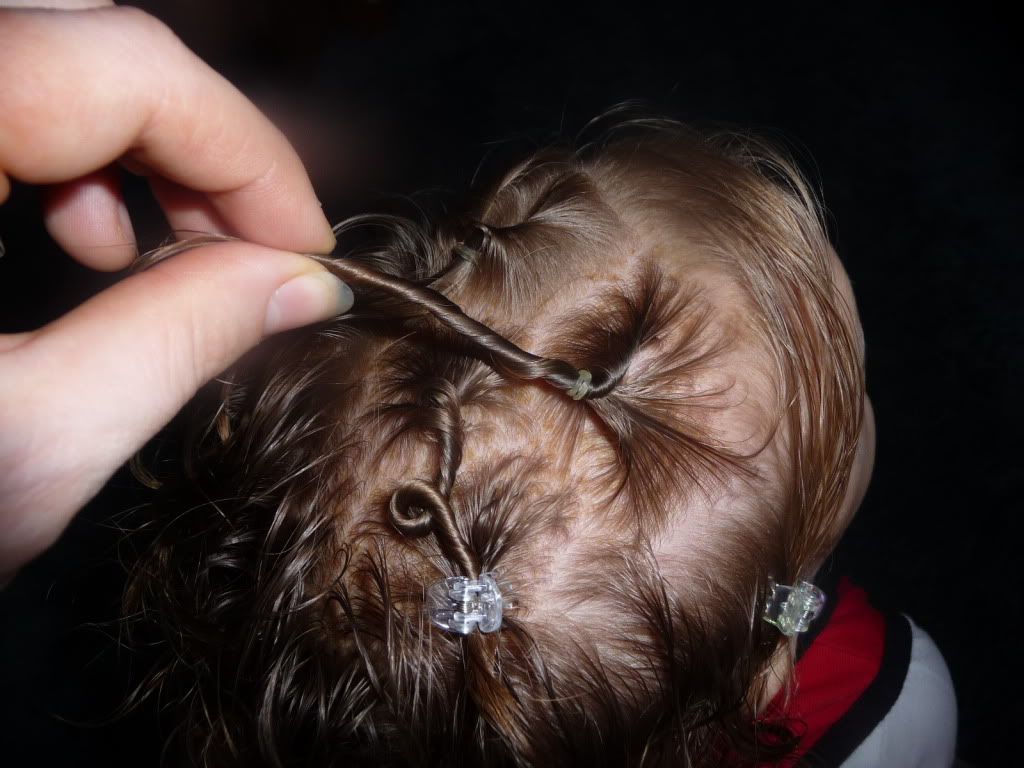
and lastly, I attempted to smooth out the hair under the two twists, then rolled/twisted the RIGHT side ponytails and brought them over to the LEFT side to join with the ponytail I was making out of that "extra" hair. But before I did that - I sort of weaved them thru the twists already in place. The one closest to the front of her head went over the first twist and under the second. The twist closer to her ear went under the first twist and over the second. :) I hope that made sense!! :)


...and from the front ...


And there you have it! That's all! Another version of glorified pig-tails! 
This kind of style is actually pretty common. One of my favorite hair blogs has a great style very close to this, except that she's using it to dress up a headband! Totally cool! :)


And my new FAVORITE picture!! :)  It's Me and Q! I took the pic and she even smiled! :D 
(Don't mind my ultra boring hair - that what it alllllways looks like! See why I love curls?!)

Double Pull-Through

Here's another quick and easy style! I posted one veeery similar to this in the past, but this one's just a bit easier for those days that are even more hectic!
 

Again, I forgot to take "how-to" pictures! I guess because this is a style I fall to when I'm in a hurry! :) If anyone isn't clear on how these are done - please let me know! I could try to get a video up :) They are easy once you know what you're doing - however, very very hard to take still photos while doing it with just one hand! Two hands is very helpful here! lol
Anyway, what I did was to take up Q's bangs, add a loose elastic, then flip the "tail" through - underneath the elastic. (part the hair under the elastic, making a hole, then tuck the tail thru the hole)

Then I did it again, a bit father back! I used lots of hair so that only 2 pull thru's used up most all of the hair on top of her head. :)


Another angle:


And Curls! I was trying to get a picture of them while they're dry - not immediately after being detangled like I so often do!  Ahhhhhh! I just LOVE curls! :D

Simple Braid

We were low on time, yet I wanted her to be able to see! So here's what we did...
 

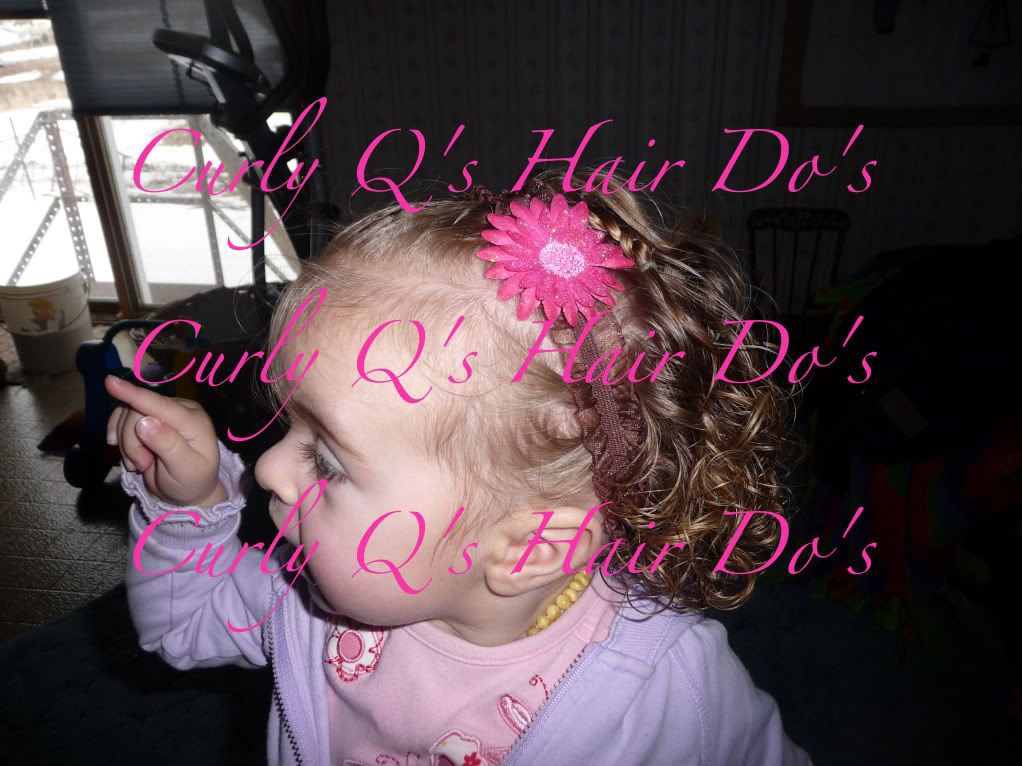
I gathered up the hair that likes to fall forward and braided it! I did an "underneath" braid, just for kicks. It wouldn't have looked much different than a "normal" braid. (Where the strands pass over each other as you braid) But the method is nice to practice like this, then once your hands kinda get used to the idea, you can try a french braid like this - an inside out french braid!
Then I added her new elastic headband!


I put it just in front of the top of the braid, and then coaxed the braid to curve around the flower. :) The headband stayed in a long time this time - probably a whole 4 minutes!! lol Goofy girl! Oh well, I'll keep trying! (She doesn't like the elastic headbands because they go all the way around her head, I think she thinks they're too tight. Fair enough! She does, or has in the past anyway, left the teen size workout headbands in.)

One last one to show off that cute headband!!

Triple Braid Side Pony

Oh boy! What are my "names" coming to?! Anyway, here's a new one!


Don't mind the backgrounds today! Yikes! lol
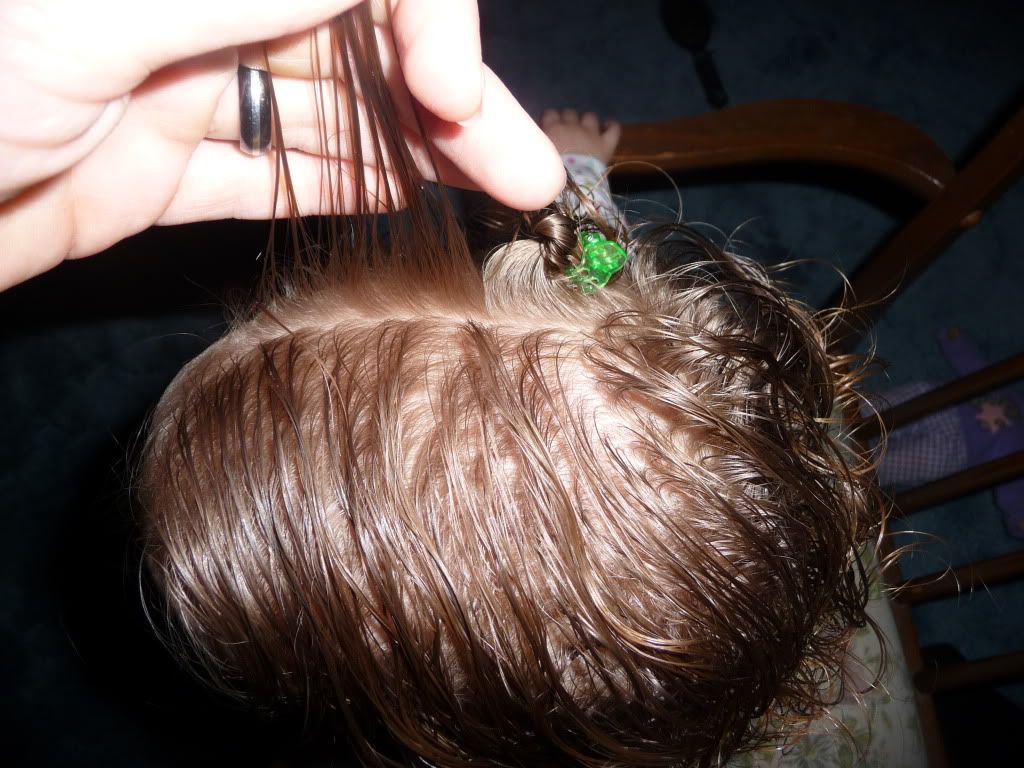
Anyway, for this one I carefully detangled Q's hair with a wide toothed comb after wetting it thoroughly (like usual!) Then I brought all the top hair (the stuff that still likes to fall forward) to the side. I noticed I had been taking it all to the right side of her head lately - so today I changed it up and combed it to the left :)


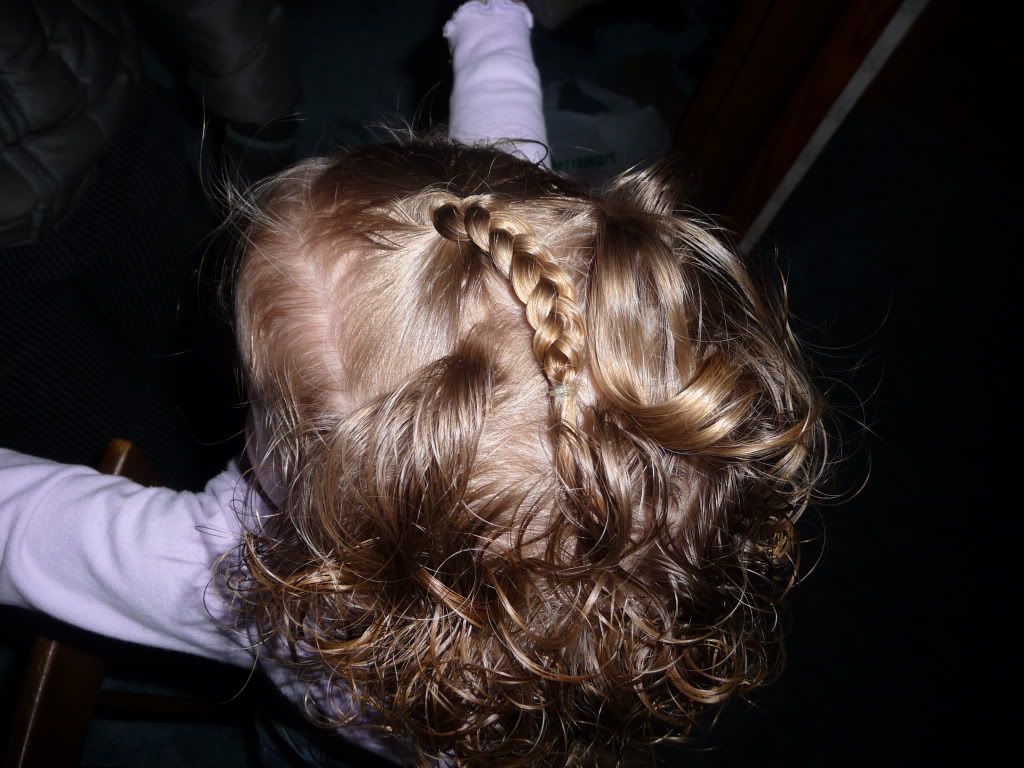
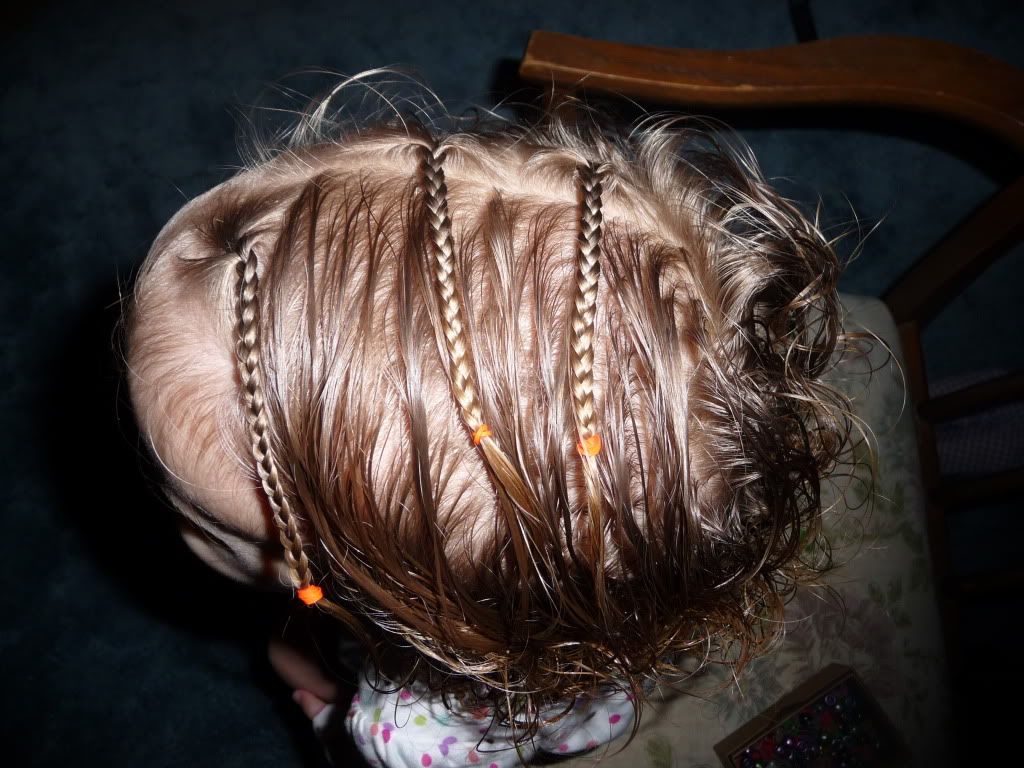
Then I made a part along the side and divided that into two section. One section of hair I put in a temporary clip, the other I braided.


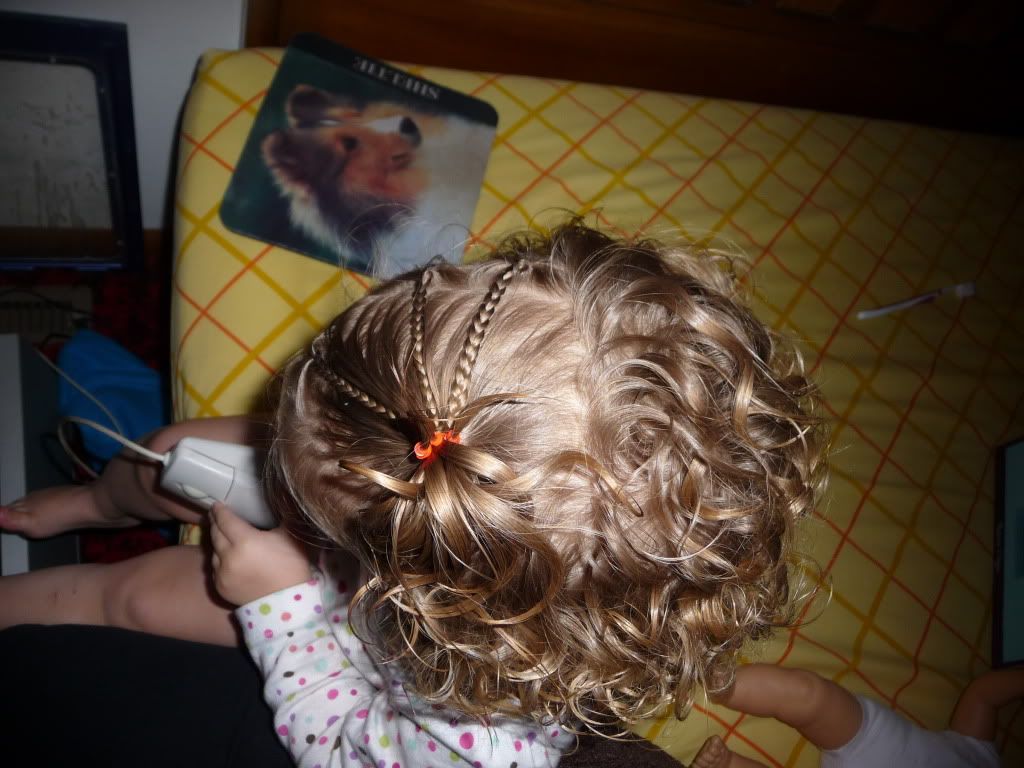
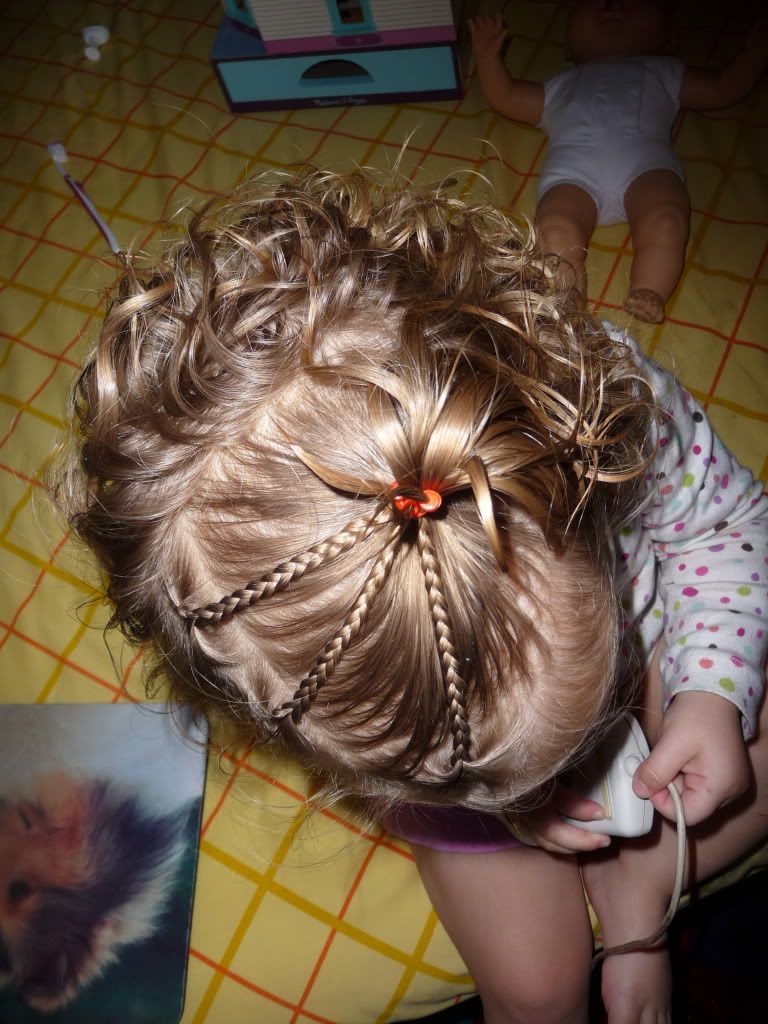
After I braided that one, I removed the clip and braided that section. Then I decided to do one more in her "bangs" area - up by her forehead (gotta keep it out of her eyes!) So I ended up with this...
 

Then flipping the braids out of the way, I brushed (combed) all the other hair into a side ponytail. Once that was smooth, I laid the braids over the top and tied it all off with the same elastic :)


She was wiggly today! Sorry for the poor quality pictures!
Anyway, that's it! I could have taken the elastics out at the end of each braid, but I didn't. I did make sure that the elastic that held the ponytail was closer to Q's head than the other elastics, tho, otherwise the braids would have slipped out. This style lasted well all day for us!

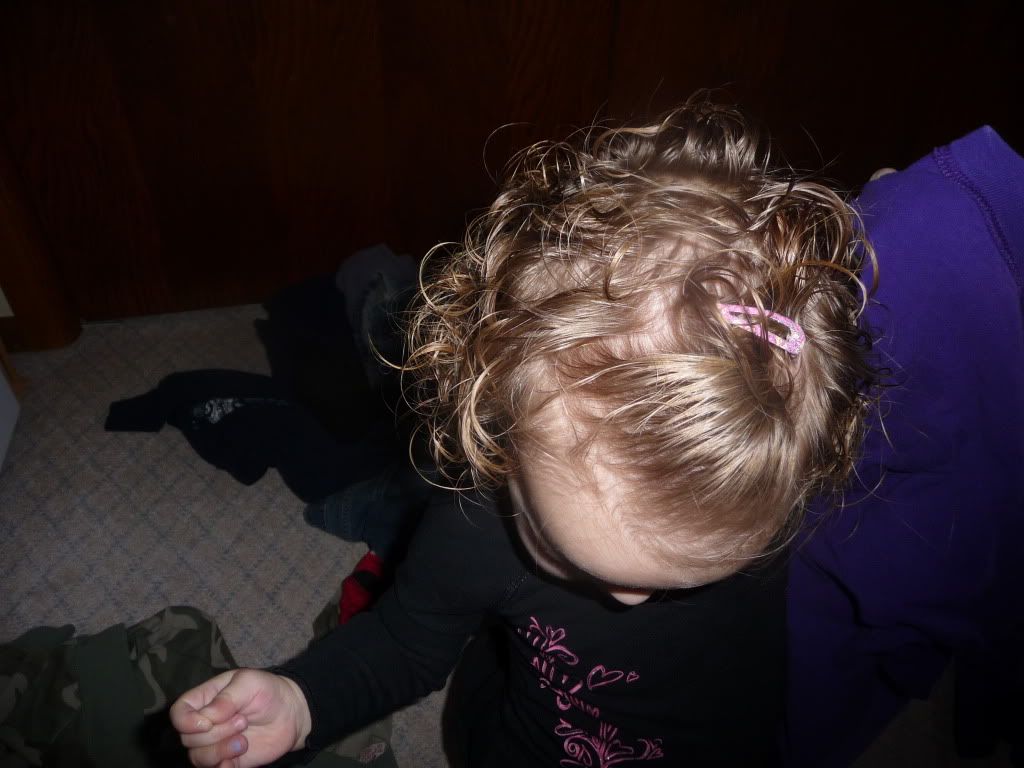
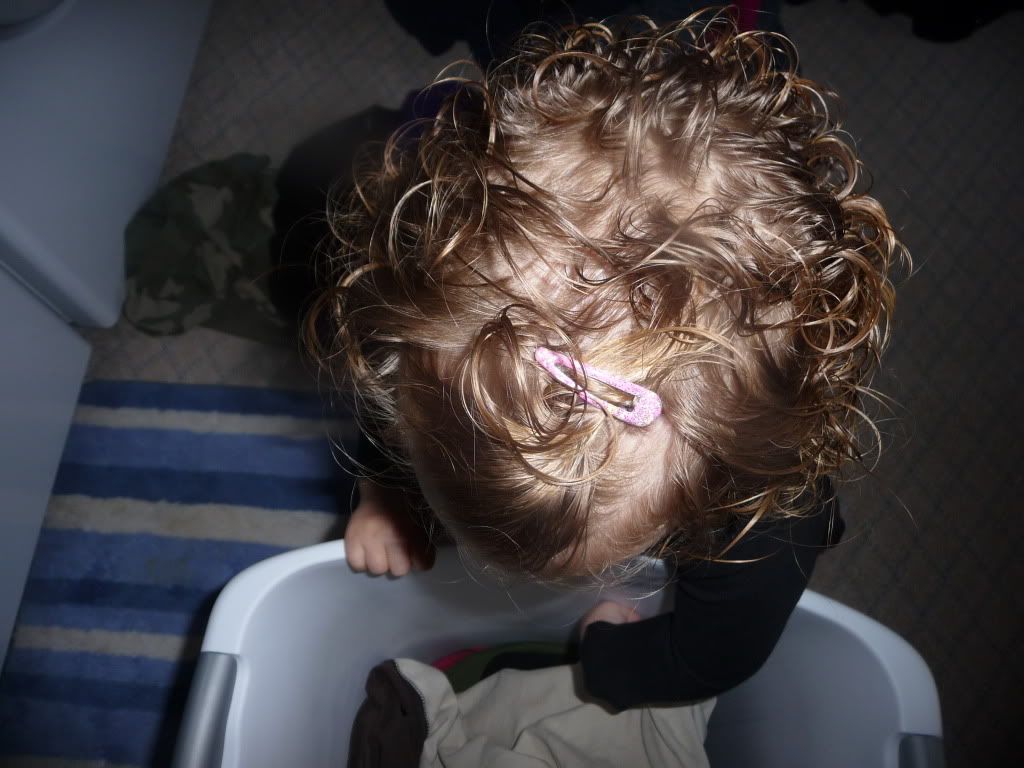
And of course we love the curls!


and one more just because :)
 
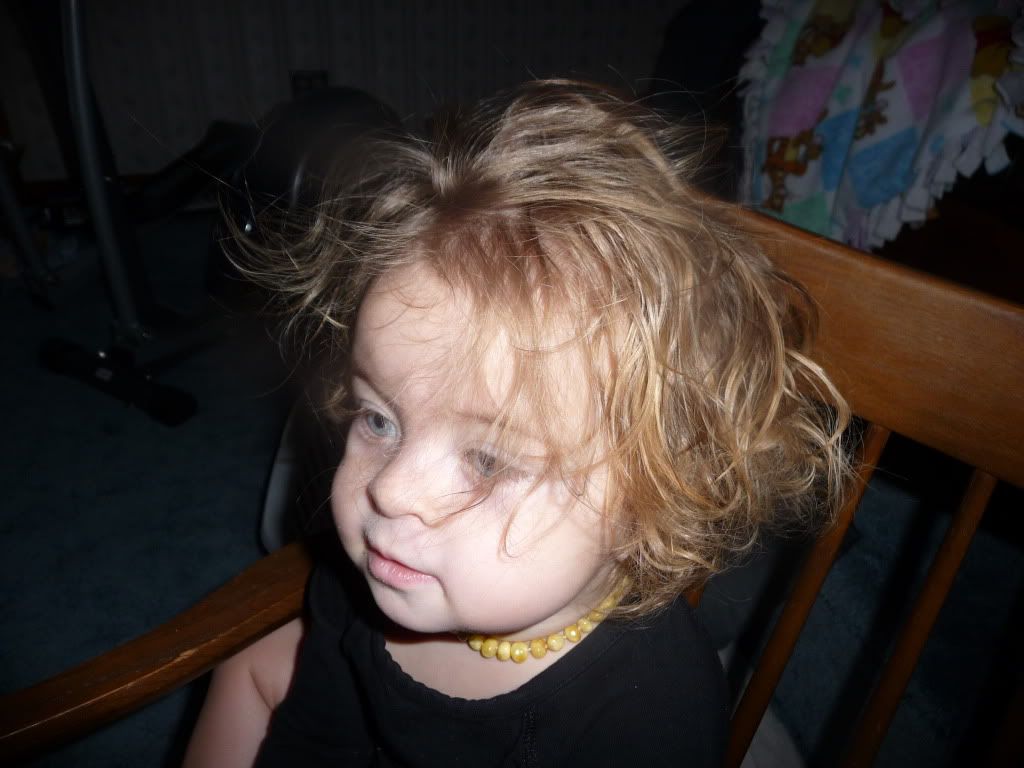
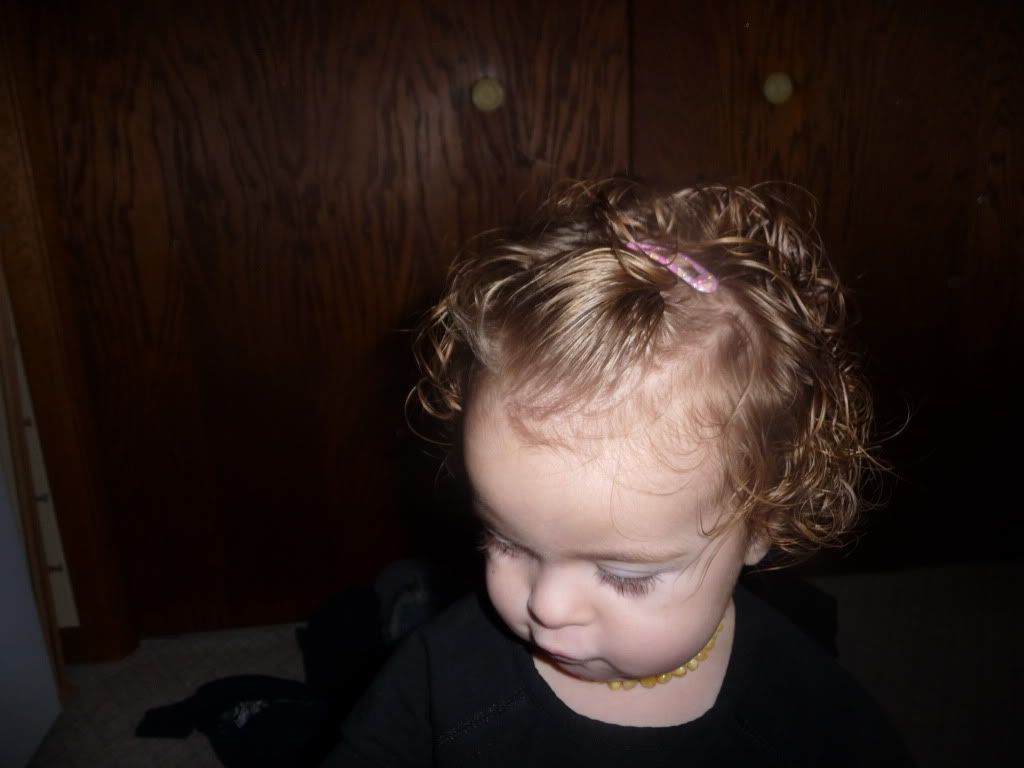
 (Notice her Baltic Amber Teething Necklace? I LOVE these things! I don't know how anyone survives without them!)

Stephanie Pratt Hair

Stephanie Pratt hairstyle

Stephanie Pratt is one of the famous celebrities who was seen in the reality television series The Hills. Stephanie has always been known for the various hairstyles that she had possessed. With the time, there are varied styles and hairstyle changes that are being worn by the celebrity.

The Hills-Fashion and Hairstyles: Lauren and Stephanie

Some of the popular hairstyle that the celebrity wears is the long wavy hairstyle, loose tied ponytail, bangs and many others. The long wavy hairstyles make her look gorgeous and stunning. This hairstyle can be achieved with the layers at the various levels of hair. Generally a textured spray is used for making the hair look gorgeous and also stays at their place.

The Hills-Fashion Hairstyle: Stephanie Pratt

The layered wavy hairstyle is worn by the celebrity adds volume to her hair with shorter strands of hair being left loose on her forehead. Along with the layers, there are also curls to make the hairstyle wavy. These curls are generally made with the curling iron. Run down the fingers through the hair as fingers can be used for the breaking up of hair curls.

The Hills-Fashion and Hairstyle: Stephanie Pratt Hairstyle

The waves, curls and layers add bounce and volume to her hair making the celebrity look gorgeous and stunning. The long and wavy hairstyle that is possessed by the celebrity makes her look elegant and also this hairstyle matches up well with all the dresses that are worn.

The Hills-Fashion and Hairstyle: Stephanie Pratt Fashion

The long and wavy hair can also be tied in a ponytail in which the rear tresses can be left loose or a puff can be made with the shortest layer at the crown of the head. This can give a simplified ad casual look other than the open strands of hair that look amazing at the various events.

Single Clip

Here's where we started today :)


I had a great new fun idea for today!!!... but Q didn't want to sit for it :( and it would have taken awhile...so we'll just have to do it another day!

Instead, we did this...


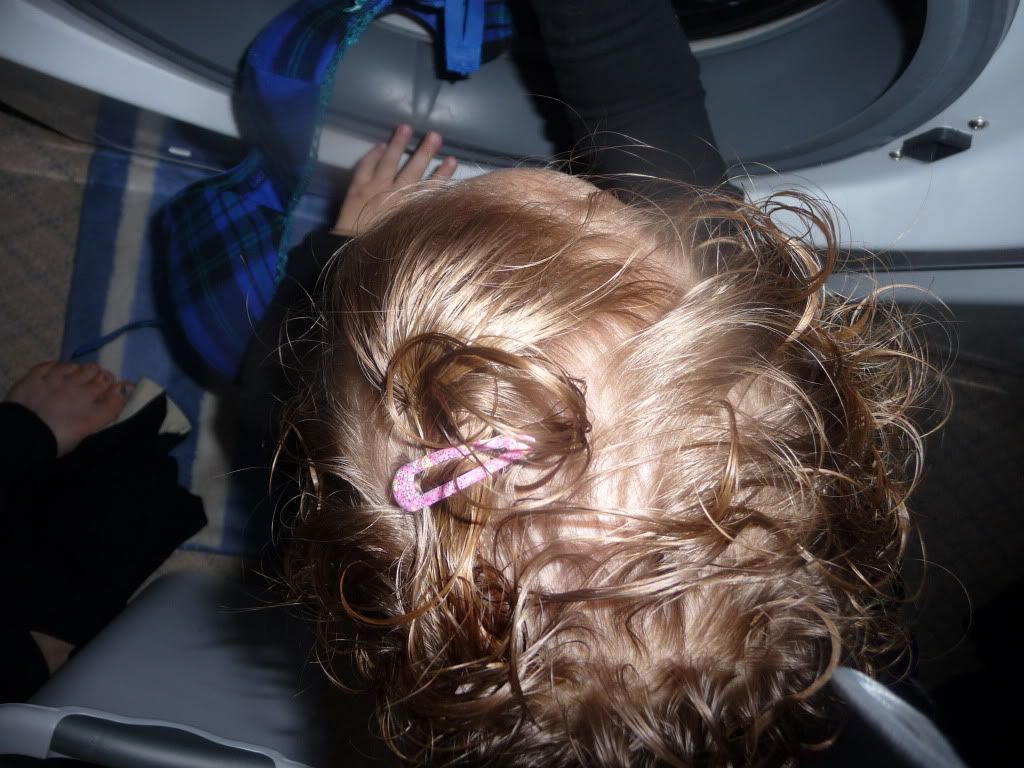
I just took up a section of hair in the front of her head (bangs area) twisted it all in a big loose bunch - and clipped it!


This is a great way to keep bangs that you're trying to grow out - out of the eyes when they're at that "awkward stage".


I thought it ended up really cute and it was soooo fast! (Worked really well to keep her hair out of her eyes all day and as a solution to already having spent time on her hair and having to start alllll over from the beginning - at that point you need something fast!)

Even taking pictures of it was hard today - staying still was apparently NOT on the agenda! :)


I hope you all had a great weekend!! We sure did! Q even skied for the first time! :) SOOO Fun! and she got so many compliments on her hair :) THANK YOU to all my inspirations! - Rebekah, Heather, Candace, and all my favorite hairbloggers, too! :D

Fancy Twisty Hair

Q didn't feel like sitting still today! But here we go ...


First I left out some bangs, Then I made a little ponytail ...


and turned it ...


Here's some pics of how to do that (Topsy Tail! or Pull-Through, etc.)

(Make a loose pony tail and split it)


(Then tuck the "tail" through the part you just made)


(and pull it tighter if you want)

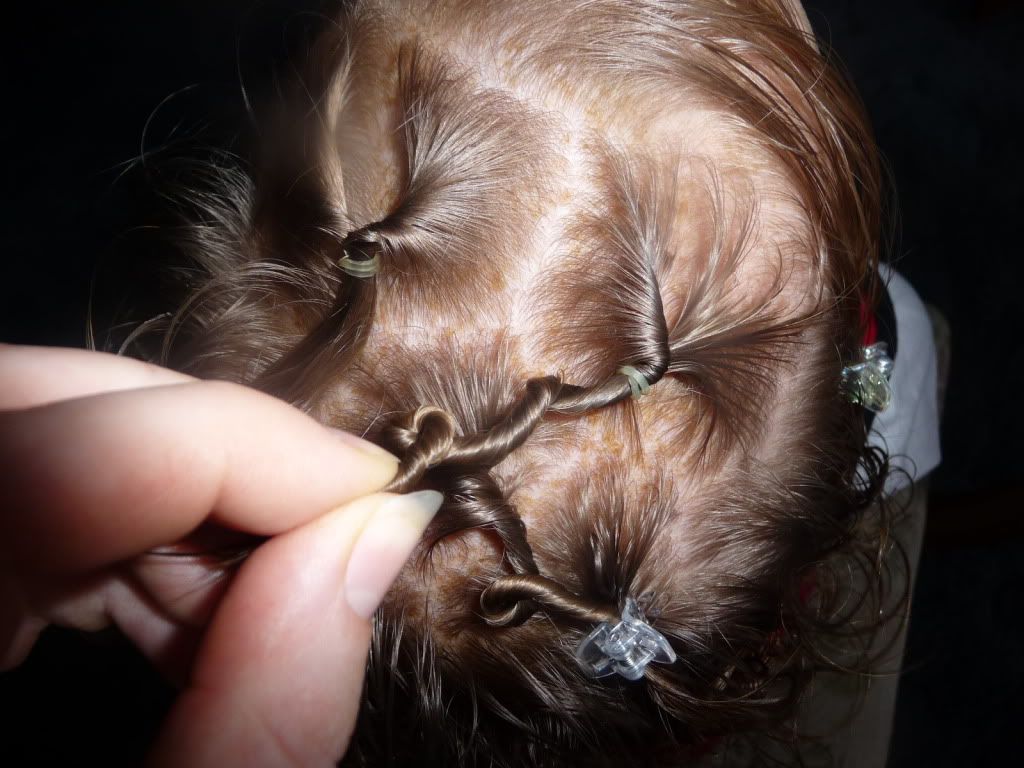
Then I just started twisting! I twisted the two "tails" I had just made, plus two more. I attached them randomly to other hair with a little claw clip.


I also clipped back her bangs with a matching claw clip.


And that's that!

I did go back and put in some little elastics under the claw clips because she just didn't have enough hair to hold it tight. And in retrospect, next time I probably won't bother with the pull-through's for her hair, it would look just as cute without them (almost) and they are time-consuming on a little one with a short attention span! :)

Thank you to princesshairstyles for this idea!